
Blog Archive
Pre-STL Day 7: Maintenance & Anticipation
Intake
Wooden blocks were added tonight to the practice robot to keep the polycarbonate base of the intake from touching the ground. This is one of a series of adjustments to the intake to make it more efficient, fluid, and functional. The polycarbonate base often gets caught in the carbonate causing jams and reduced mobility.
Shooter/Indexer
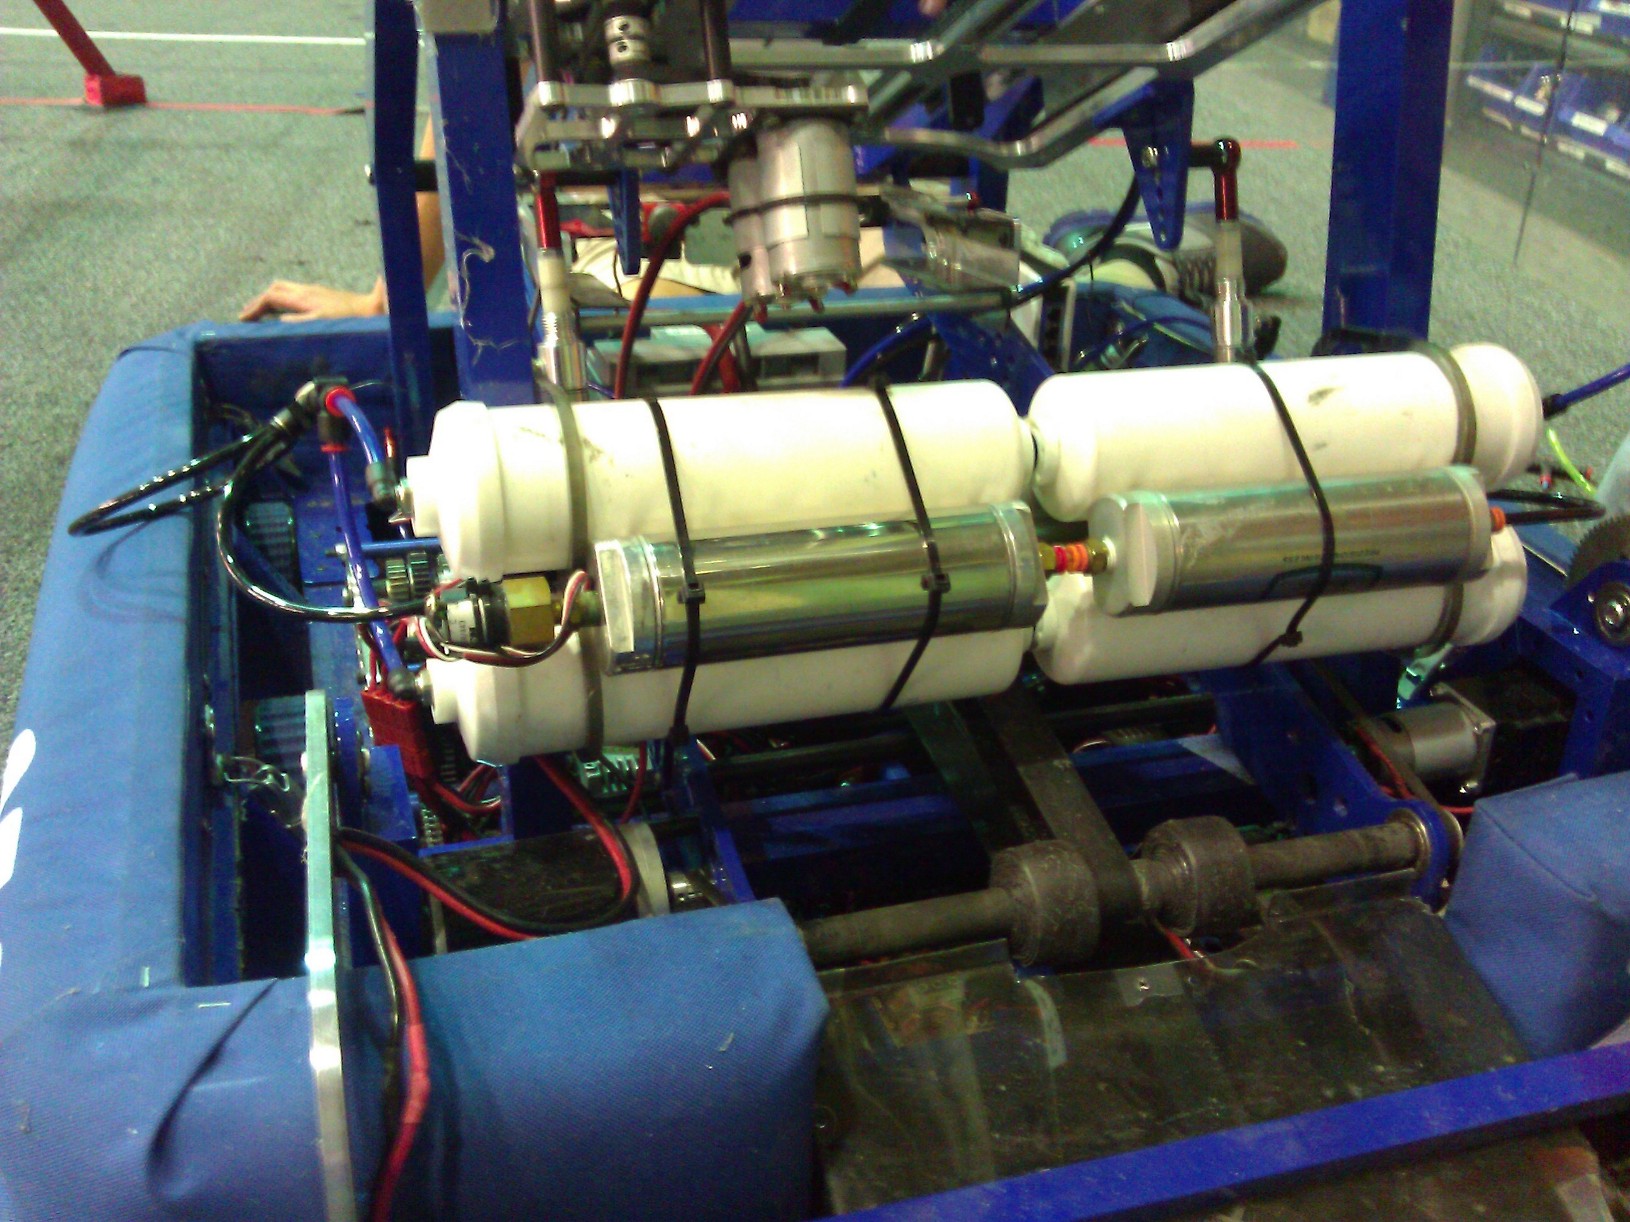
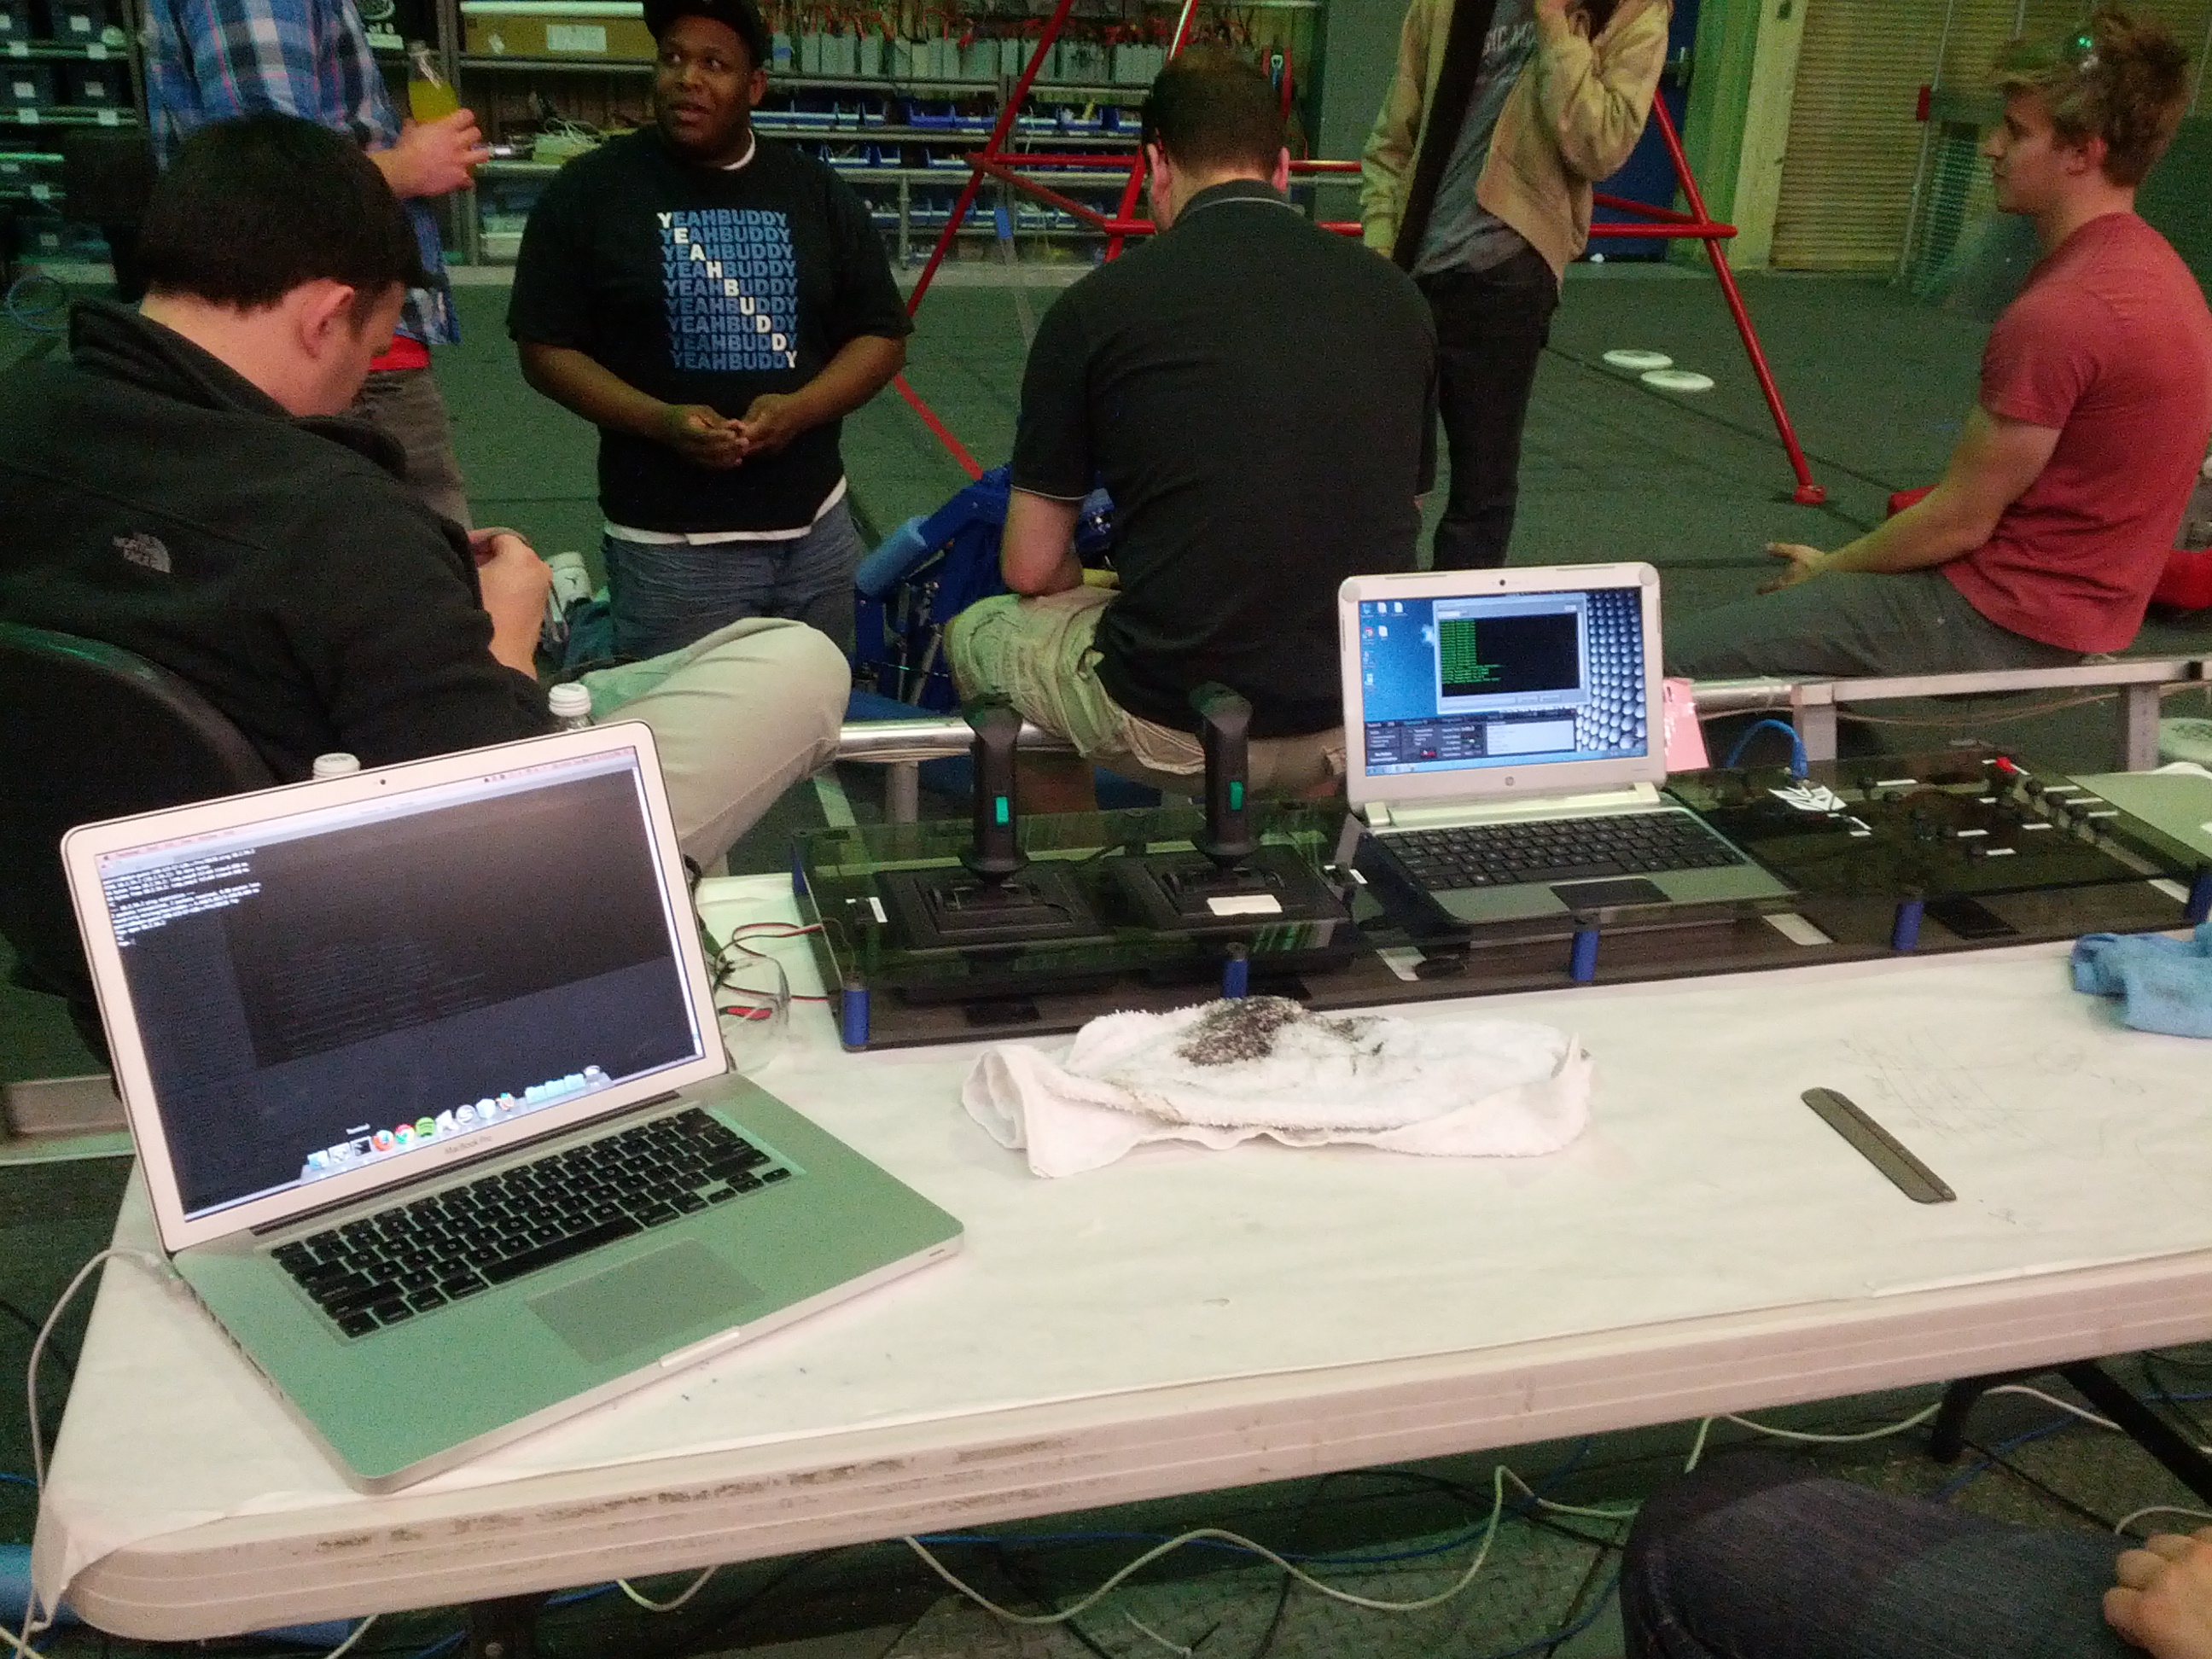
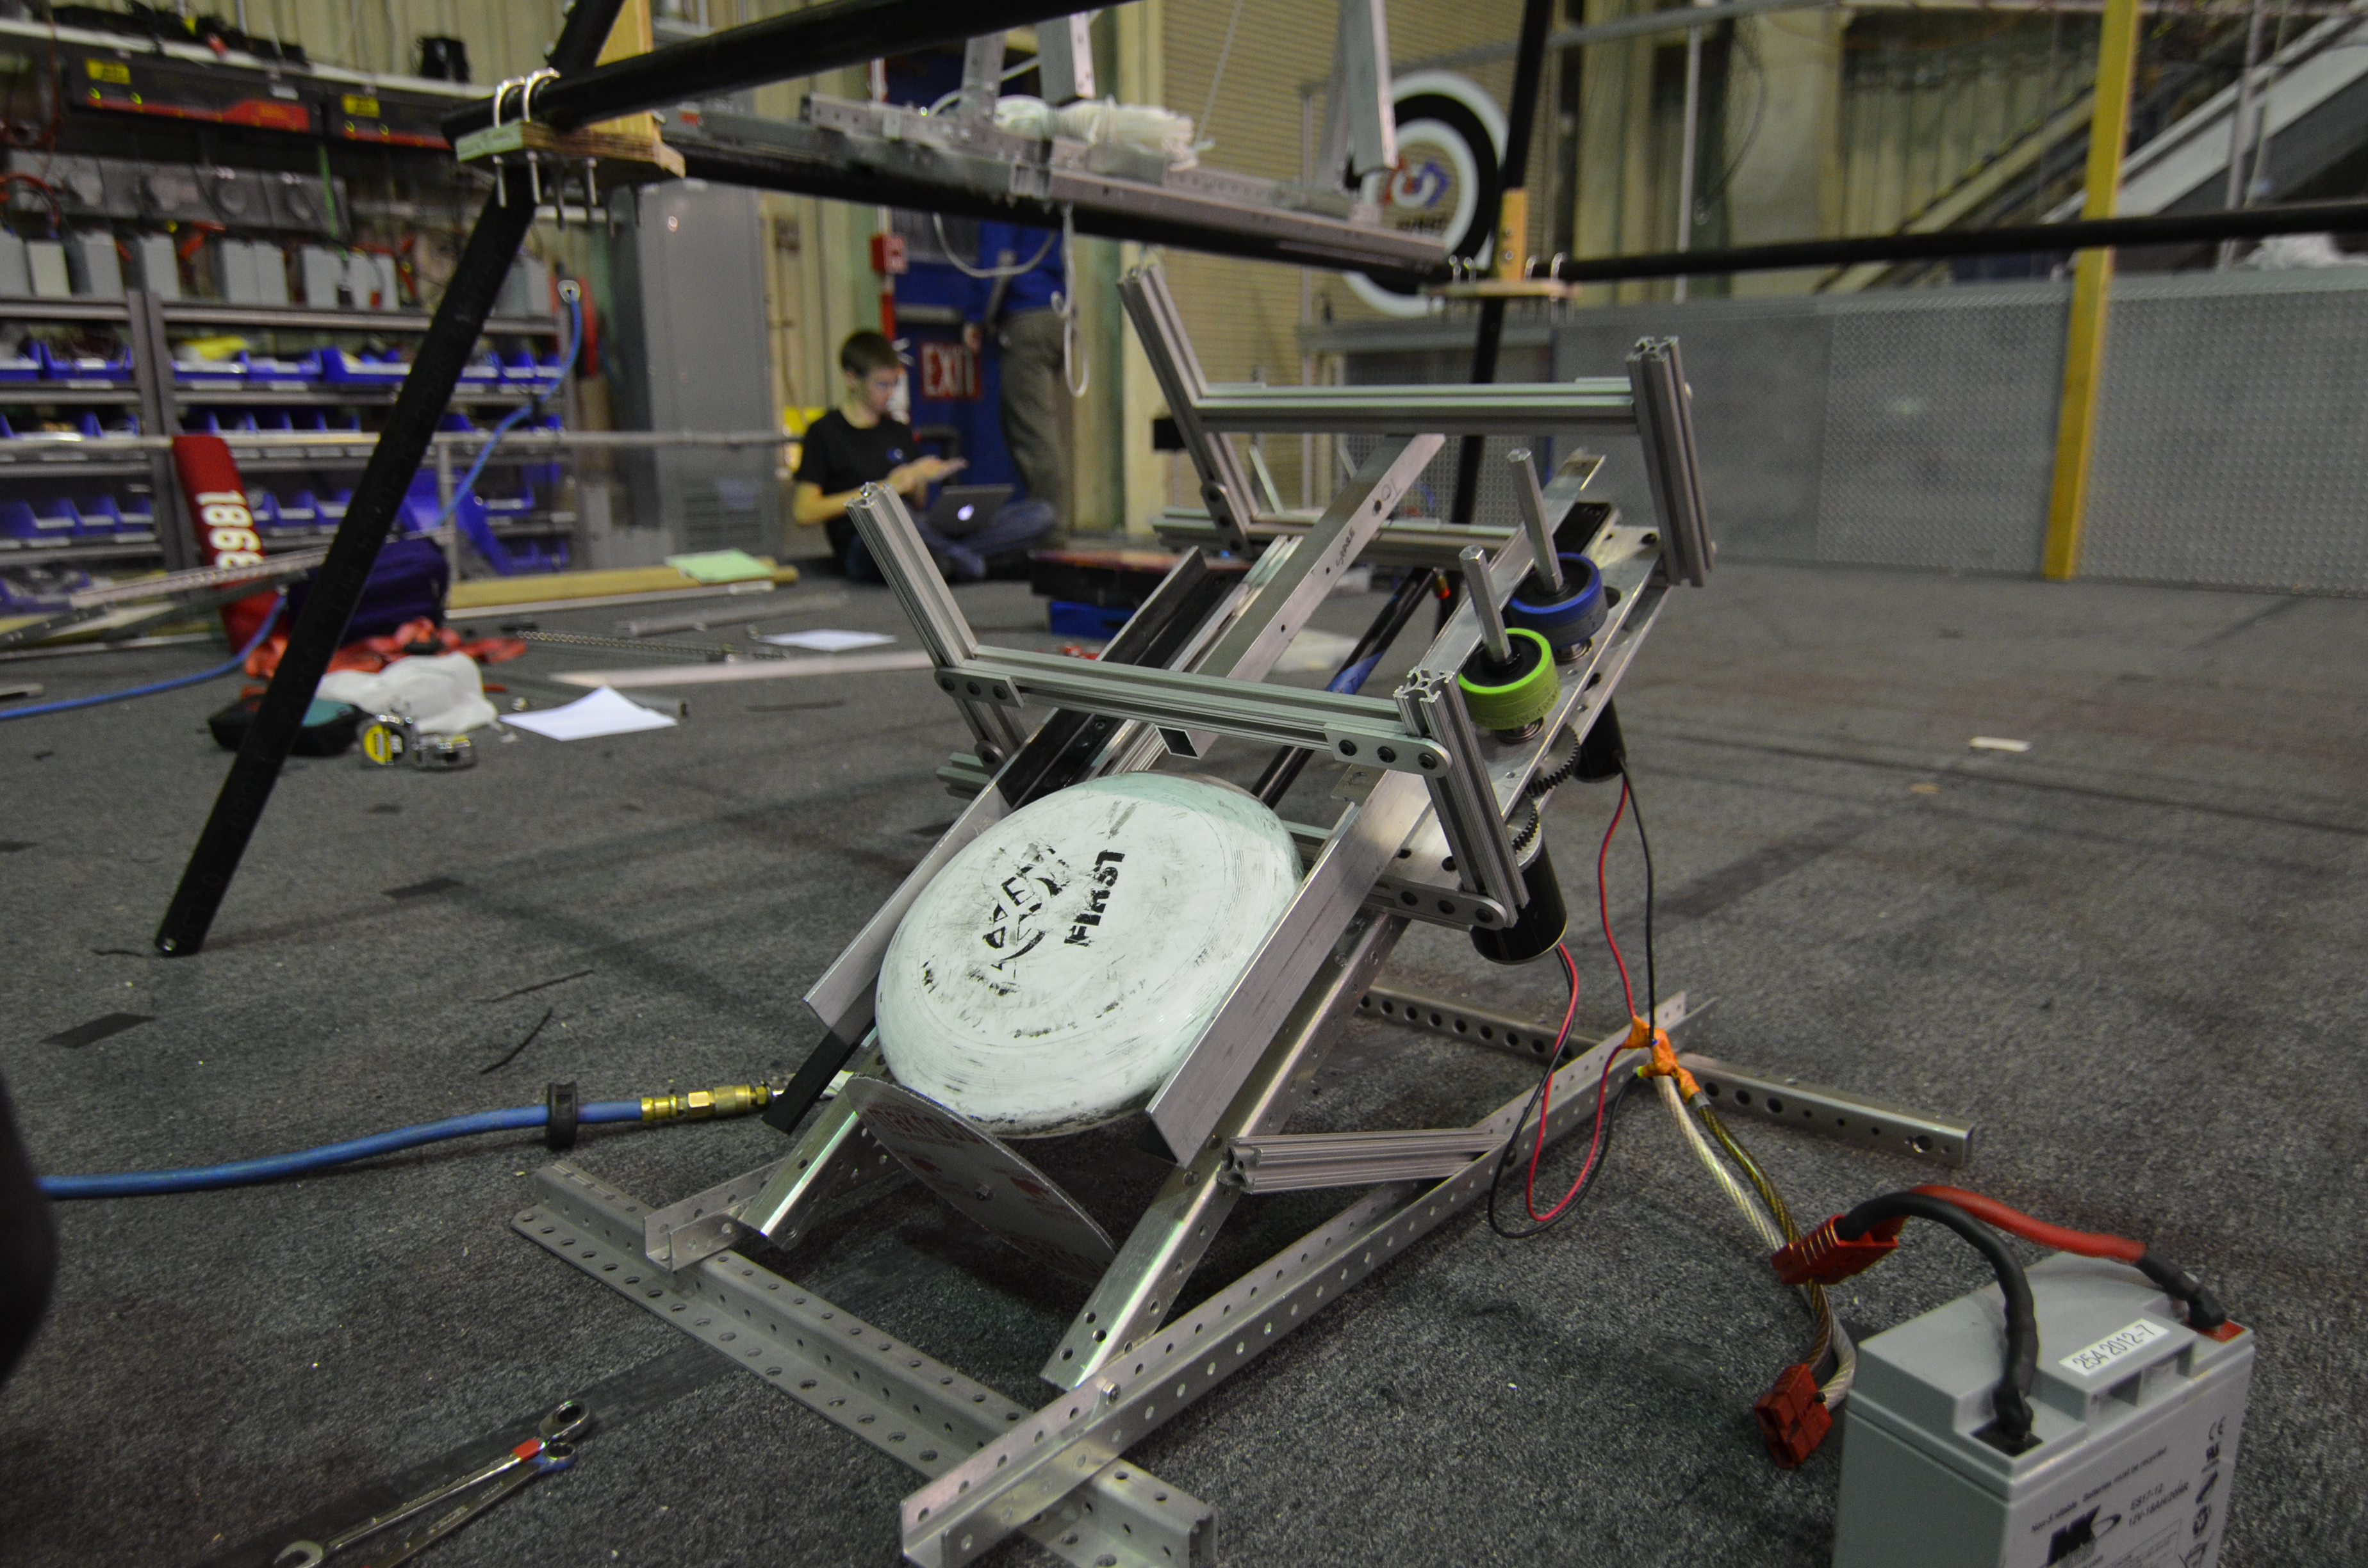
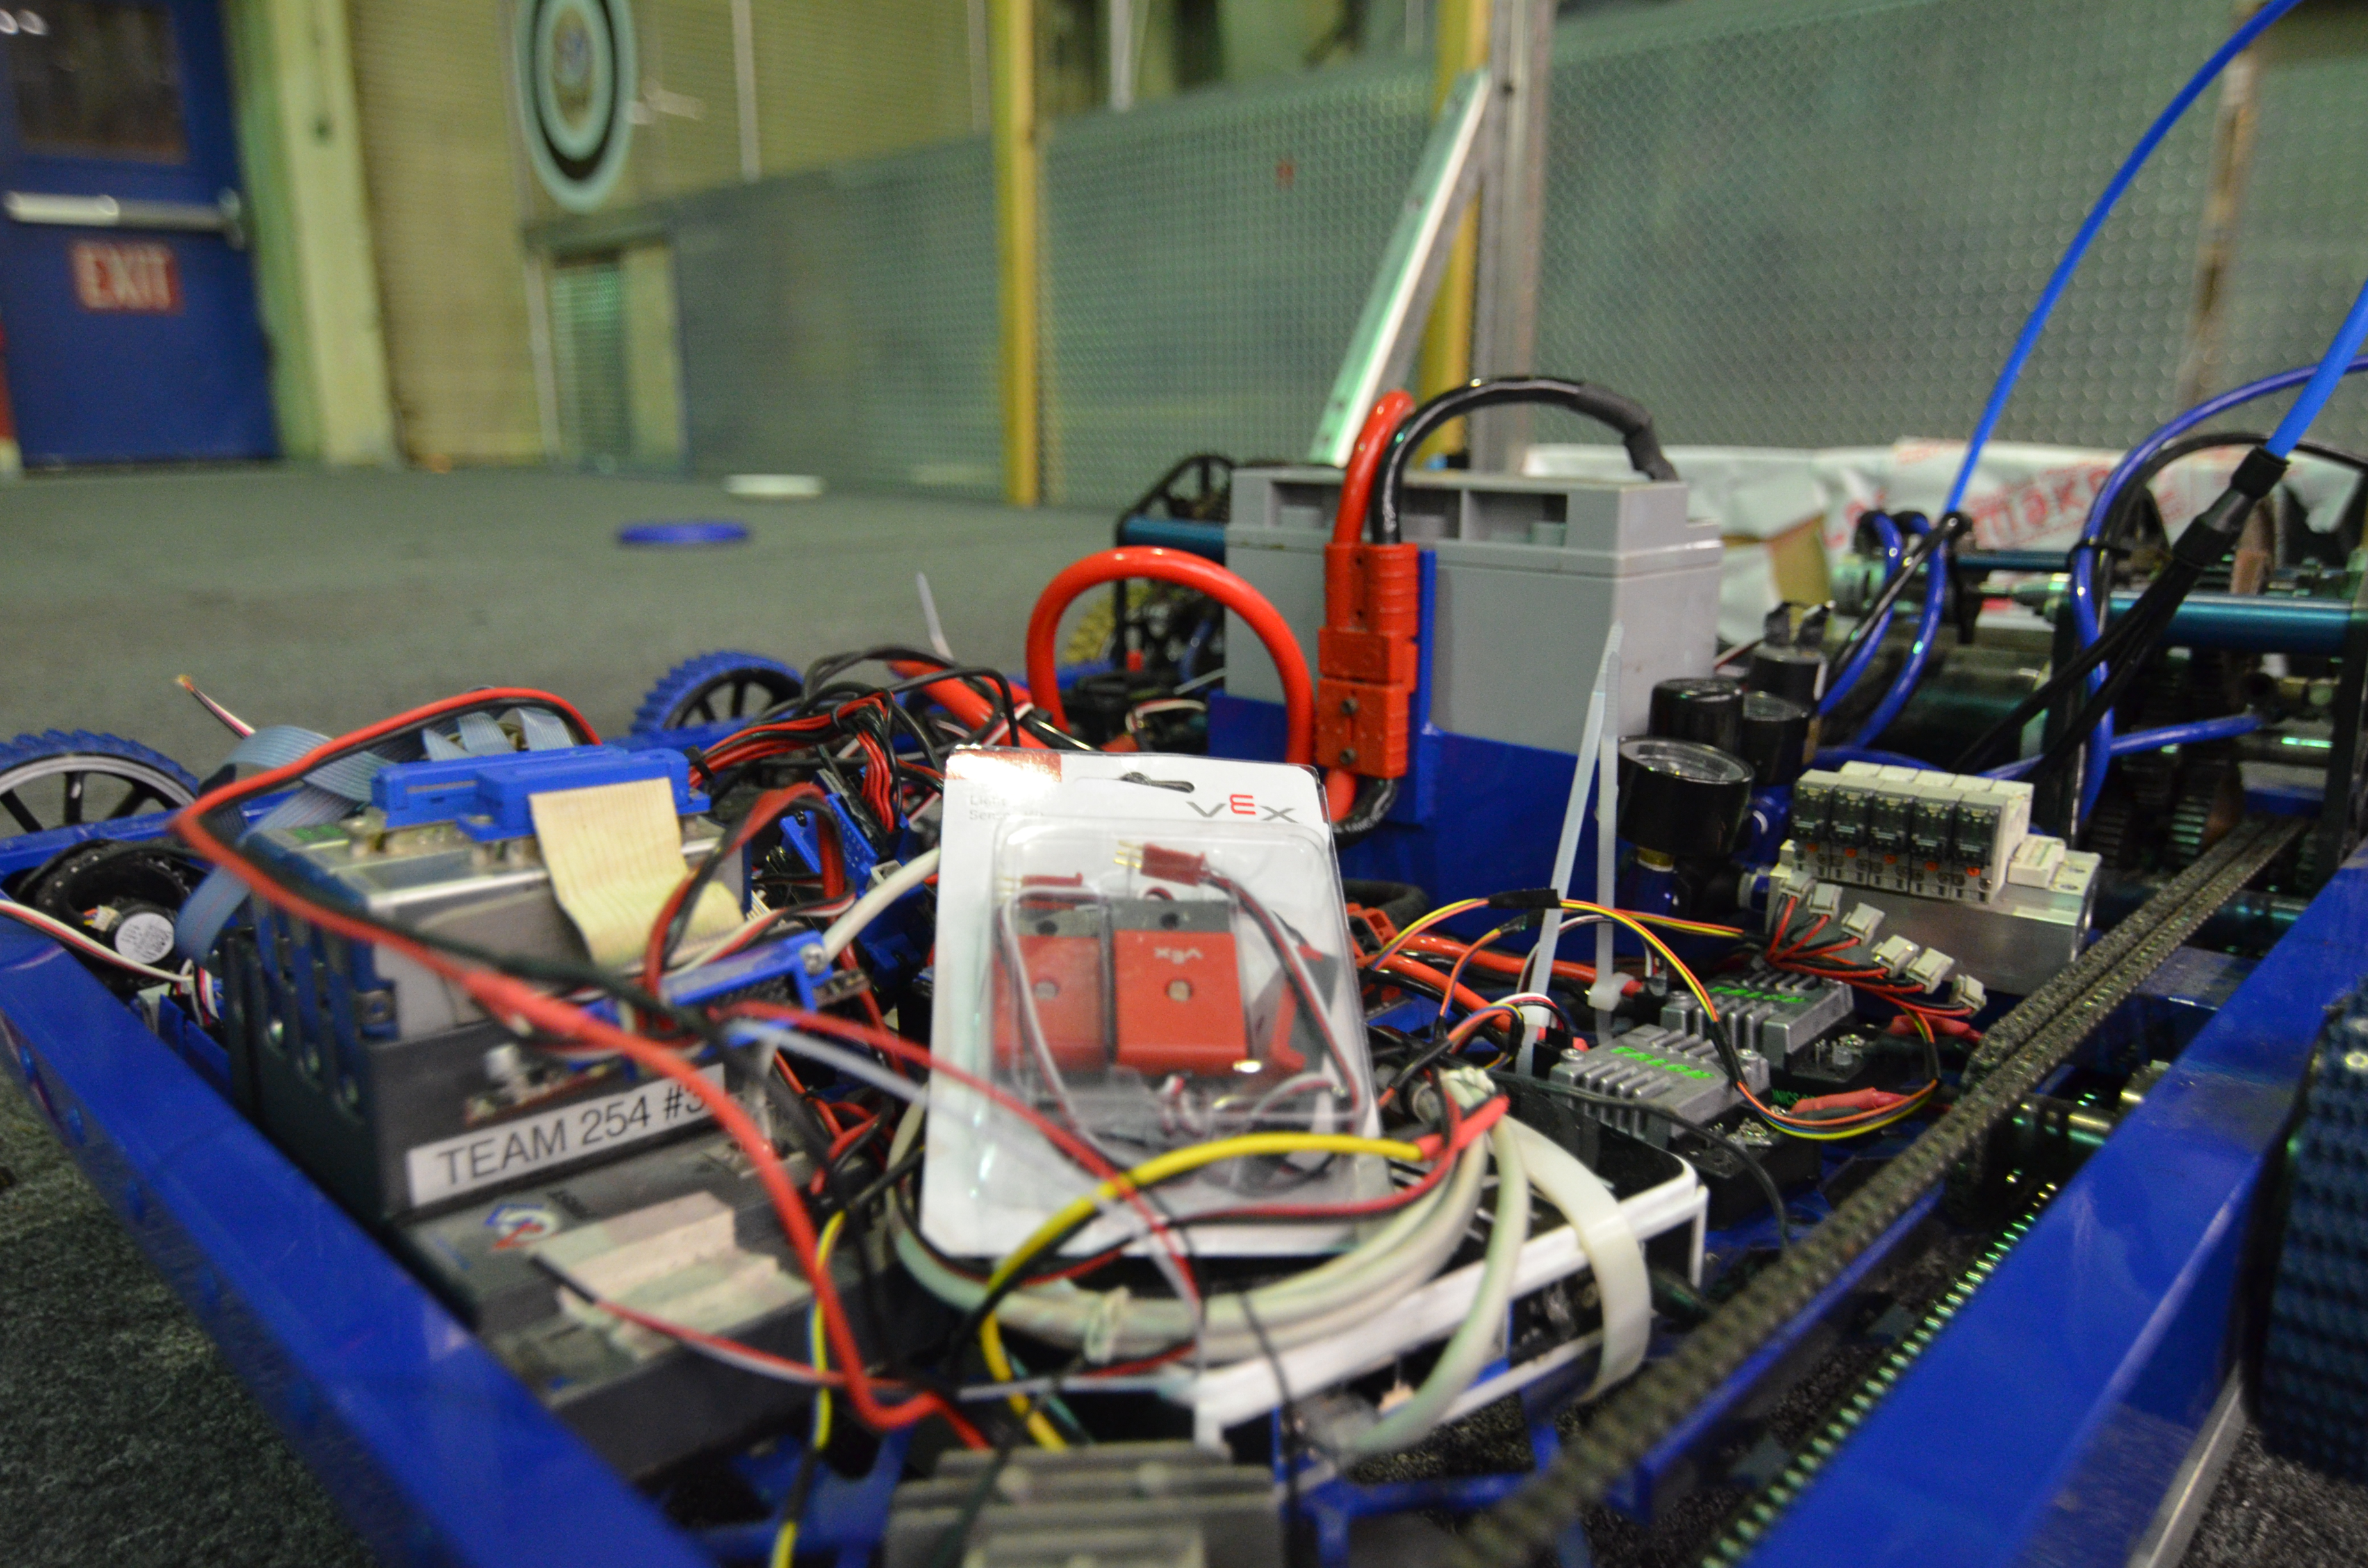
Overkill with all of the tanks.
Even though the Frisbee hard stop was working last night, it was not today with the pin having trouble sliding the stopping plate up and down. This was solved by changing the hard stop to delrin and maintaining the mounting plates to aluminum. Also, students and mentors created two cross bars for the indexer. They also worked on shooter wheel mounting plates. Lastly, the team added temporary air tanks to the practice robot to allow for more shooting cycles and less refilling.
Drivers
Abhi and Jonathan Lee continued driver practice in preparation for the upcoming competition.
Sensors & Programming
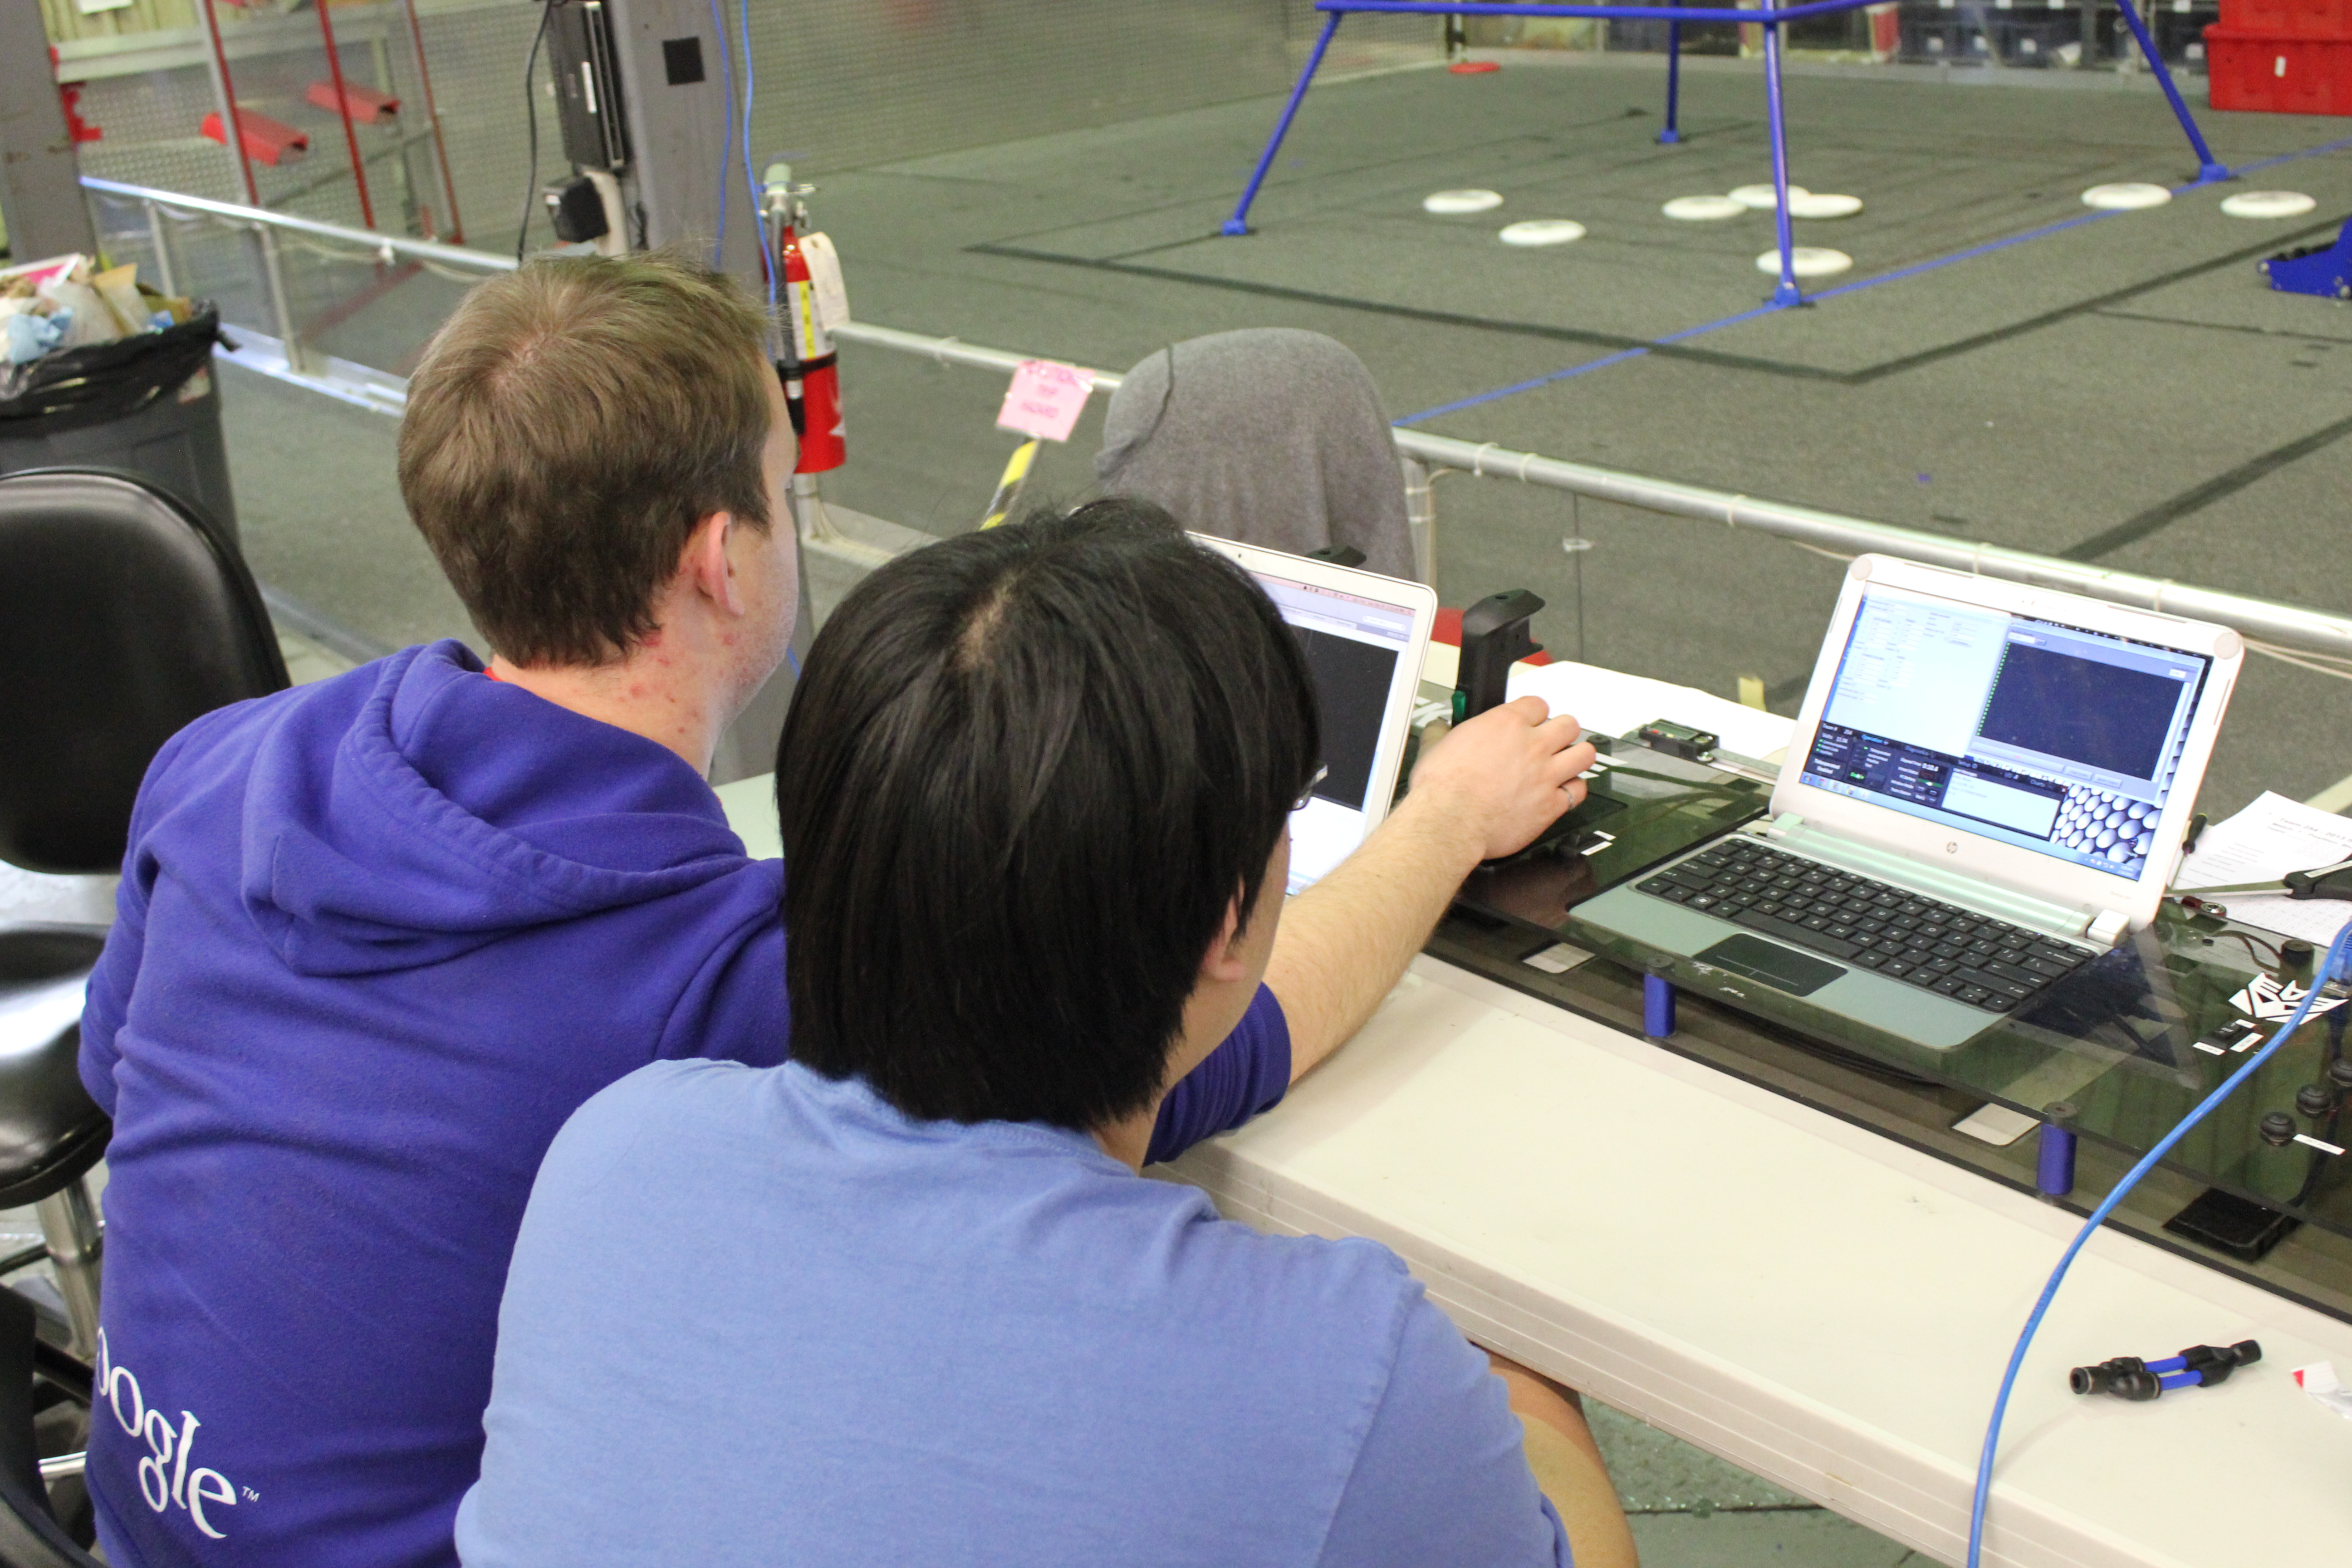
Students and mentors tested hall effect sensors using Slipstream as a power source, because of drivers using Overkill to practice. The hall effect sensors would detect the presence of a magnetic field. When magnets are placed on the indexer mechanism, a feedback mechanism is created to determine whether or not the indexer mechanism is completely engaged in the correct position. On the programming side, programmers fine tuned various code for indexing and shooting.
Pre-STL Day 5: Shopping Spree & Dieting
CAD
Today, students and mentors worked together to design new subsystems of the robot. For instance, a new gearbox was designed for the intake lowering and raising, which would replace the current VEX planetary gearbox. The VEX planetary was very inefficient and quite heavy. The new gearbox with its motor will be marginally heavier than the previous setup, and it has the benefit of a more favorable gear reduction. After the design work was completed and verified, the team went online to sites like AndyMark and McMaster to order these new necessary parts. It is essential that these parts are ordered and arrive quickly, as time is running out before World Championships.
Dieting
The team is scrambling to find places to trim weight on the robot. The new shooter wheels and intake gearbox are adding some weight to the robot, so the team trimmed some fat by removing the side panels, removing the pressure gauge support plate, and other areas. The 1/16″ side panels will eventually be replaced by side panels made of 1/32″ polycarb. Together, all the weight reductions will put us under weight. Although we are cutting it very close, we will eventually get to where we want to be.
Programming and Sensors
The programmers experimented with VEX bumper sensors as a means of detecting whether or not the frisbee is fully loaded in the indexer, and thus ready to transfer up to the shooter. They attached two bumper sensors via double stick tape on either side of the hard-stop plate. The next step of this is to wire the sensors to the digital sidecar and write up some codes. When completed, the bump sensors will allow for increased speed of rapid fire. Tests will determine the reliability and durability of this setup to ensure it can survive the stresses of competition.
Pre-STL Day 1: Unpacking and Buckets
Unloading
The team members helped unload the many items into the lab that were brought to the Silicon Valley Regional, such as the black crates, the robot, the bumpers, tool chest, robot cart, and carpets. After most of the luggage was placed on the field, students helped move the large rolls of carpet into the sheltered area outside. This carpet will replace the current carpet on the field because it is getting torn.
After unloading from the truck, students helped pack necessary items into a giant, wooden 254 crate that will be shipped to St. Louis, MO in time for the FRC World Championships. They helped by loading in the robot, bumpers, tool chest, trussing, pit lighting, foam tiles, sunglasses, and other important items. The giant crate is all sealed up and ready to ship.
Buckets
The team is looking into some pretty significant redesigns of certain subsystems of the robot in preparation for World’s. They purchased a 5-gallon white bucket and cut off the top portion, placing it in place of the practice robot’s indexer. After securing it into position with tape, the students tested the bucket “magazine” system by intaking and exhausting frisbees, which worked much better than expected. The discs glide cleanly under the bucket to form the four-disc stack. This approach will allow the robot to accept discs directly from the feeder station, while allowing for rapid shooting and less potential for jamming (hopefully). While we are heavily weighing the implications of such a major design change, students are preparing designs and prototypes to accurately measure the risks involved.
We also enjoyed some delicious chocolate cake, made by the one and only Esteban Parker.
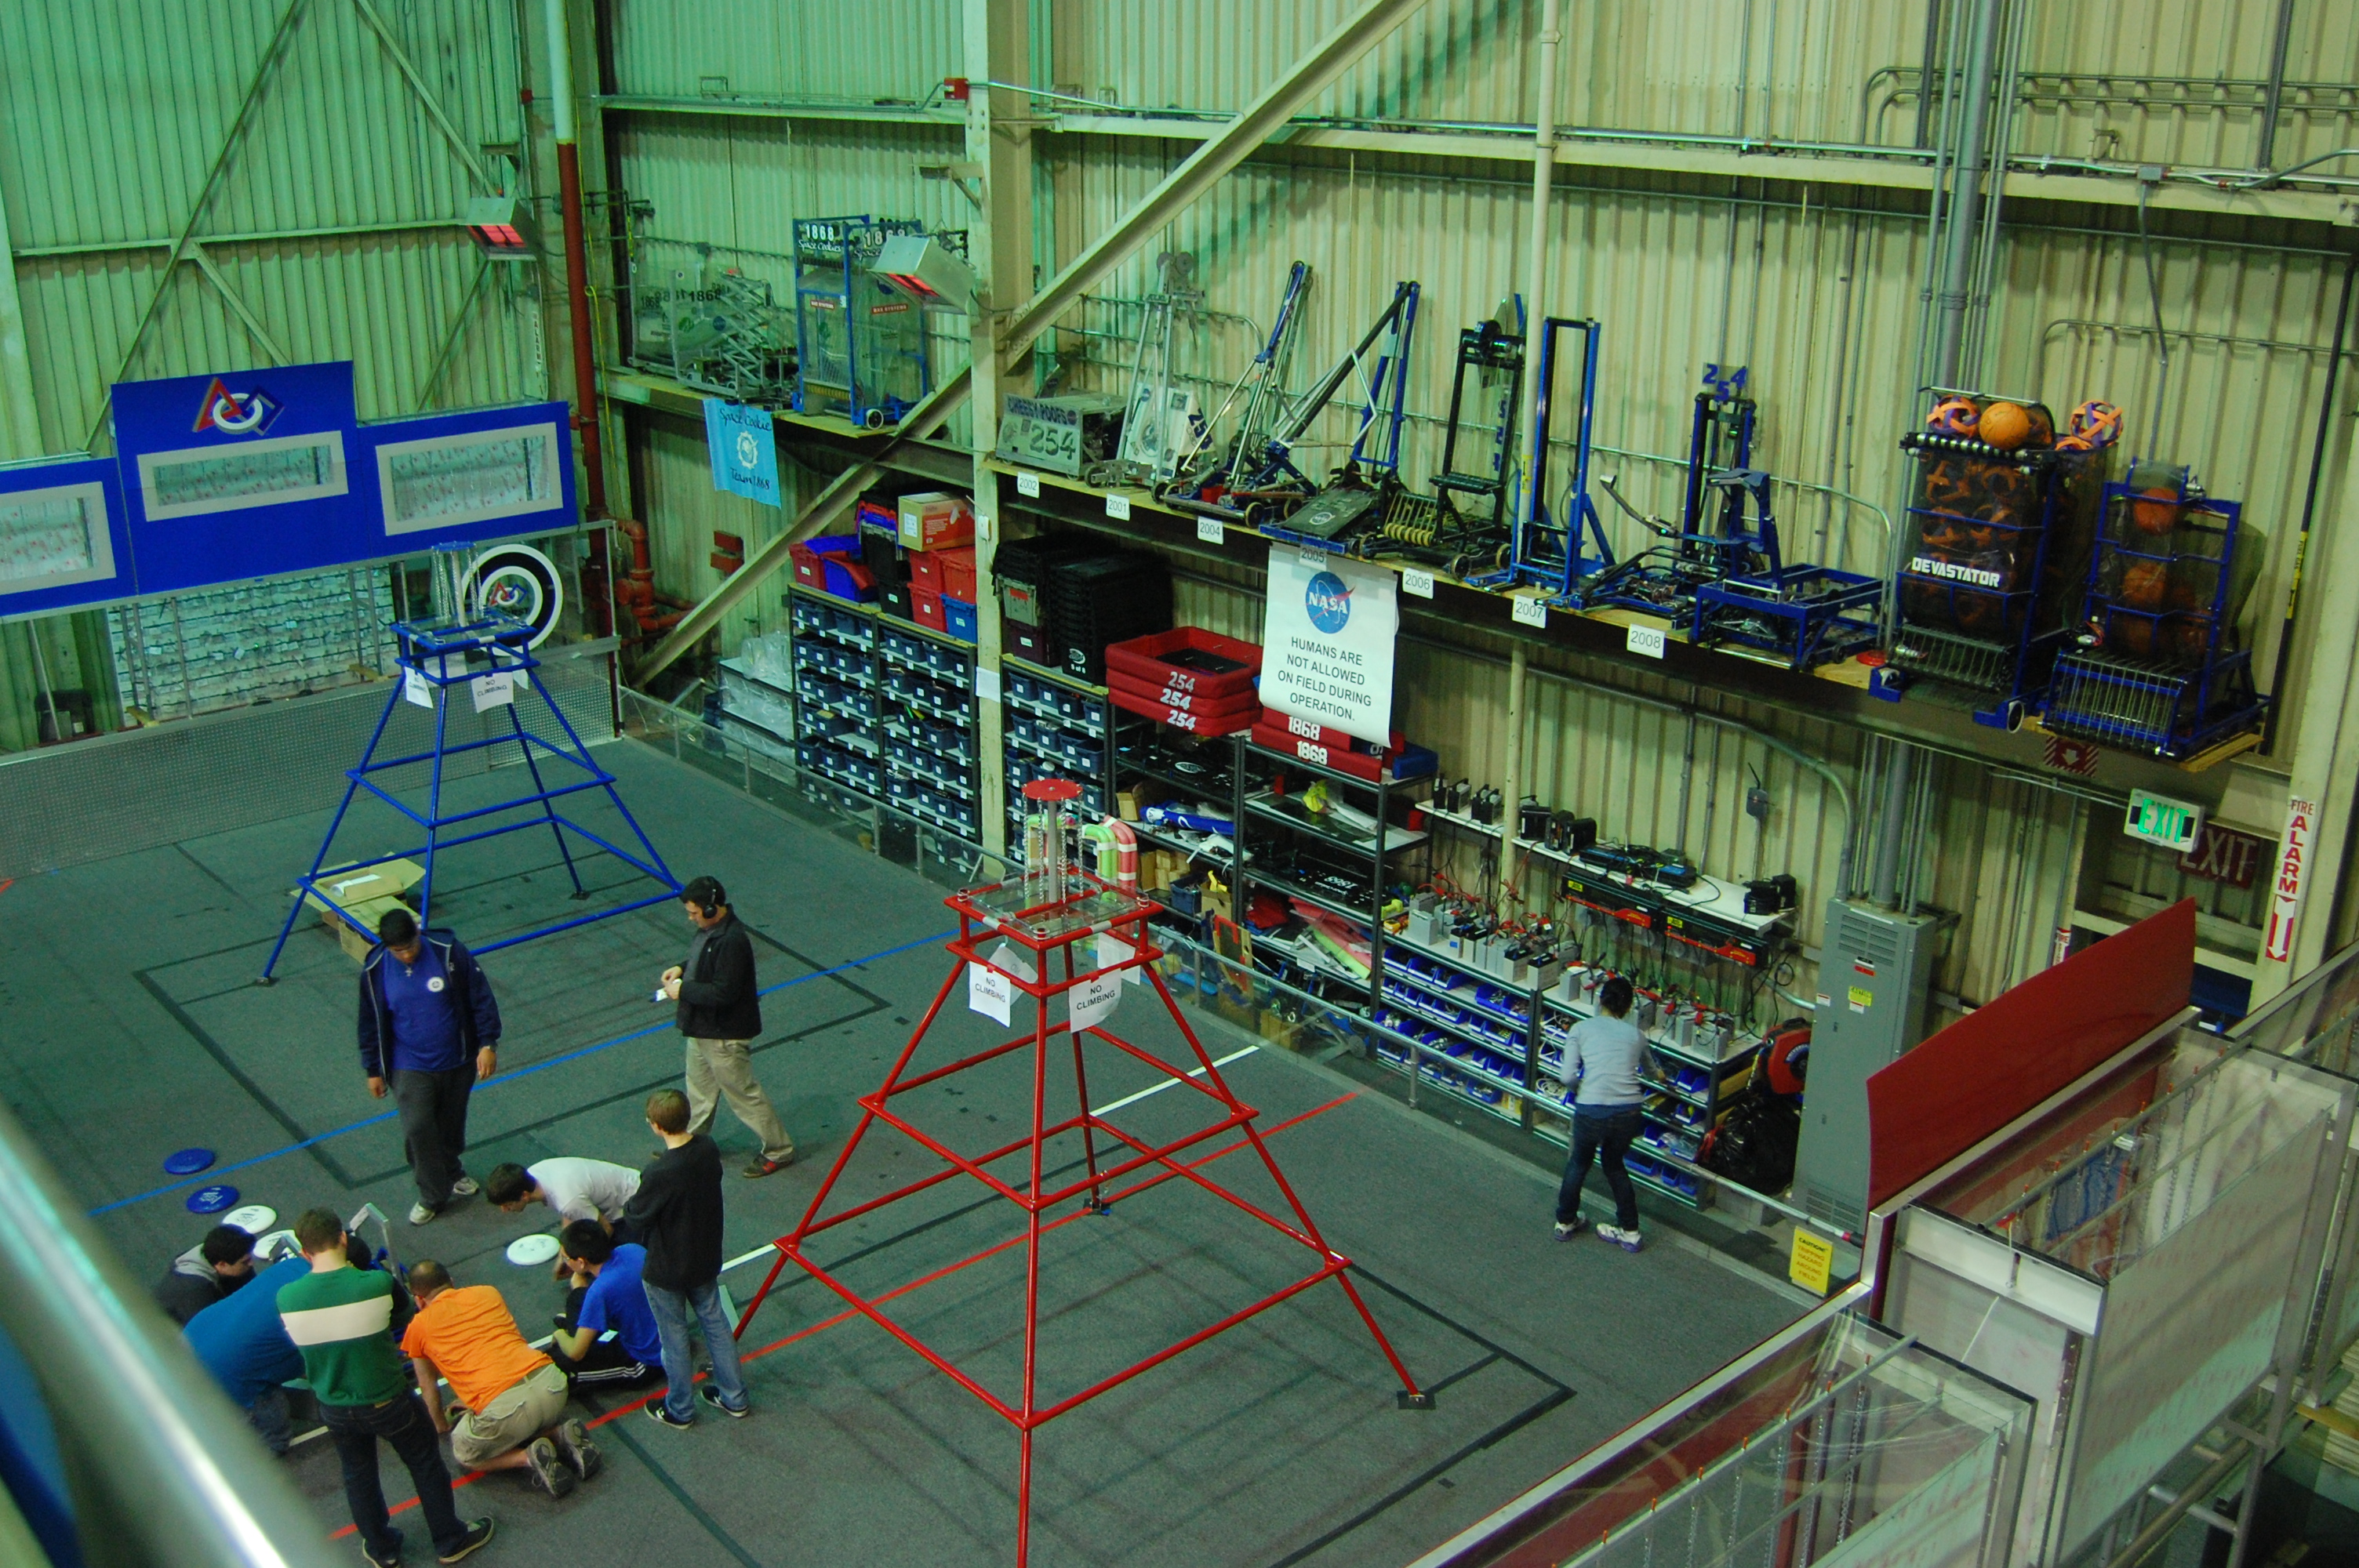
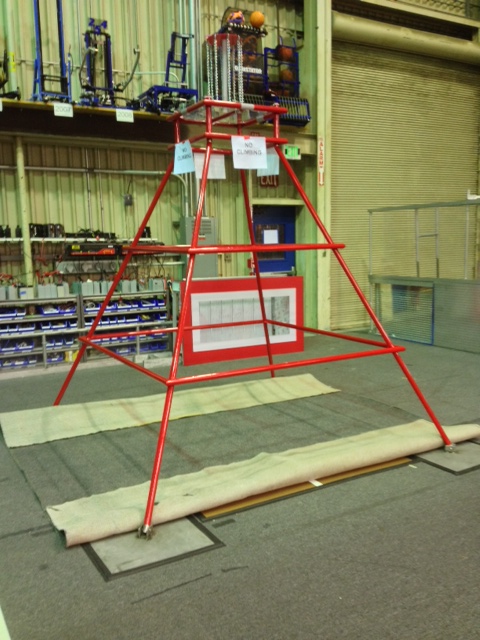
Pre-SVR Day 15: Hanger Assembly
Hanger
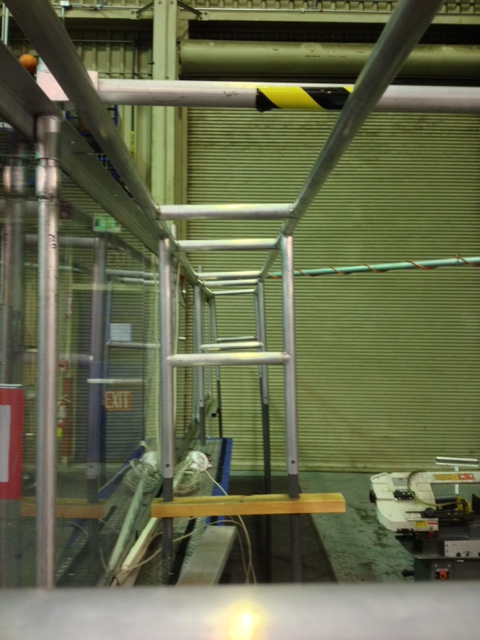
The highlight of today was beginning assembly of the hangers for the competition robot. We plan to finish fully assembling these soon. We are constructing 3 identical hanger assemblies so as to have one extra.
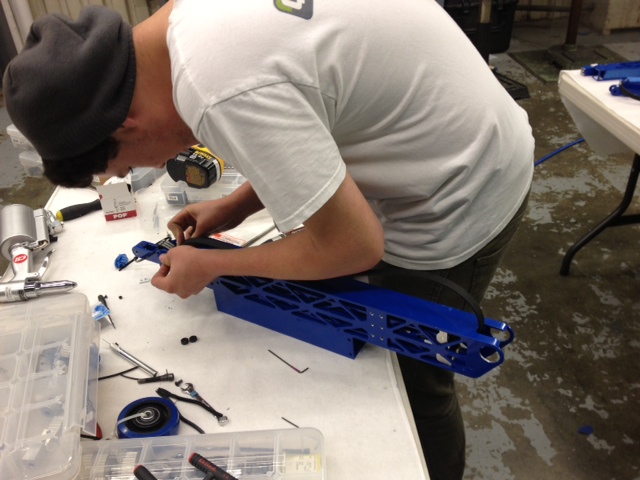
Jonathan Lee working to assemble the hanger.
Machining
We also made some new parts for the level one hanger on the CNC. This will soon be sent for powercoating The pocketed first stage parts are significantly lighter than they previously were. They also look quite pretty.
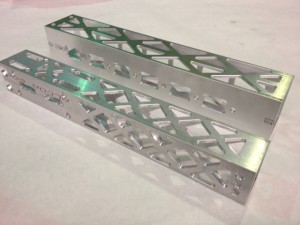
Some cool new parts for the level one hanger.
SVR Preparations
Students also worked on organizing supplies, tools, and equipment for SVR. The new clear bin system will make the pit significantly cleaner and easier to work in. We love organization (thanks T-Dog).
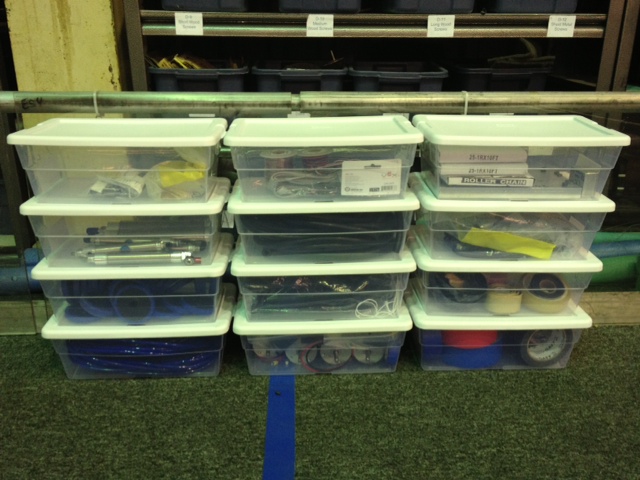
Supplies are packed and ready to go.
Programming
The programmers worked on fine tuning all of the autonomous modes: five-disc, four-disc, seven-disc, and center-disc. With a lot of tweaking, the consistency of the various autonomous sequences have improved greatly. However, late into the night, a shifting dog on the left gearbox of the drive train was completely shattered (yet again). As a result, the robot’s left drive won’t work until the dog is replaced.
Lab closing time: 2:00 AM
Pre-SVR Day 11: Intake Redesign
Intake
The team is currently working on redesigning the intake to intake discs more effectively. There are multiple issues with the current iteration, such as stacking when intaking multiple discs. As of now, students are experimenting by attaching two small Banebots wheels in the front roller shaft. In addition, they have added a polycarbonate ramp that slants upward into the robot. Once the intake is fully designed and works reliably, the programmers can test their autonomous modes.
Shooter
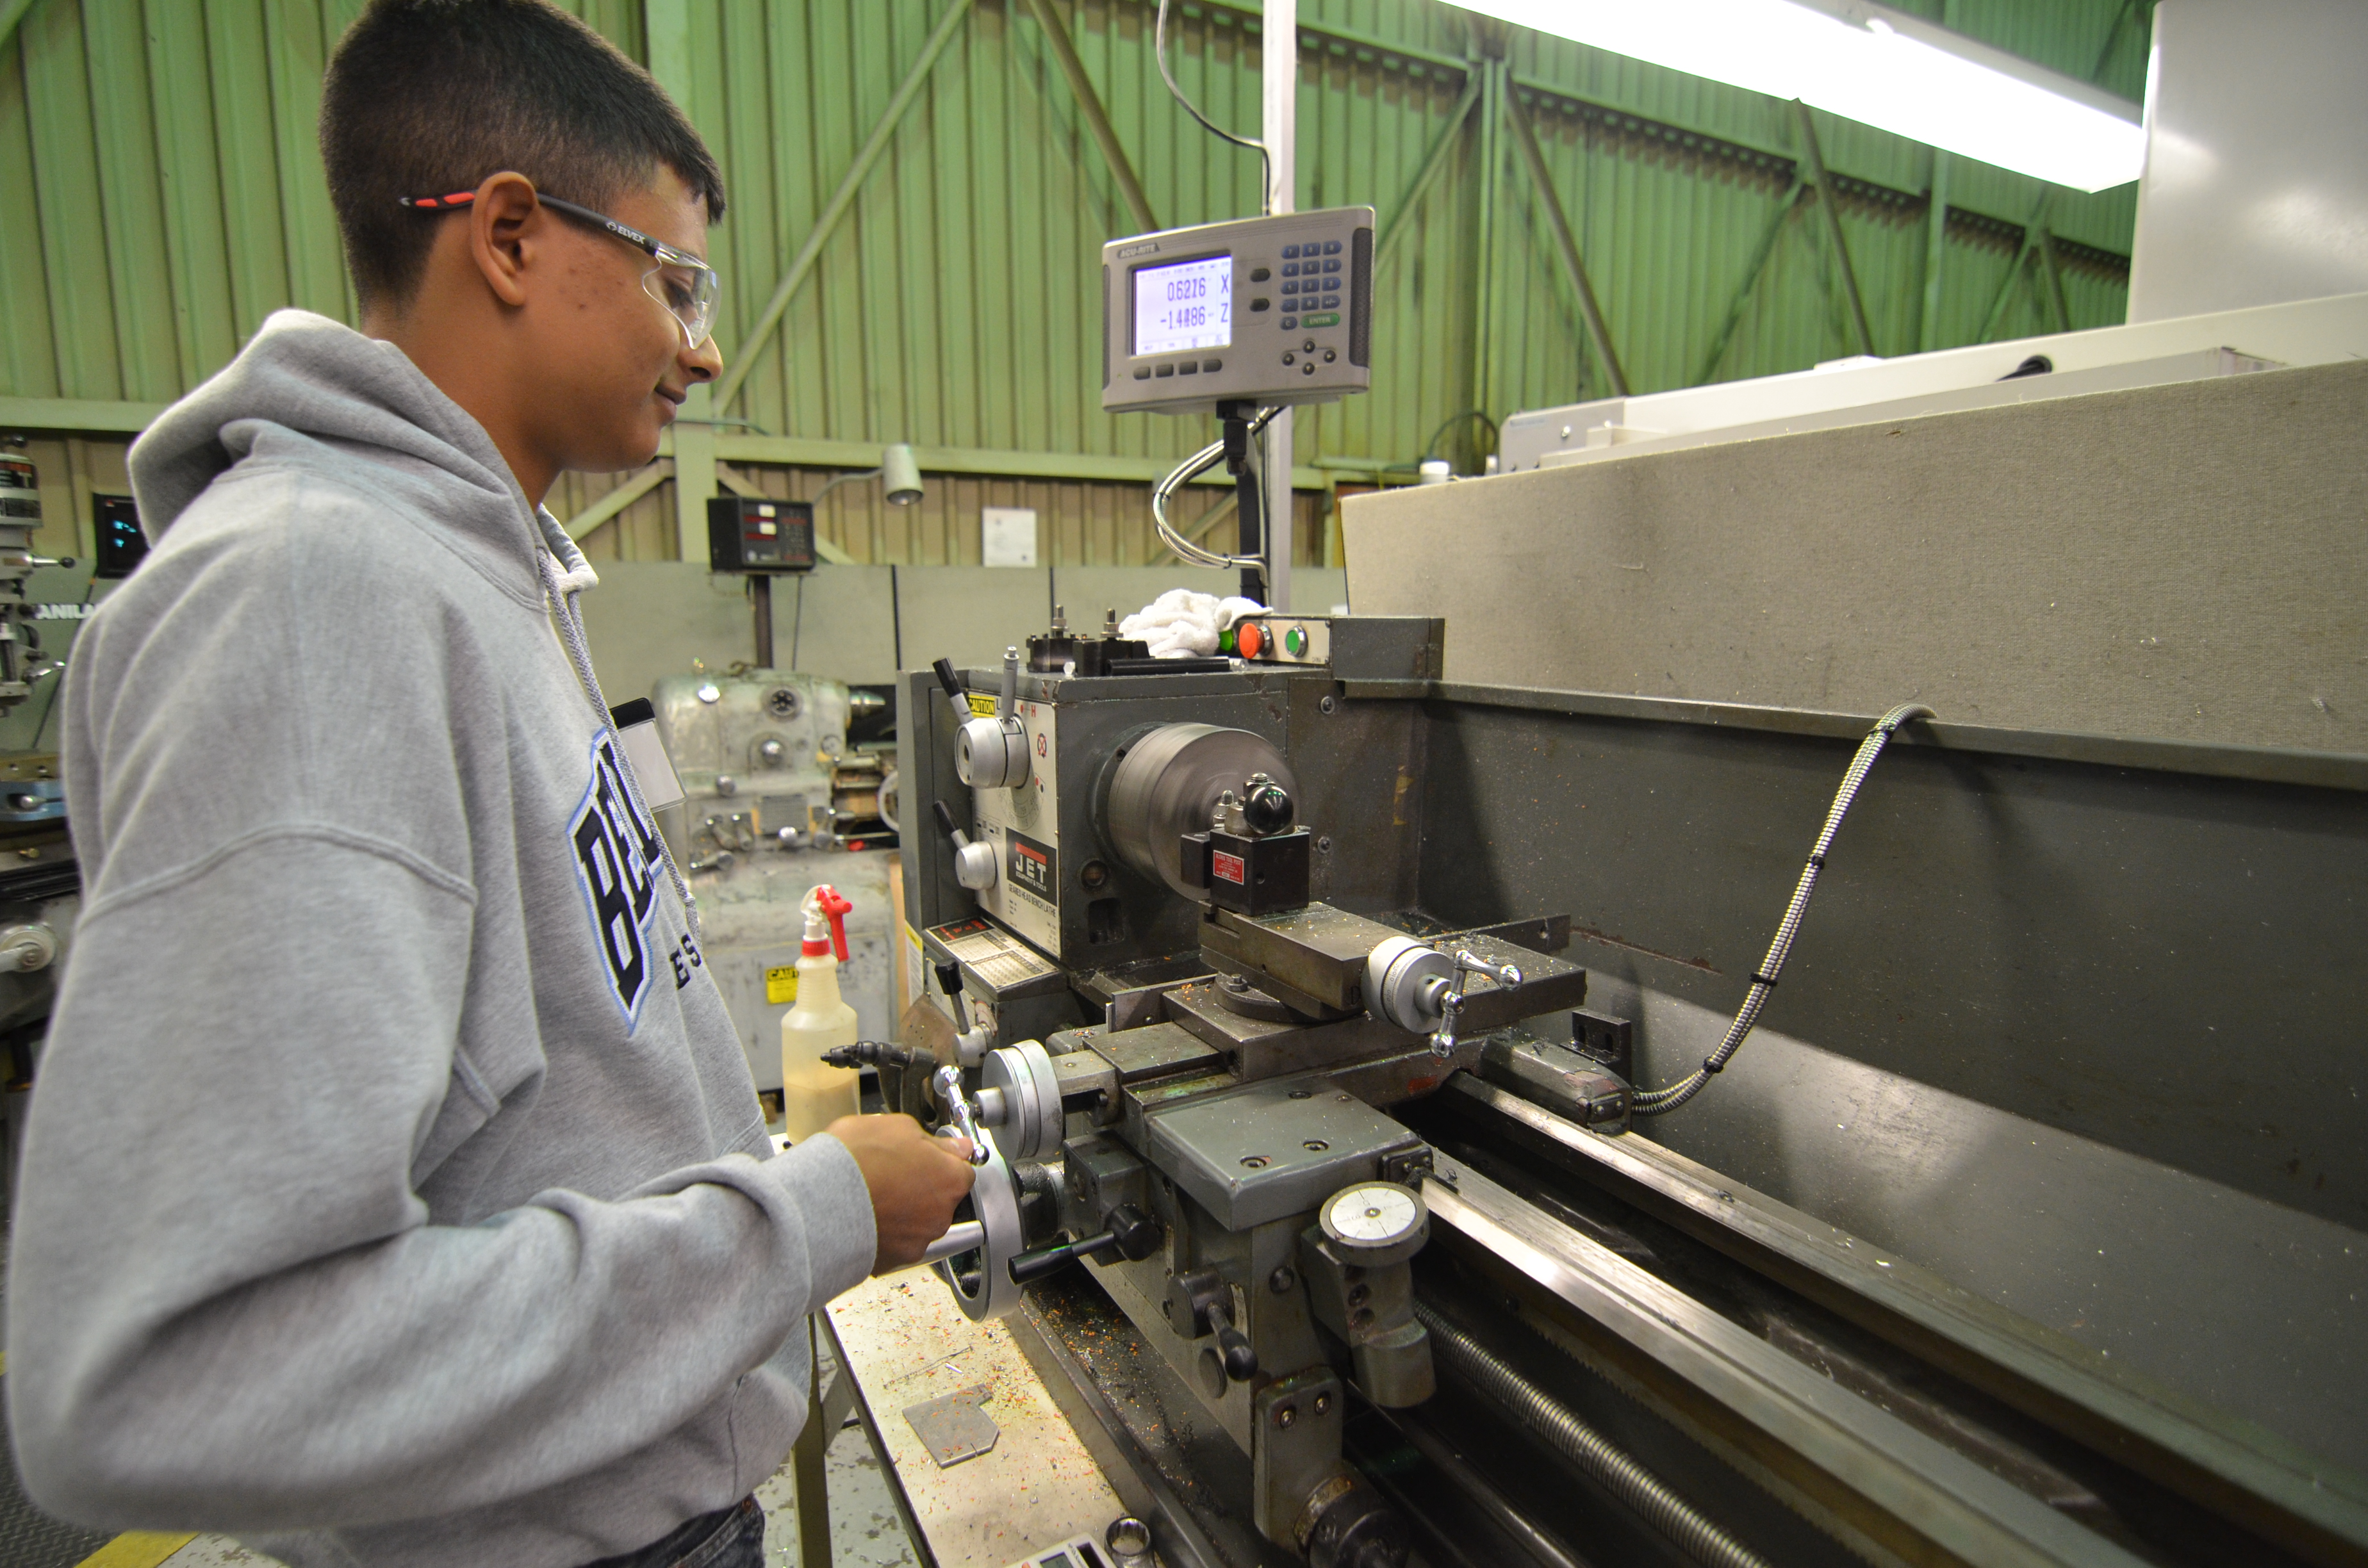
The shooter is currently under construction, and removed from the robot. Students manufactured more parts for the shooter. For instance, they created shafts using the lathe and bandsaw.
Programming
The programmers continued to fine-tune and modify the seven-disc autonomous sequence. Specifically, they made adjustments to the robot's driving and intaking. Since the shooter is currently detached, no shooting was done or tested.
In other news, the programmers had some connection and network troubles with robot, driver station laptop, and programming laptops. The robot's connection with the driver station occasionally drops for about a second. Additionally, the programmers were unable to FTP to the robot to deploy code while the driver station laptop was connected to the robot. Students and mentors tried to debug the situation for a long time, but were unable to pinpoint the issue. They will look further into the problem in the coming days.
Food
The students also enjoyed some delicious BBQ for dinner, as well as ice cream for a late night delight.
Pre-SVR Day 5: Autonomous Hanging
Hanging
 Today, the programmers focused on making the 30-point hanging fully autonomous. This makes the climber run with a push of a button (specifically, a switch and a button). They started the day off by tuning the PID for the upward hanging by using a square wave to visually see the hanger hooks moving upwards, looking for consistency and accuracy in each cycle. In addition, they used an additional gyro that would measure the pitch and rate of change of pitch to determine when to fully extend the hanger. The programmers also noted the raw encoder ticks for each position of the hanger claws: right underneath the next rung, fully extended above the rung, and fully retracted. With these numbers, a new command was born: AutoHangCommand.
With the current delay logic, the team was able to get around 8.3 to 8.5 seconds per fully autonomous climb. Though fast, the duration of the climb can be shortened and optimized by adjusting the logic. Below is a video of a faster climb:
Tune-Ups
 In order to optimize and fix the seven-disc autonomous sequence, the team worked on testing the intake and indexer so that they are reliable enough to use for autonomous. However, the team is currently investigating problems with the shooter. They believe that the bearings need to be replaced.
Autonomous Tuning
Manufacturing
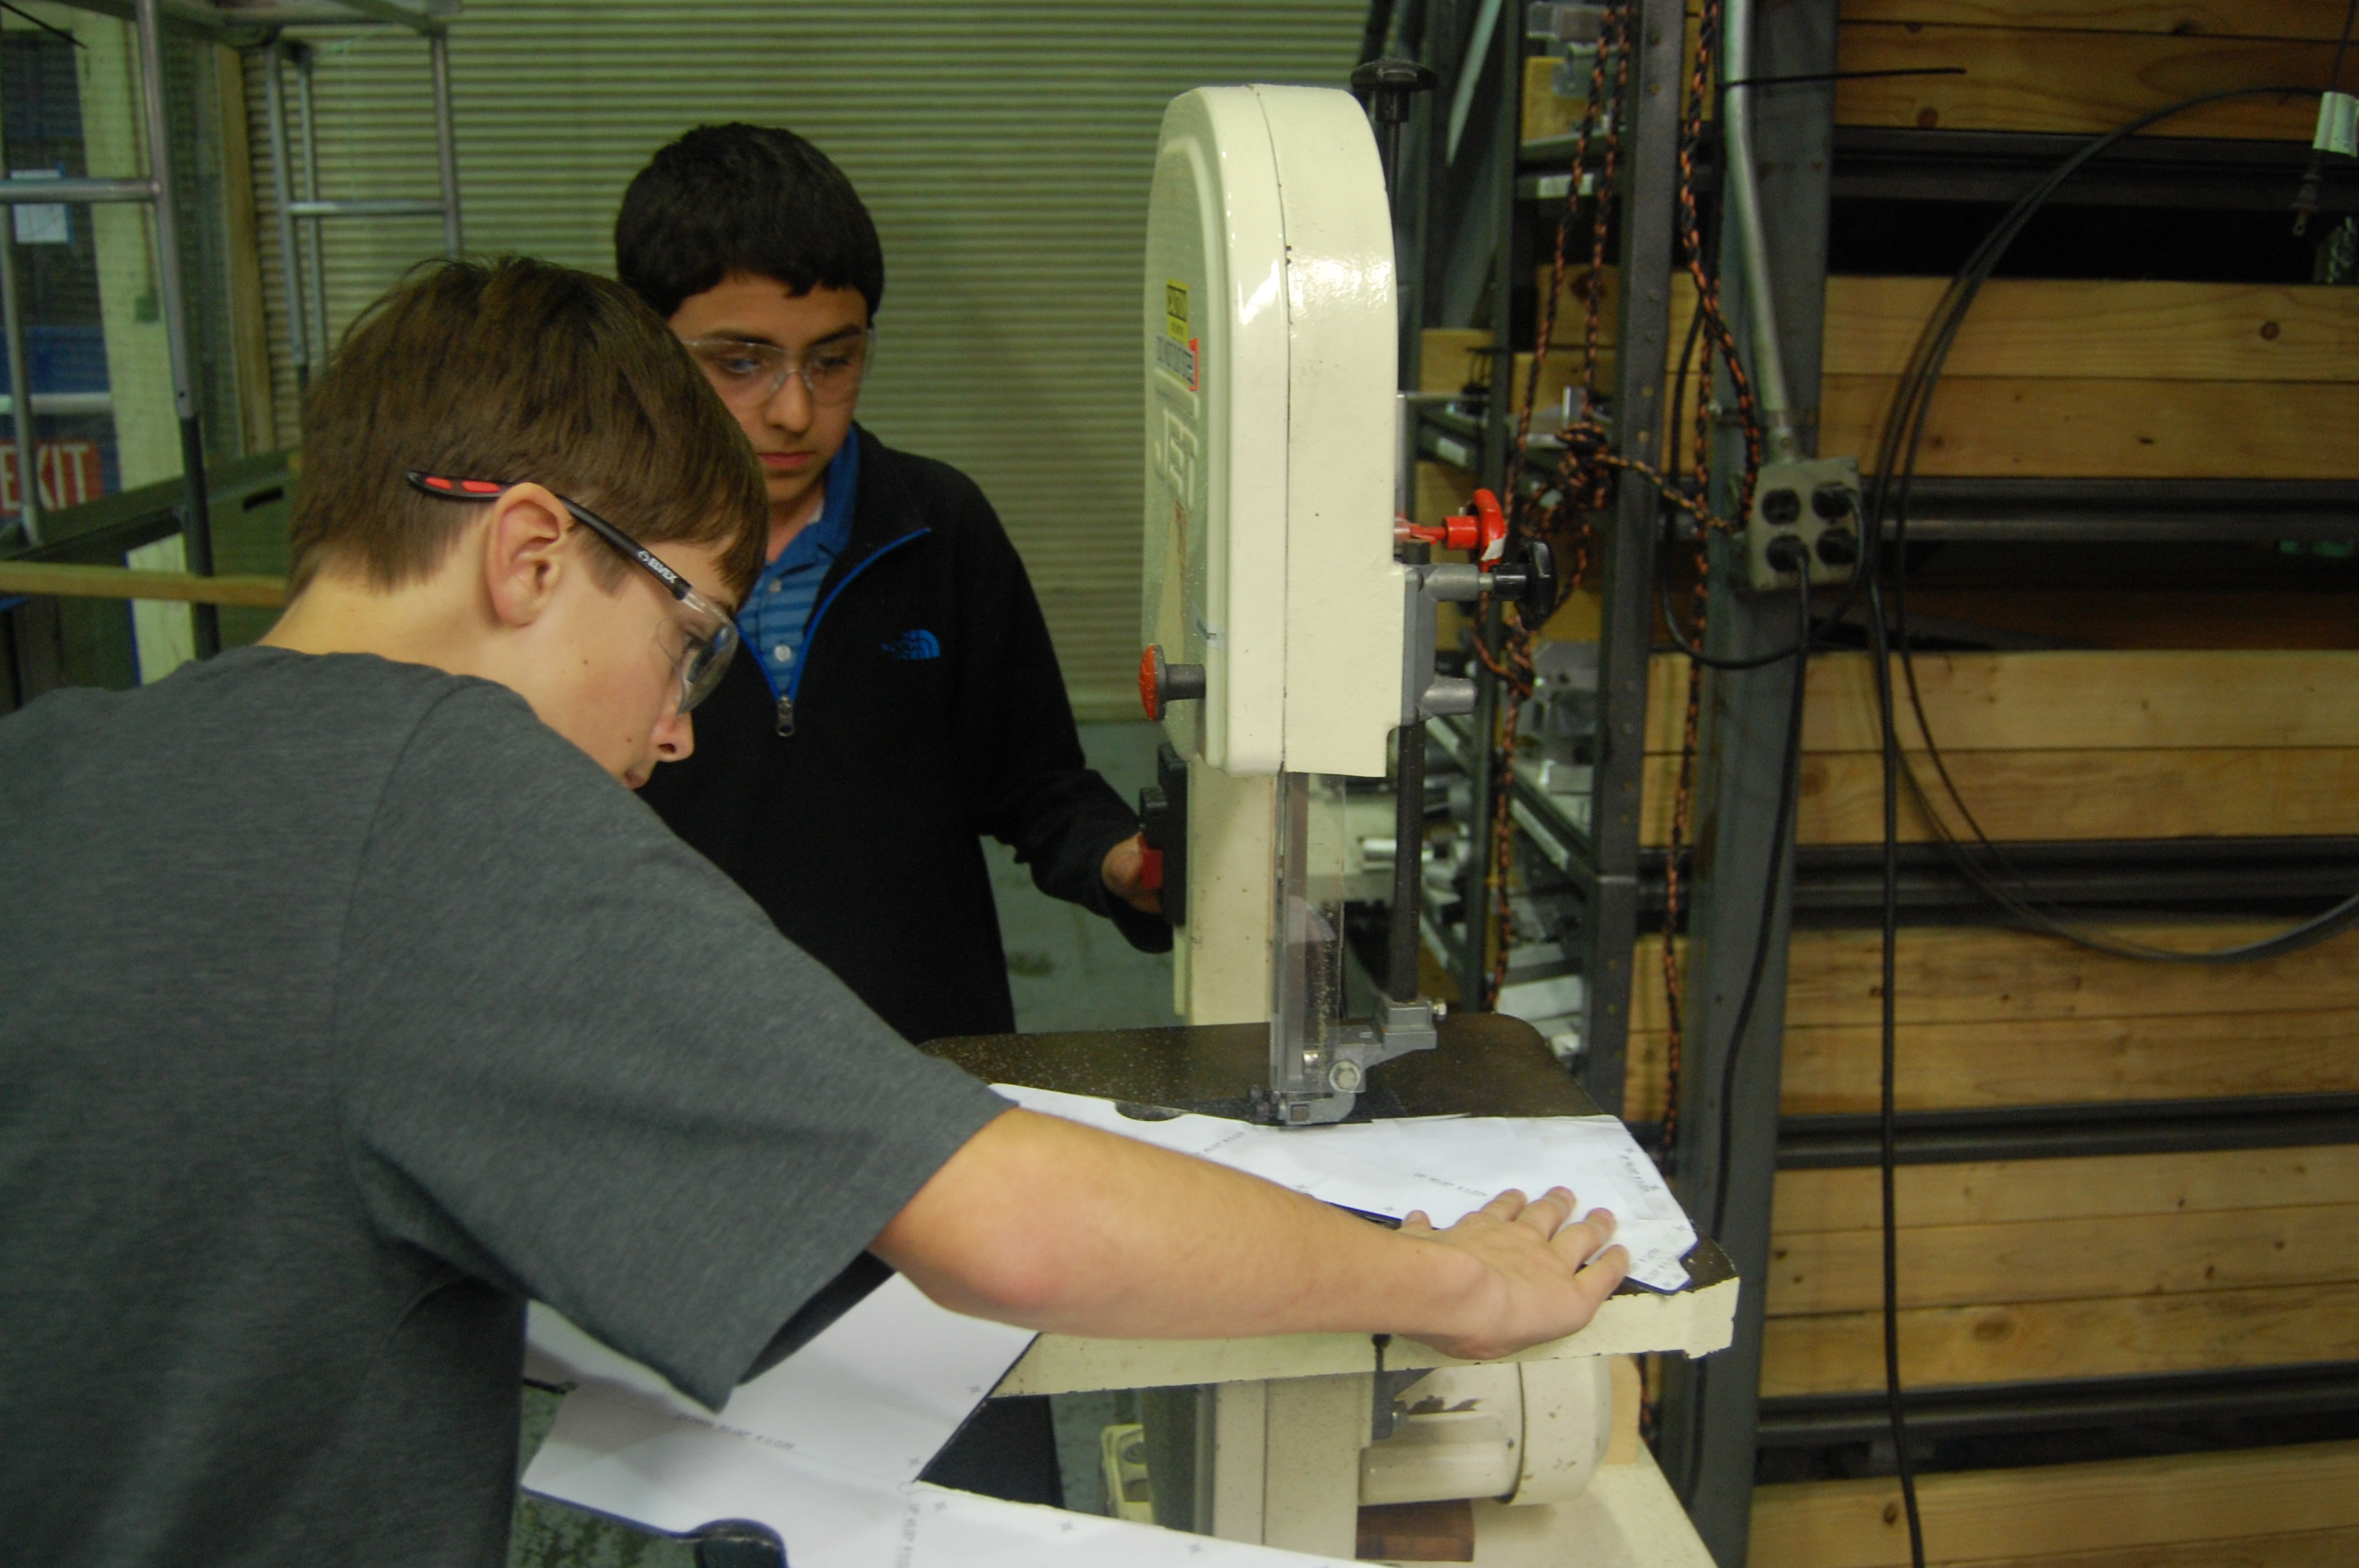
Students manufactured the polycarbonate flaps for the indexer using the vertical bandsaw, among other miscellaneous parts.
Programming
Today, the programmers did a lot of fine-tuning and testing with the various autonomous sequences. The seven, five, and four disc autonomous modes were further refined. The programmers tweaked the distances, powers, and a couple other factors of the drive and shooter. In the end, they were able to have a consistent 7, 5, and 4 disc autonomous. They played around with seven-disc autonomous sequence’s speeds and distances to get it under the fifteen second time limit.
Meanwhile, the programmers started work on a new autonomous mode that would start out by one of the pyramid’s back corners, shoot three discs, drive backwards and turn at an angle to align with the center line, pick up two center line discs, drive to the back of the pyramid with the first-stage hangers extended, and then shoot those three discs.
Action Items
- Pack for San Diego
- Center line autonomous testing
- Driver practice
Lab closing time for the night was 2:00 AM
Driver Practice and Machining
Machining
Students worked on manufacturing the official robot stands. They used the metal pieces from the previous robot stand, but cut those pieces to length using the horizontal bandsaw. They also drilled new holes into the metal with the mill.
Meanwhile, Cory created wheels on the CNC.
Driver Practice
Abhi and Chris (this year’s primary driver and operator) had a bit of practice time today. They drove around the field, picked up frisbees, indexed them into the shooter, and shot them. Currently, there is still an issue with multiple frisbees stacking in the back of the conveyor, even with the horizonal cross bar.
Robot Updates
The team attempted to replace the conveyor CIM motor with a VEXpro planetary gearbox (4:1) to reduce the robot’s overall weight. However, during extensive driver practice, the gearbox started emitting smoke. Students promptly removed the planetary gearbox and replaced it back with the CIM motor.
Elsewhere, the robot was re-weighed on the digital scale with all the changes so far. However, the robot is still around 7 pounds overweight (counting the hanger, hooks, and polycarbonate side plates).
Programming
The programmers re-assigned and re-mapped certain buttons on the operator’s side of the control board. The right four buttons are now going to be shooter speed & angle presets (back/front of pyramid, full/low speed). The two buttons to the left of those will be the shoot button and the manual shooter angle button. In addition, the programmers cleaned up the code and made it comply with the style guide.
Action Items
- Fix intake
Lab closing time for the night was super late.
Autonomous Testing
 Assembly & Adjustments
Students performed adjustments and enhancements all over the practice robot today, all in preparation for the team’s first regional of the season at San Diego in a little less than two weeks. For instance, they replaced the indexer polycarbonate flap with a new one.
Miscellaneous enhancements and adjustments
Students continued to assemble the hanger mechanisms today, including tensioning of the timing belts.
Meanwhile, the team tested most of the subsystems of the robot in conjunction by intaking frisbees from the ground, transferring them through the conveyor and up into the shooter, then shooting them
Programming
Today, the programmers tested out a brand new seven-disc autonomous sequence. It utilizes an infrared sensor in the conveyor to tell the robot to index the next frisbee. Although they have yet to test the autonomous mode with actual frisbees, implement the shooter angle adjustment, and tune the intake position, it runs fairly well and quickly (right under 15 seconds).
Earlier in the day, there was a lot of debugging going on because the drive encoder values weren’t getting updated. After a while of fixing the wiring and removing some negative signs, the programmers were finally able to test their auto modes.
The students are also working on a five-disc autonomous mode that shoots three preloads, then picks up and shoots two frisbees under the pyramid.
Testing out the autonomous modes
- Continue assembly of hangers
- Continue work on autonomous modes and general tuning
Day #37: Continued Conveyor Assembly
Robot Assembly
Students continued assembly of the conveyor system for the competition robot. They added the BBDs and their shafts, and attached the CIM to the conveyor.
Some students took a trip up to Pacific Coast Metals to pick up some anodized parts that were dropped off this morning. These parts will go on various subsystems on the robot, such as the intake attachements and shooter.
Meanwhile, other students continued wiring on the competition robot. Many zipties were used to make the wiring look pretty. Also, a new battery voltage reader was attached to the power distribution board.
Field Assembly
The top goals on each side of the field was further secured. This is to fasten the high and middle goals onto its support structures, as well as add some stability to the whole system. In addition, the wrappings of the polycarbonate sheets was removed to reveal the transparency of the goals, all in preparation of the scrimmage this weekend.
Manufacturing
Team members began cutting metal to length on the horizontal band saw, such as some 1/4" diameter rods that will be used on the climbing structure.
Programming
The programmers continued making improvements to the frisbee simulator. They added a feature that would graph the trajectory of the frisbee as it hits the wall of the high goal. Currently, the program is set up such that the frisbee would hit the high goal before it begins to drop back down to the ground. The programmers are currently working on tidying up and making enhancements to the graphical portion of the simulator, such as adding axes and labels to the graph. Once done, the team will share its results with the FIRST community via Chief Delphi.
Action Items
-
Continue machining parts for the climber
-
Lab closing time for the night was… 11:30 AM (Yes, AM)
Day #36: Intake & Conveyor Assembly
Author: Andrew Torrance
Machining & Assembly
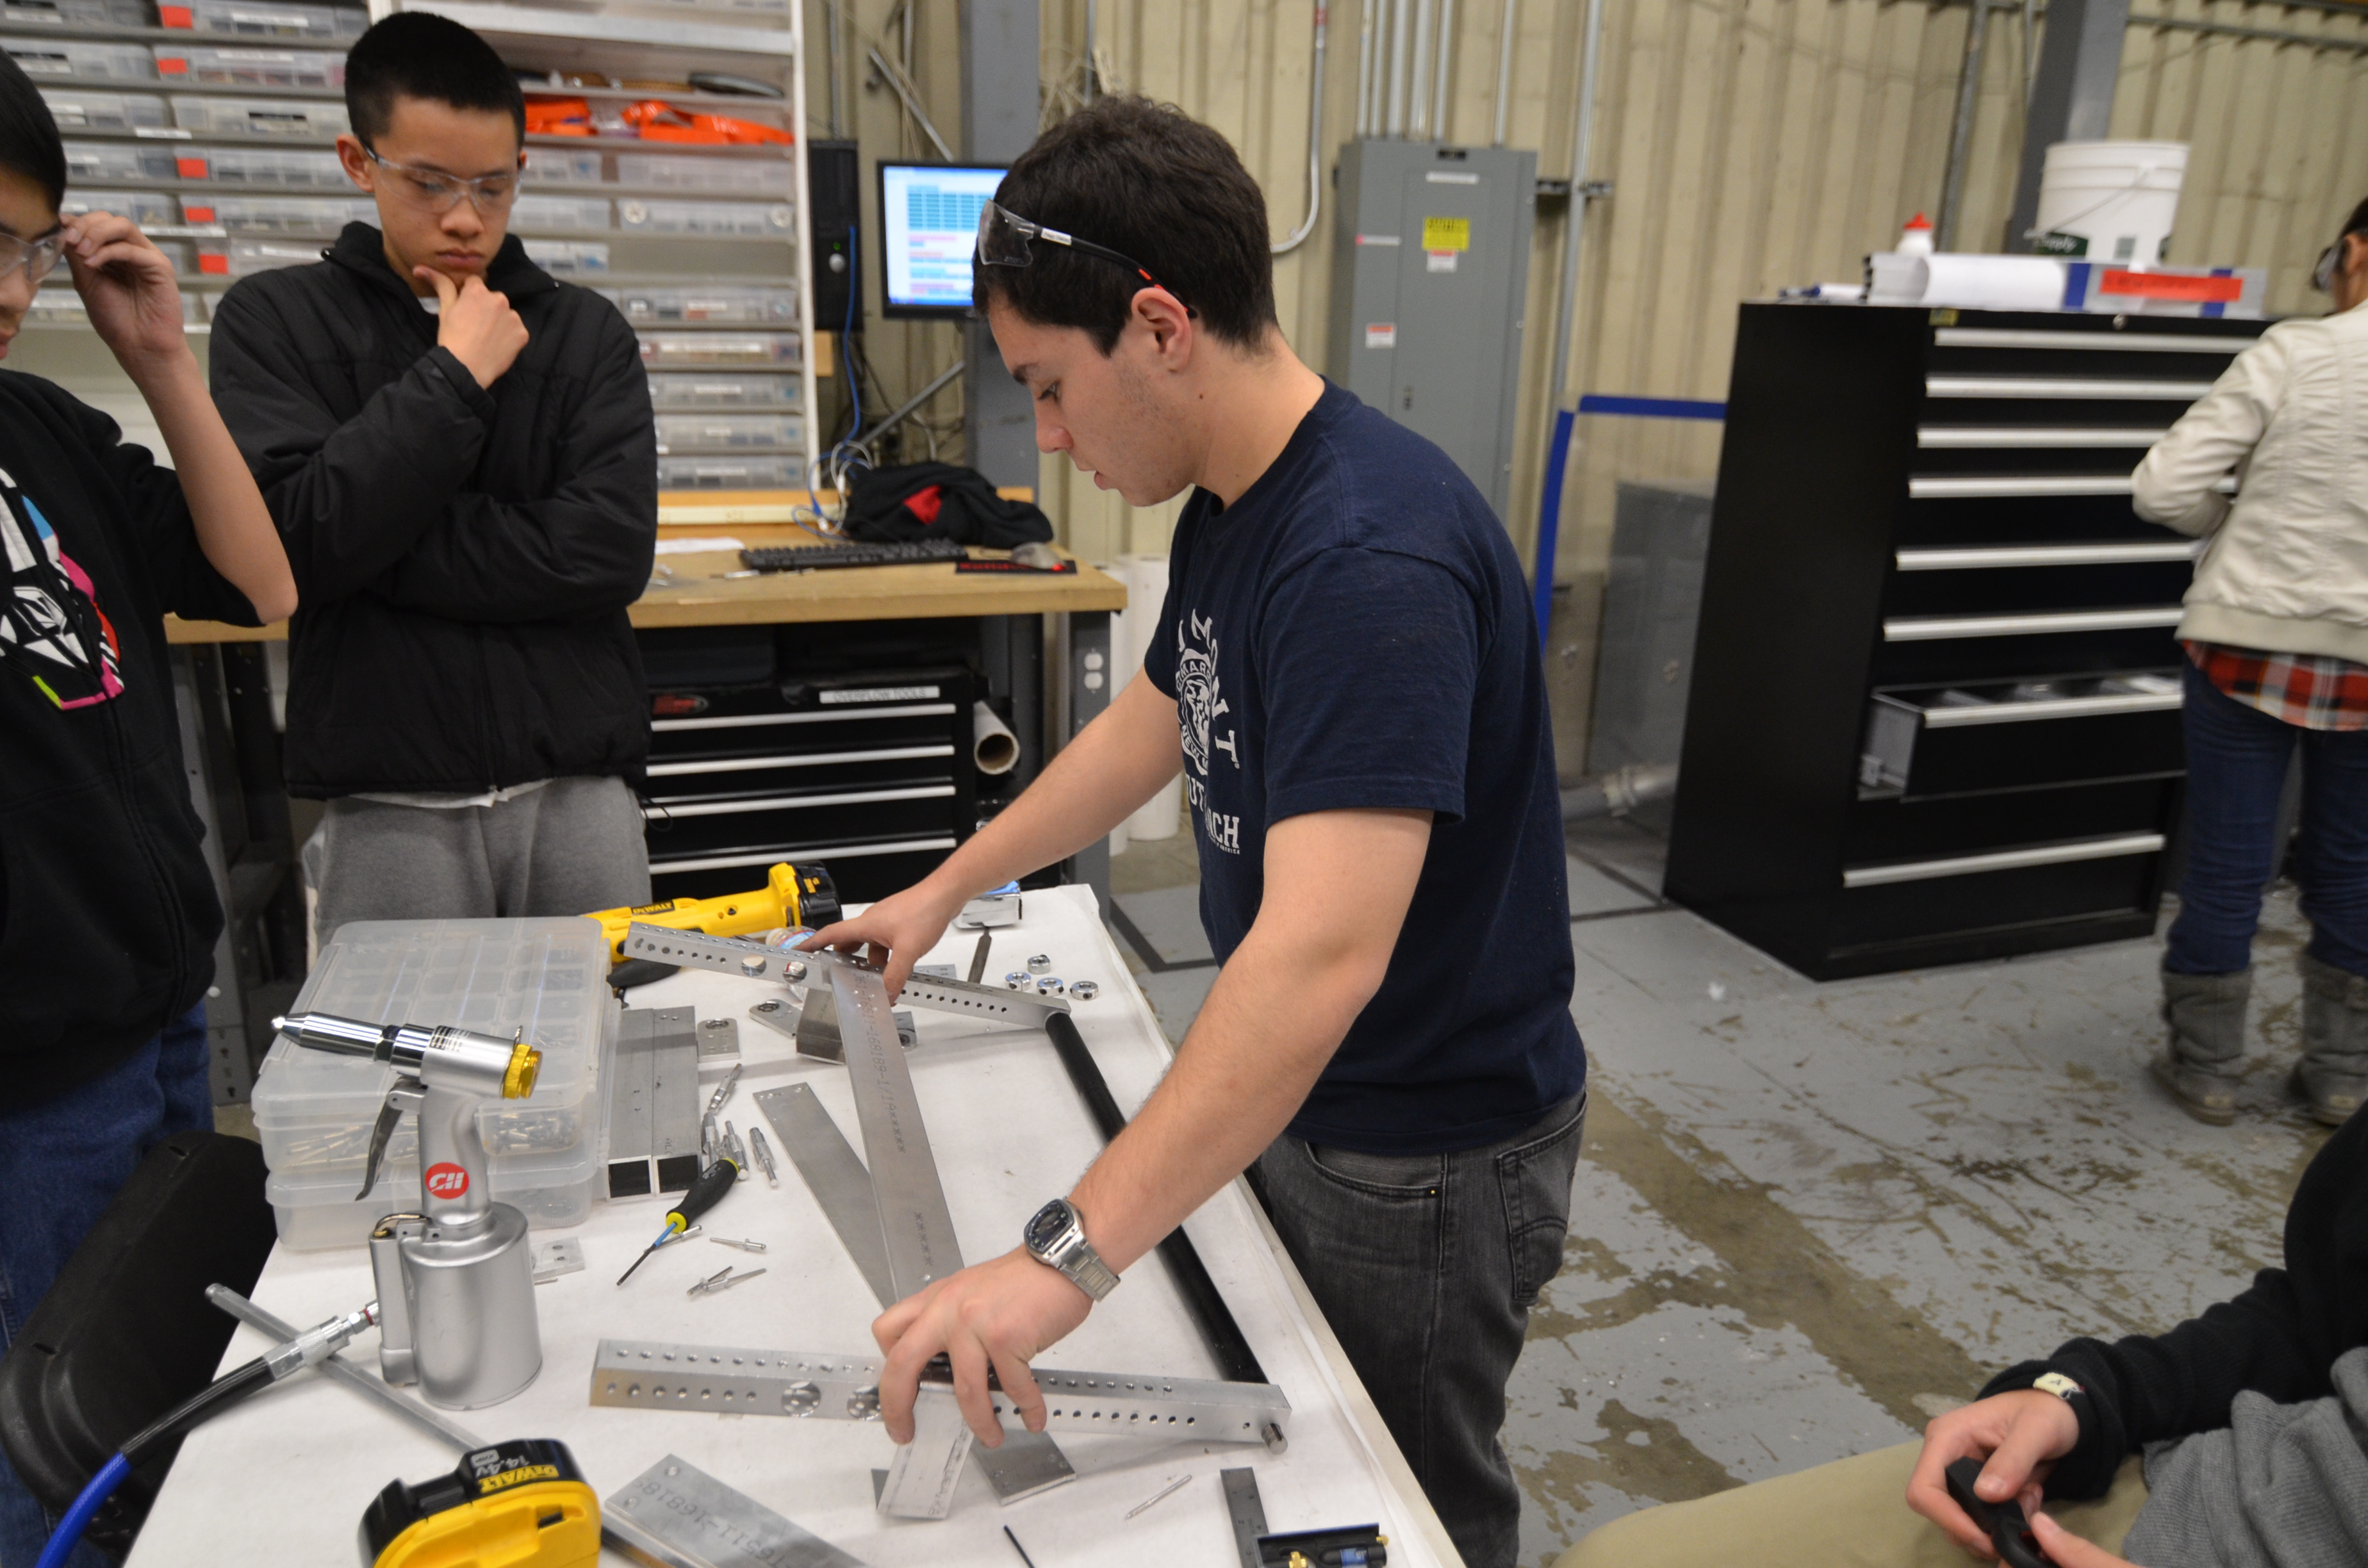
Students and mentors finished assembly of the intake and attached the superstructure frame. With the intake mounted to both the practice and competition robots, students and mentors plan to continue testing and tweaking the intake tonight. Students also put together the conveyor system and attached it to the superstructure of the practice robot. After some quick adjustments and temporary Gaffers tape, the conveyor worked fairly well. However, it was discovered that the side plate of the intake needed to be redesigned to allow for more spacing. In addition, one of the top crossbars of the intake was removed after students discovered that frisbees were getting stuck at a certain spot in the intake. Removing the bar greatly improved the results.
Students machining a polycarbonate plate for the intake
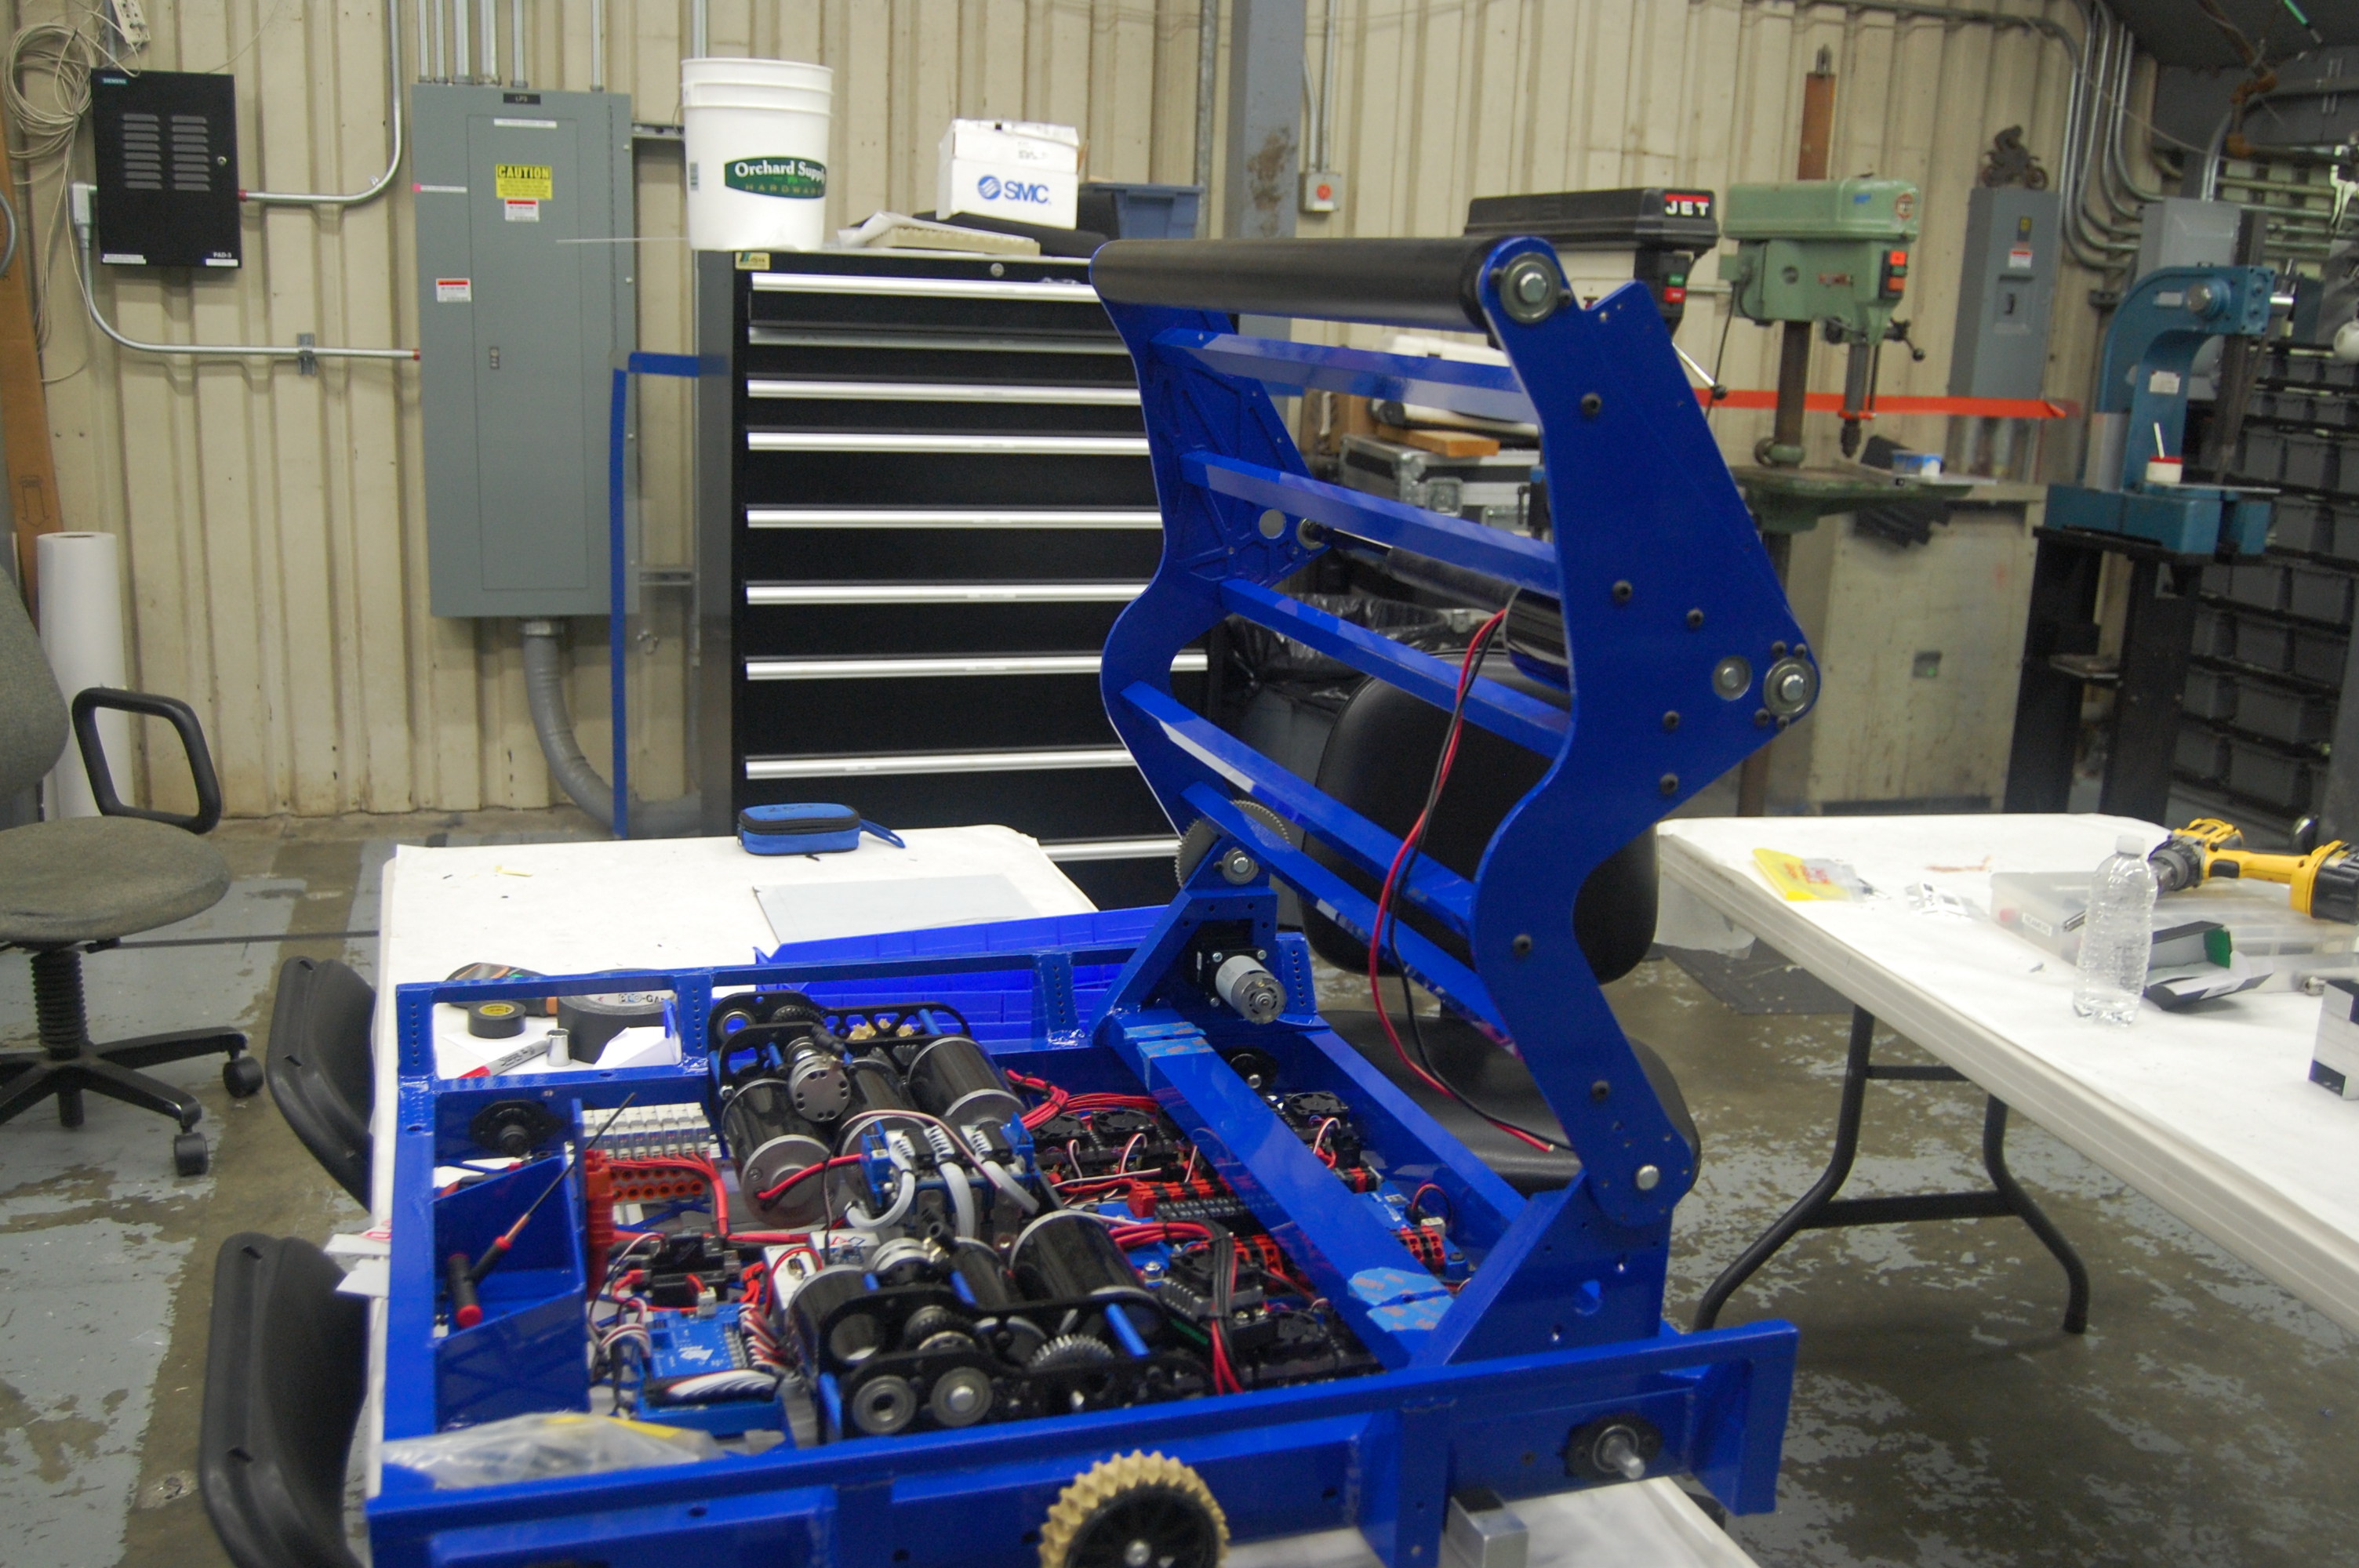
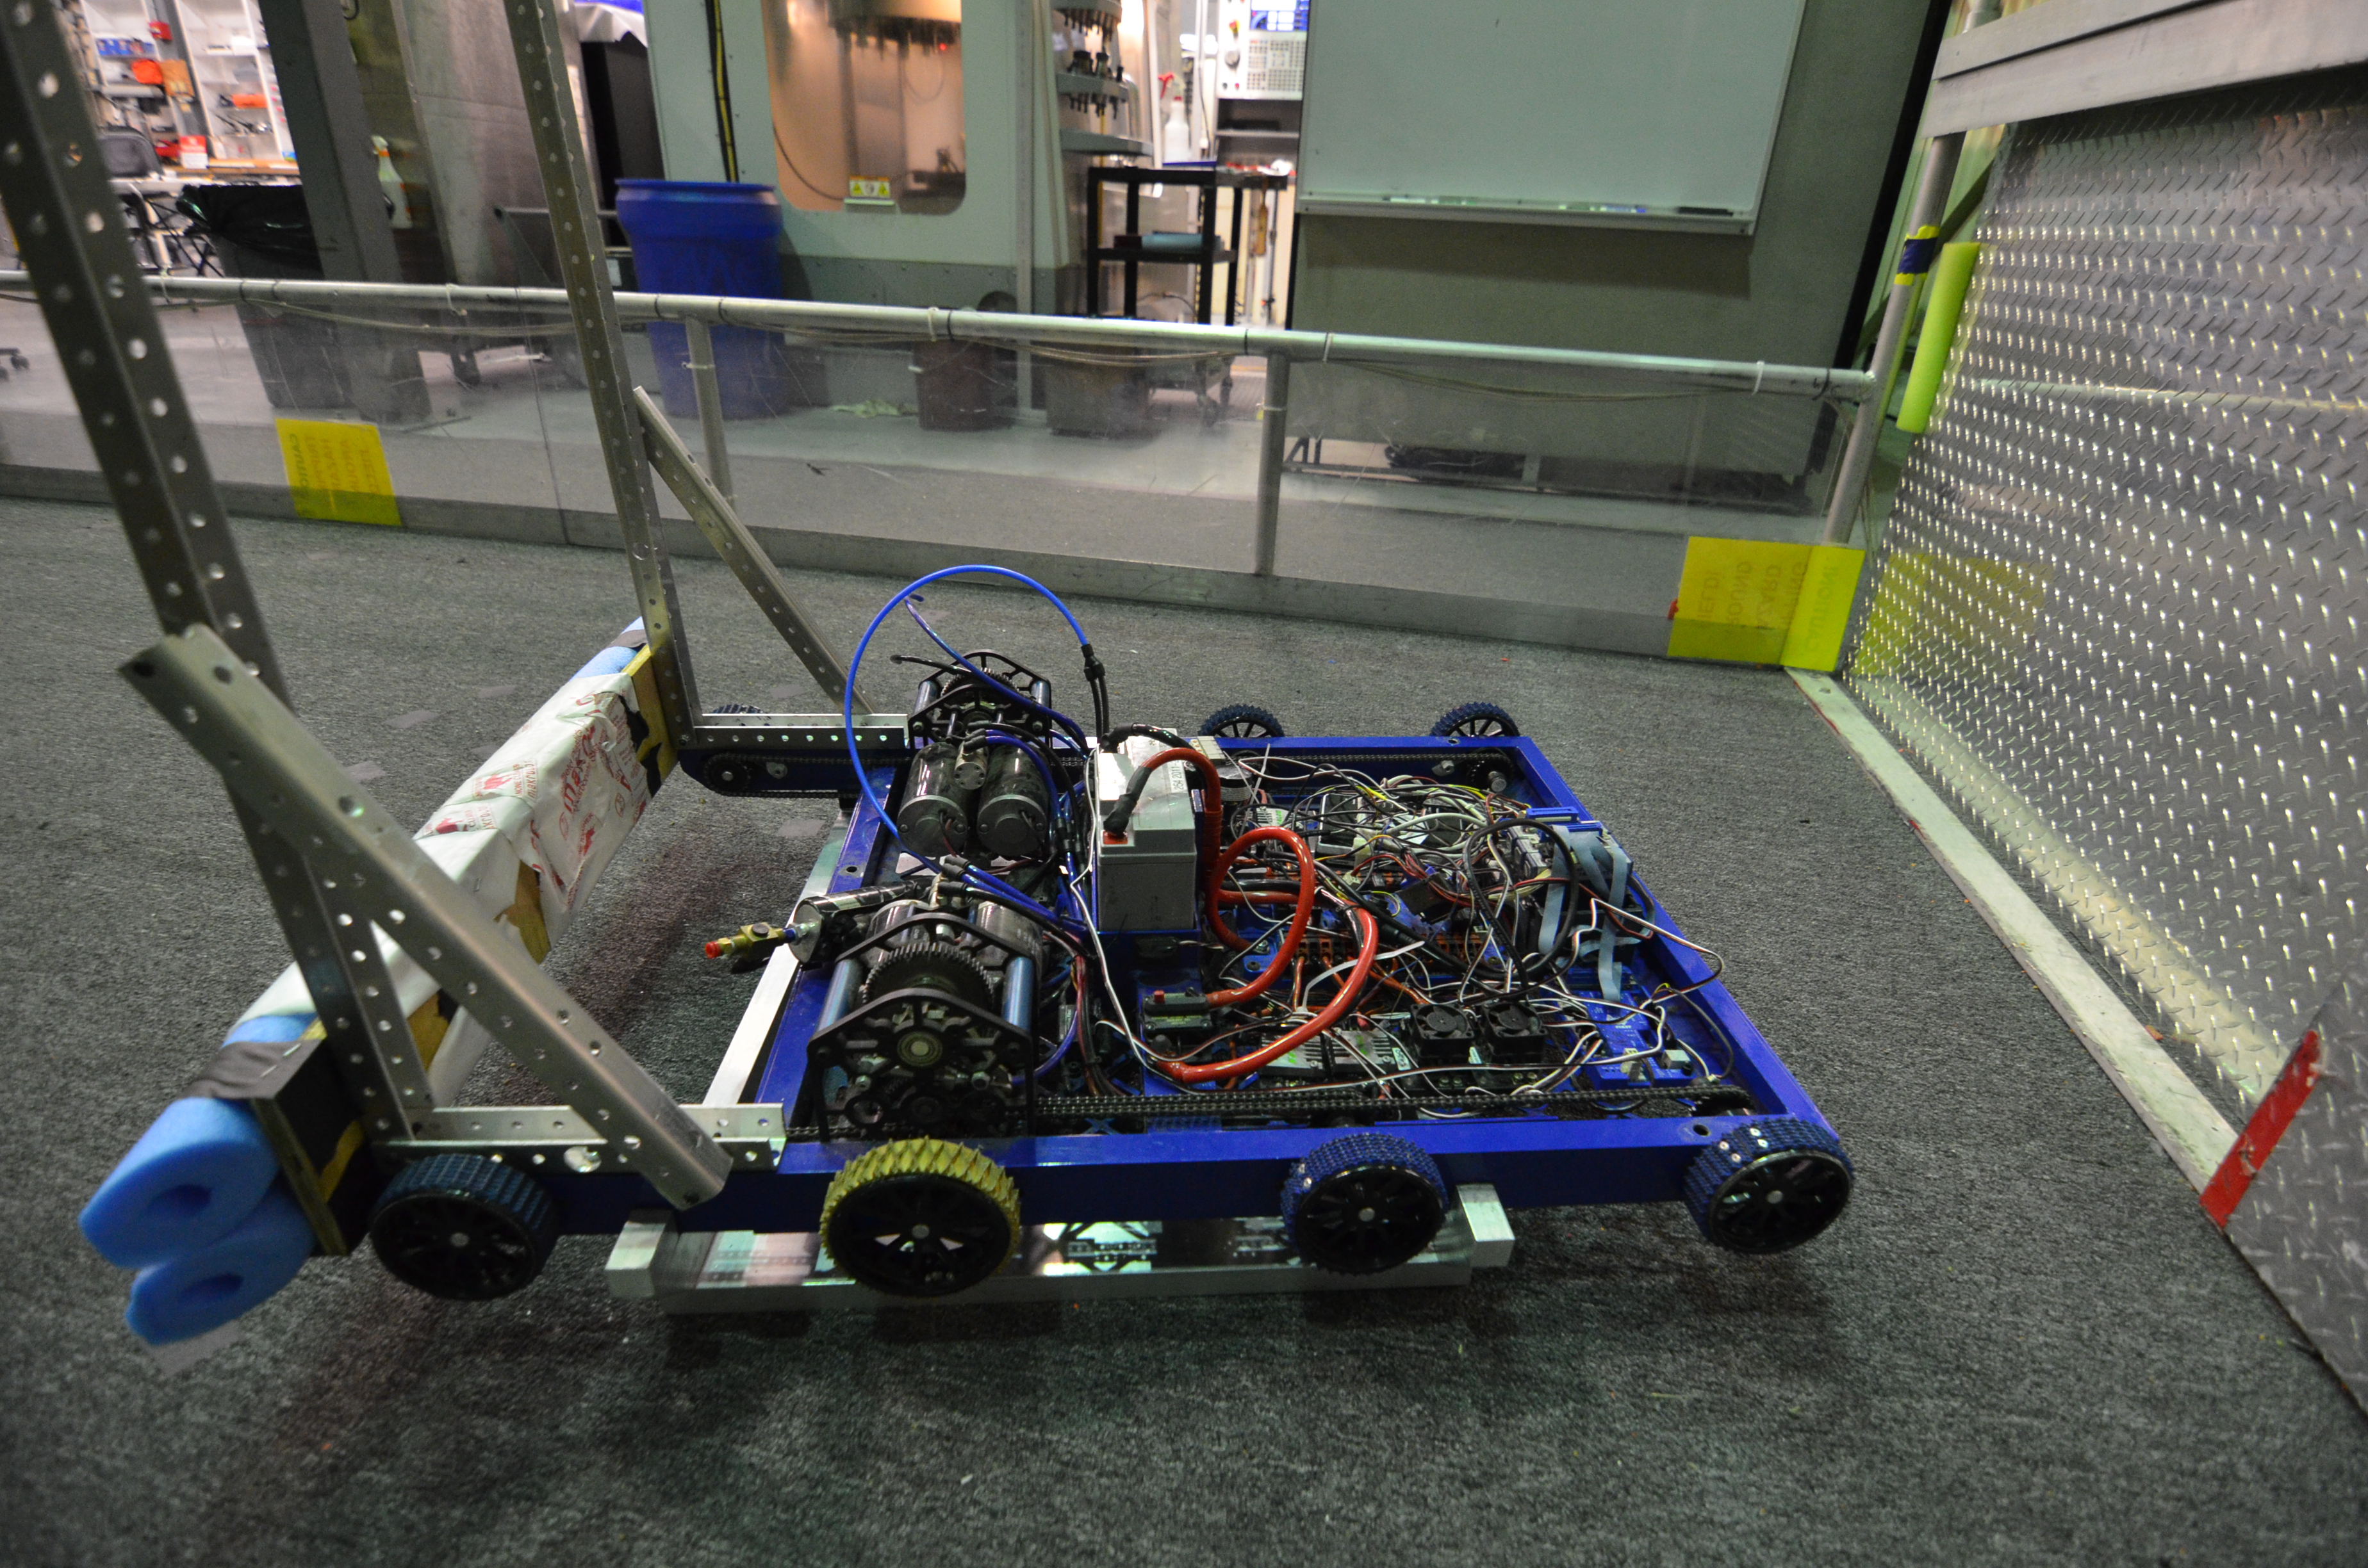
The competition robot in its current form
Testing the mounted intake and conveyor on the practice robot
CAD
Team members continued working on the CAD for the hangar, and are now close to being finalized. With 4 hooks, we plan to be able to climb and hang extremely quickly.
Programming
Students continued work on their Frisbee Thrower Simulator. This will calculate all the possible throws the robot can make from various positions on the field. We then use this data to determine an optimal shooting angle and speed. After approval from the programming mentors, the programmers plan on posting the source code and their results to ChiefDelphi forums to help out other teams.

Programming the simulator, written in Java
Field
Students finished mounting the blue-side Goals, vaccumed the field, and cleaned up miscellaneous parts and tools.
The finished and mostly-cleaned field!
Action Items
-
Continue cleaning field and lab for Scrimmage
-
Continue machining parts and assembling the robot
Lab Closing Time: 6:00 AM
Day #33: Field Assembly and Programming
Field Assembly
Today, students set up the support structures at the two ends of the field to mount the high and medium goals. They finished milling holes into the wooden support blocks and attached them to the metal and PVC pipe frame. The "blue" side of the field's goal frame has been set up and aligned with the center of the blue pyramid on the field. The "red" side's goal frame is almost completely built, but requires alignment.
The red pyramid was positioned on the field today as well. The metal leg plates and the wooden floor plates have been set, but the carpet has not yet been cut and laid down over the pyramid base.
The goal support frames
The aligned red pyramid
Manufacturing
Students continued work on manufacturing the conveyor by cutting shafts to length.
Meanwhile, students stapled and stretched the cordura over the bumper skeleton to make the edges and corners thinner, as well as to place markings on it with tape. They measured and positioned the "254" logo on the bumper fabric by printing out a real-life size of the logo, which will help for embroidering the logo later. Afterwards, the red and blue bumper fabrics were brought to Mrs. DePalmo (a parent of a Team 254 alumnus) for embroidering the numbers onto the cordura.
Conveyor plates began being machined and are half complete.
Programming
Today, the programmers implemented a profiled PID controller for the drive train. Essentially, this lets the robot accelerate at a constant acceleration to a set "peak velocity", then drive at that velocity for a while, then decelerate at that same acceleration. When graphing velocity versus time, the graph looks like a trapezoid. This is useful for driving a set distance without too much overshooting.
In addition, the programmers wrote up a PID tuner that would send data from the robot via TCP (instead of UDP). As discovered before, UDP is not supported by the cRIO's JVM, so the students rewrote the code accordingly. When completed, the robot can send values such as current distance, target distance, etc. to a web browser, which can then graph the values. This would be useful later for PID tuning the drive, turn, shooter, and other subsystems. The sending method has not yet been tested.
Testing the profiled PID controller on the drive
Driver Practice
The team's driver got a bit of practice time today. Abhi Kumar, this year's primary driver, practiced navigating around the legs of the assembled pyramids. At first, the robot was in "low gear" and was making turns with a substantially large radius. However, with a flip of a switch on the turning joystick, the robot switched over to high gear, which was more sensitive and offered a much lower turn radius.
Action Items
-
Lay carpet over red pyramid base
-
Continue manufacturing of conveyor
Lab closing time for the night was: 4:30 AM
Day #30: Driver Practice and Field Teardown
Field Teardown
Today, students helped to tear down the team-built game elements on the field in anticipation of the arrival of official game elements. The high goal, pyramid, its top goal, the feeder station, and all prototypes (shooter, intake, indexer, conveyor) were taken apart. The wood has been taken to the outside shed area, and the metal and other pieces have been stored away. In addition, the field was cleaned and vacuumed, and the robots on the field were moved to one corner to allow for sufficient space for the driver to practice.
Meanwhile, students also removed vital electronics from the 2010 robot. The team helped remove its power distribution board, digital sidecar, spike relay, and compressor to store for (possible) future use. PWM wires, encoder wires, and miscellaneous screws and nuts were returned to their appropriate bin.
Driver Practice
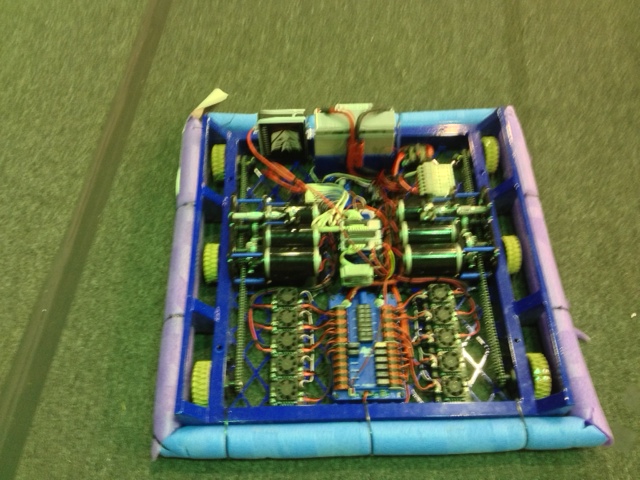
The team’s primary driver, Abhi Kumar, practiced driving around on the field. A circle was made on the field with tape for the driver to practice driving in circles. In addition, three frisbees were placed on the field as obstacles to practice driving around. The 2013 practice robot was used to drive around the field. For more security and safety, students attached pool noodles to the four sides of the robot to prevent scratches and damage in the case of collisions.

Manufacturing
The team also continued manfacturing parts on the lathe and the mill. Students made two different kinds of spacers for the gearbox using the lathe. Additionally, the front roller tubes for the intake were manufactured on the lathe. The students plan to have these two tasks finished tonight.
Meanwhile, other students used the mill to create “pockets” in the wooden bumper frames. These indents in the wood would later be used to attach the metal hinges.
Milling pockets in the bumper wood
The bumper frame wood and the CAD drawing
Programming
The programmers worked on implementing the shooter loader solenoid in the Shooter subsystem class. They also got the code for the 2013 robot ready for driver practice. They found that the deadband for the right joystick’s x-axis was too high (0.1). Also, there seems to be some odd and jumpy turning behaviors, which the programmers believe is caused by the cheesy drive command. The current deadband simply ignores joystick input if its value is less than the deadband value, so there is a jump in power when the joystick is moved above the threshold. Ideally, the programmers want to modify the drive code so that the power builds up after the joystick has been moved past the deadband.
Tomorrow, the programmers will investigate these problems in greater detail.
Action Items
- Investigate problems in cheesy drive code
- Continue driver practice
- Continue bumper assembly and manufacturing
Day #16: Long Range Shooter
Author: Art Kalb
Prototyping
Shooter
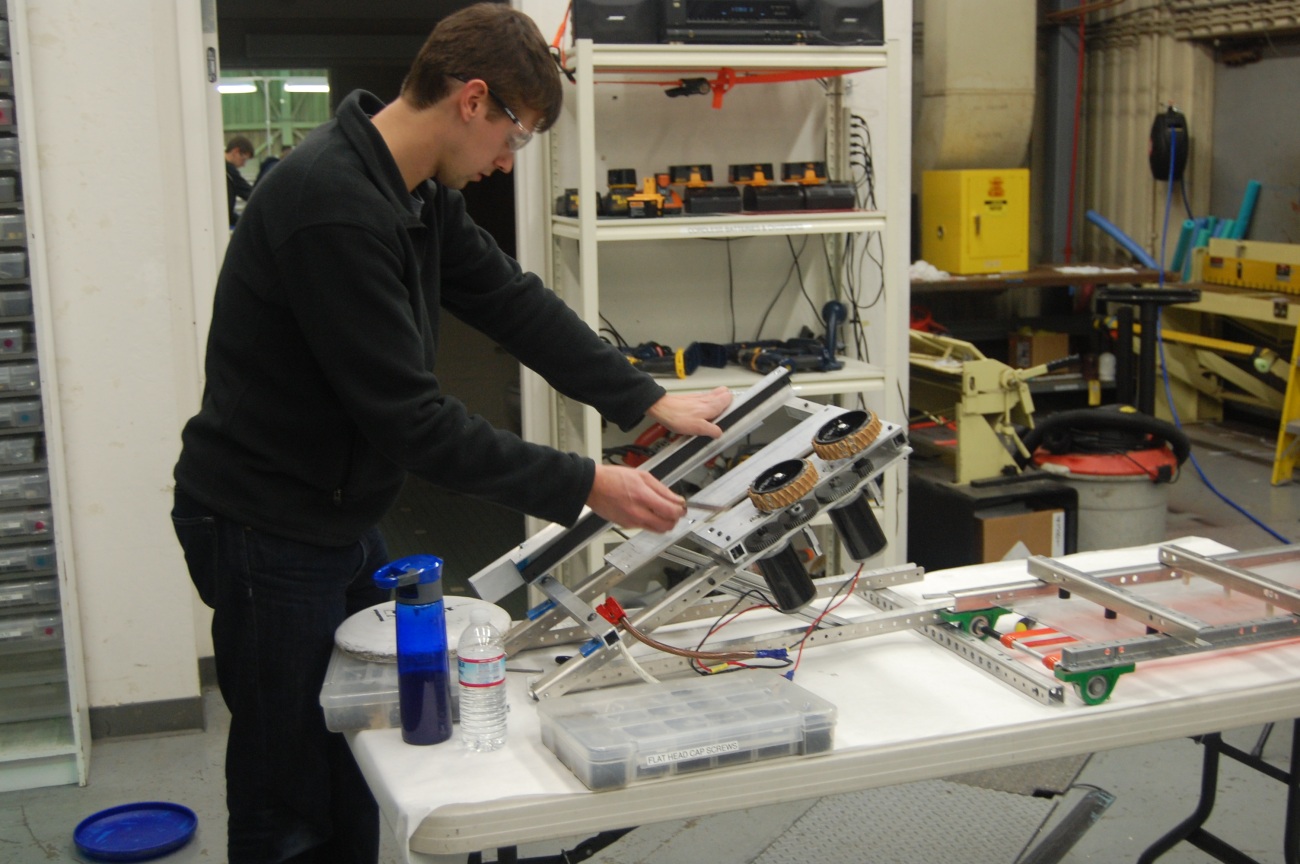
After a morning discussion on the mailing list, students and mentors attempted to use the shooter to shoot from a longer range than before. The goal of these long range shots is to pickup discs by the human player and quickly shoot them across the field. In testing, the shooter wheels and guide rail were improved to reduce slippage in the wheels, improving the velocity and range of the shooter. The previous BaneBots wheels were replaced with BaneBots wheels of larger diameter, and more compression was added. By the end of the day, the shooter was able to shoot frisbees through the high goal from the far edge of the field.
Close-up of updated shooter, with larger BaneBots wheels
Shooting frisbees from far edge of the field
Intake
Students started assembling a new intake, with a roller low to the ground to allow for easy pickup. Currently, this step is high priority, as the team needs a working and reliable intake mechanism for the overall robot design.
Students constructing new intake prototype
Manufacturing
Today, students worked on the lathe for various parts on the drive gearboxes.
Manufacturing gearbox standoffs on the lathe
Programming
Running the 2010 Robot
Students worked on reviving the 2010 robot’s drivebase to have our drivers (Abhi Kumar and Chris Sides) driving as soon as possible to practice with the Logitech F310 controller. Tasks involved modifications to the CheesyDrive code from 2012 and mapping the gamepad axes to the drivetrain, and reimaging the cRIO to v47.
The 2010 robot, Onslaught
Matrix Math
As a part of the program, the robot will need to do some mathematics involving matrices. To allow for this, students translated and reimplemented code to create a Matrix class, which will do basic matrix math (addition, subtraction, scalar multiplication) and matrix mulitiplication. Due to some uncertaintity about matrix multiplication, the class is not completed.
The students also worked on translating the state space controller from last year’s C++ code, which requires a functional Matrix class.
Action Items
- Finish and test intake prototype
- Improve shooter for speed, distance, and accuracy
- Finish translating matrix/control code from 2012 to Java + test code
- Flash v47 image to Skyfire
Day #15: Improved Shooter
Prototyping
Shooter
Students continued to make modifications to the shooter prototype. They removed the polycarbonate cover on the top of the shooter and replaced it with an aluminum bar to guide the frisbee through. In testing, the frisbees that are shot seem to consistently go through the high goal. The team expiremented with different shooter positions and angles in the testing, and measured the speed at which the frisbees were fired out. It was found that the frisbee’s velocity upon exiting the shooter was roughly 15 to 20 mph.
The updated shooter design
Intake
Not much work was done on the shooter today. With the current intake prototype, the frisbee seems to get stuck high on the intake ramp, not touching any vertical rollers. As of now, the intake has been taken apart so that the students can add metal supports (as opposed to wood).
Manufacturing
The team continued to manufacture parts for the drive chassis and prototypes.
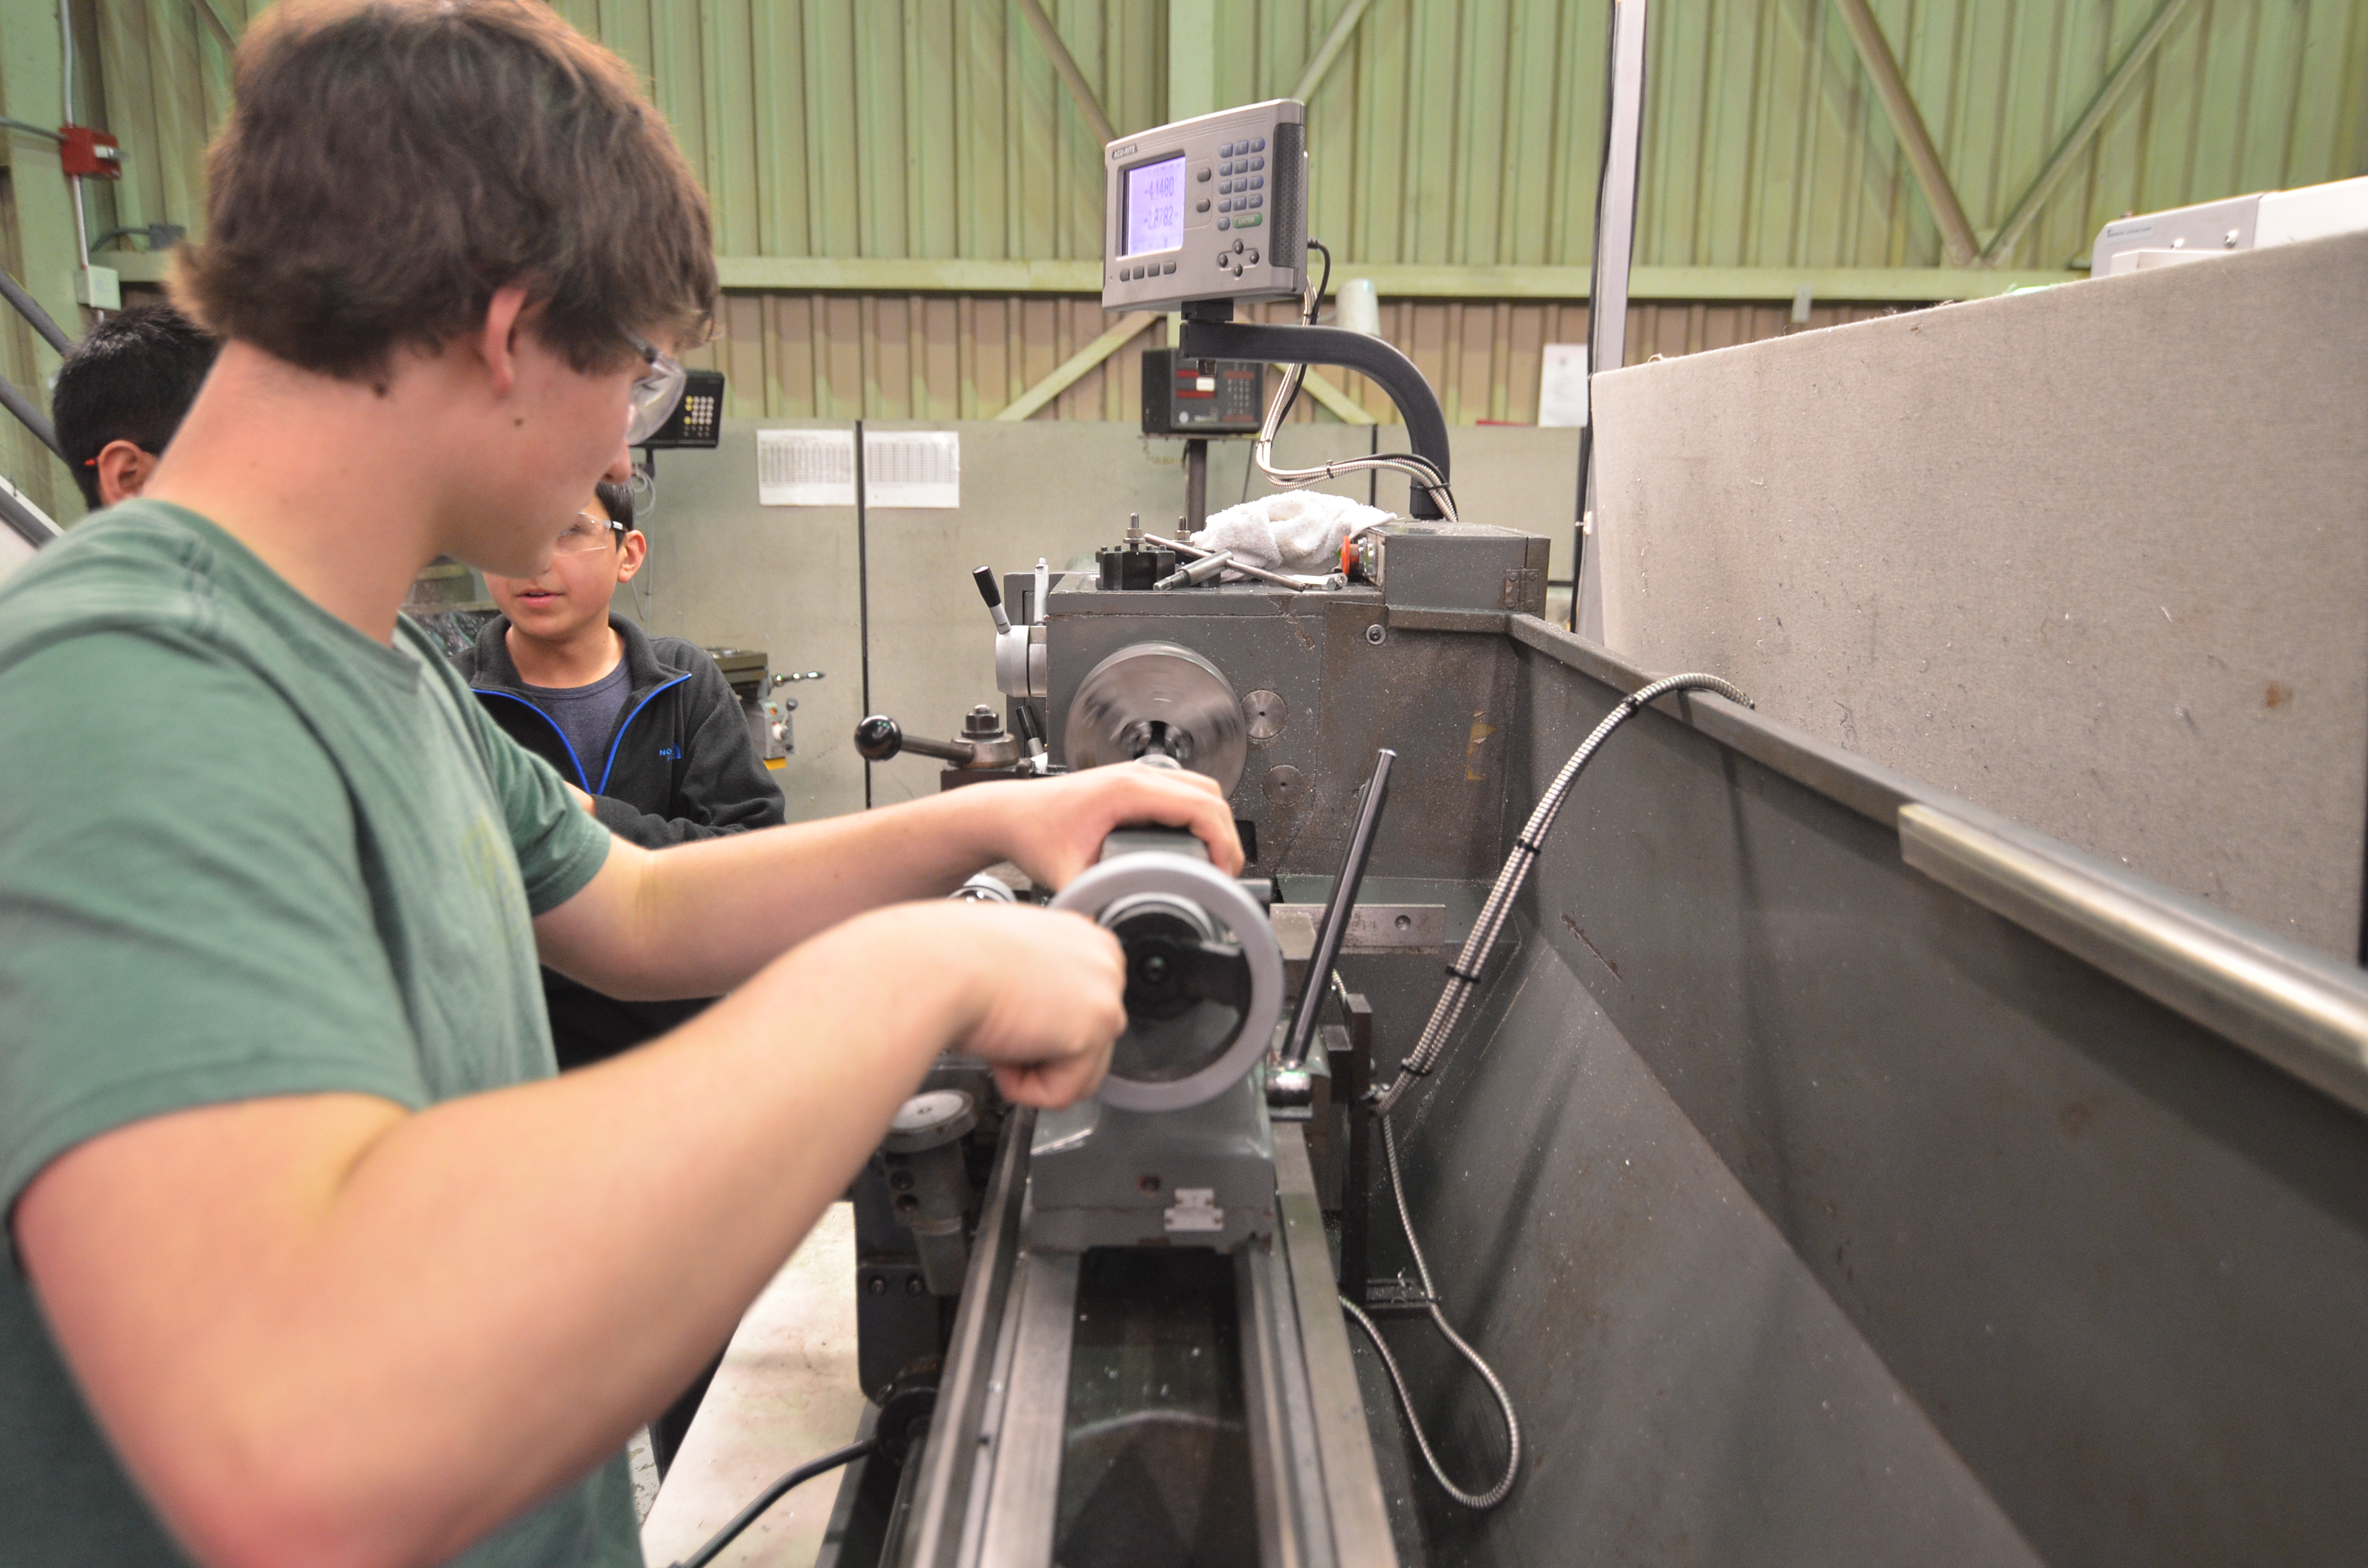
Student making parts on the lathe
Programming
Sensor Testing
The programmers had a particularly productive day. First, they tested the S4 and S5 encoders. The team realized that the encoders or wiring appeared to be defective yesterday because the encoders kept returning 0. They finally realized that it was indeed a code problem, as they needed to call the start() function on the encoders to start recording clicks. After testing all the S4 and S5 encoders in the 254 electronics bin, all of the encoders were deemed as “functional”, with the exception of one S4 encoder. The broken encoder was promptly labeled as “bad” with the help of some blue duct tape.
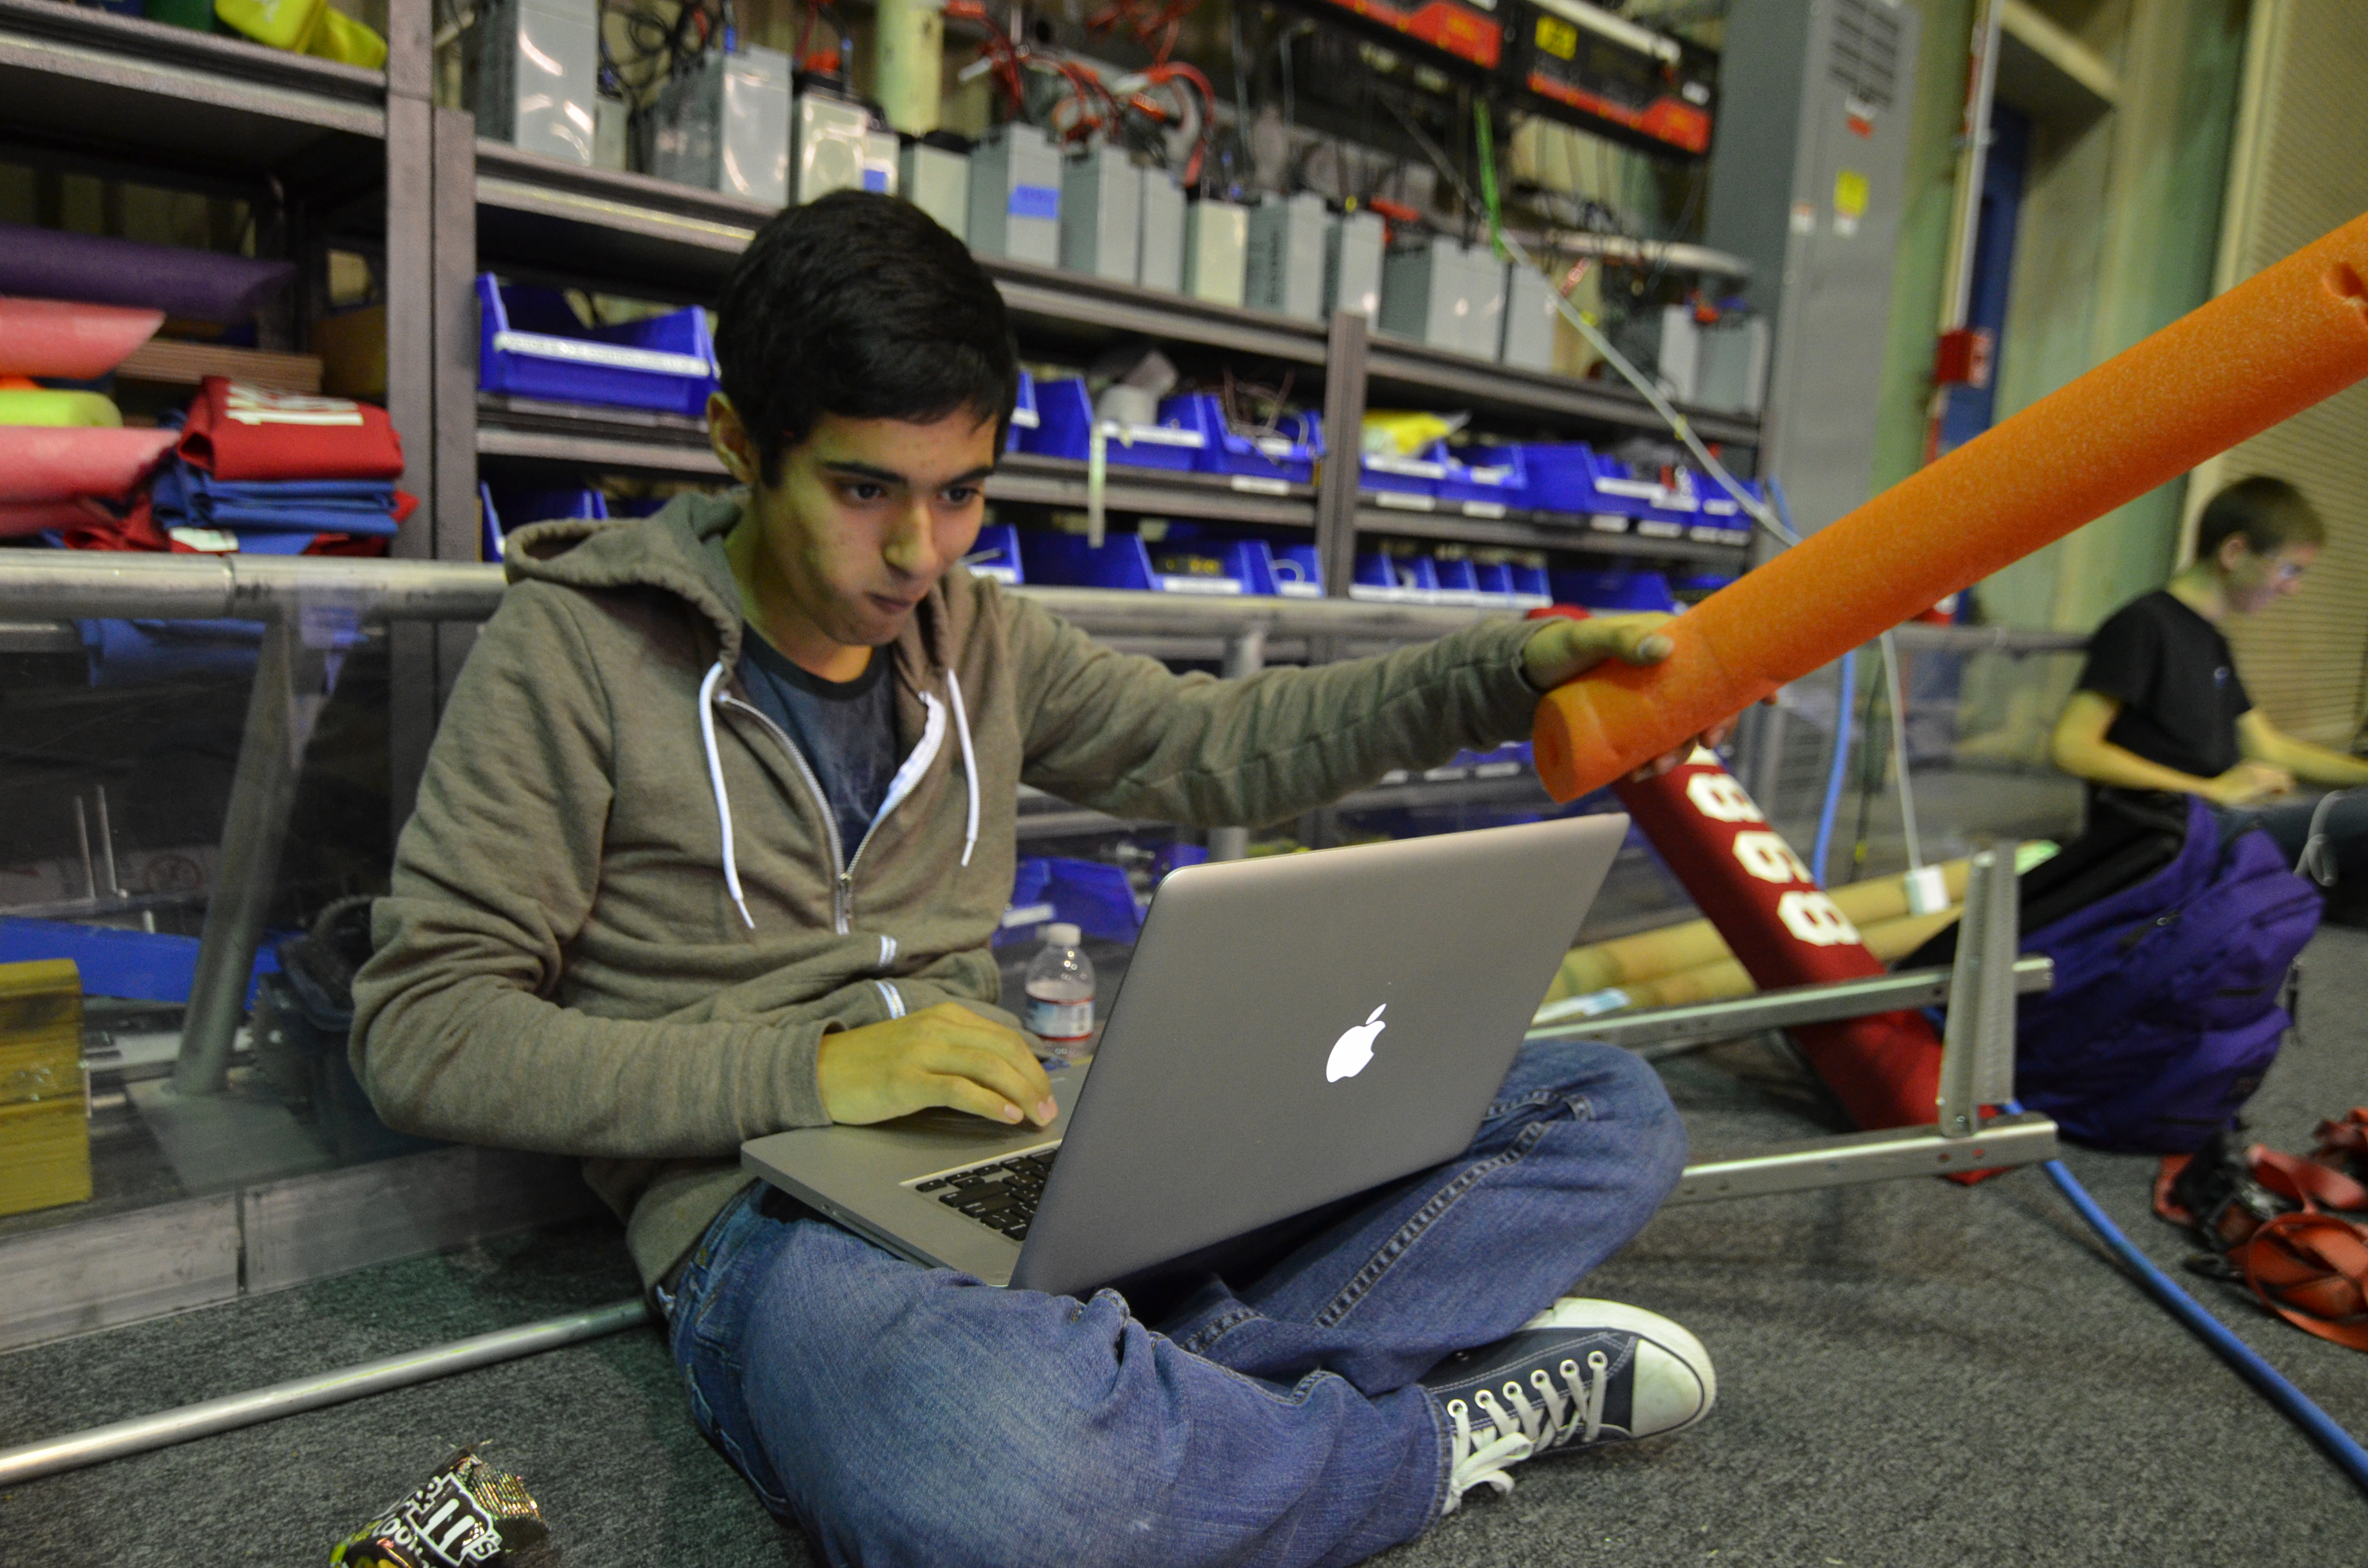
Programming the sensors while wielding pool noodles
Reading Constants
Meanwhile, the programmers tested out a method to read a text file from the robot (Constants.txt) and update the constants accordingly. At first, the team had problems with finding the text file on the robot. Previously, they had been using getResourceAsStream and InputStreams, but switching over to FileConnection and DataInputStream solved the null pointer exceptions. This was a major breakthrough for the programmers. Now, with a Smart Dashboard extension to send text files to the robot via FTP and a way to read and update constants from that text file, the programmers have achieved nirvana.
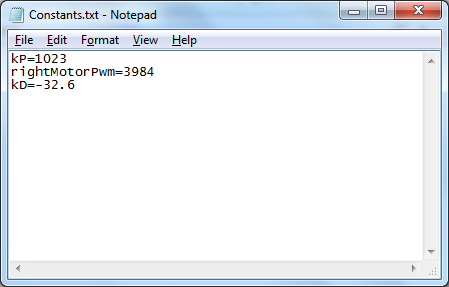
The Constants text file looks like this: a constant’s name = its updated value
CAD
Students began designing the intake mechanism in Solidworks. Though the intake prototype is not yet completed, this step is important because it helps to visually map out the prototype for future assembly.
Action Items
- Continue improving and testing shooter
- Reassemble and work on intake
Day #11: Shooter Redesign
Prototypes
Shooter
Several changes are being made to the shooter prototype. First, students began installing smaller diameter wheels in place of the larger diameter wedgetop treaded wheels. This is because the smaller wheels would have lighter weight and would allow the shooter to occupy less space. In addition, a team on Chief Delphi forums tried them out and reported that this method worked well for them.
Next, the team is in the process of turning shooter upside down to allow frisbees to be fed from the bottom. This would make it easier for the intake and conveyor system to feed frisbees directly into the shooter.
Smaller wheels (left) vs. the wedgetop treaded wheels (right)
Manufacturing
Today was largely focused on the manufacturing of various aluminum parts for the drive chassis and prototypes. Students used the mill, lathe, and other machines to manufacture parts. The lathe was used to create axles for drive gearbox. In addition, students scotch-brited bearing housings and deburred parts.

Manufacturing parts on the mill
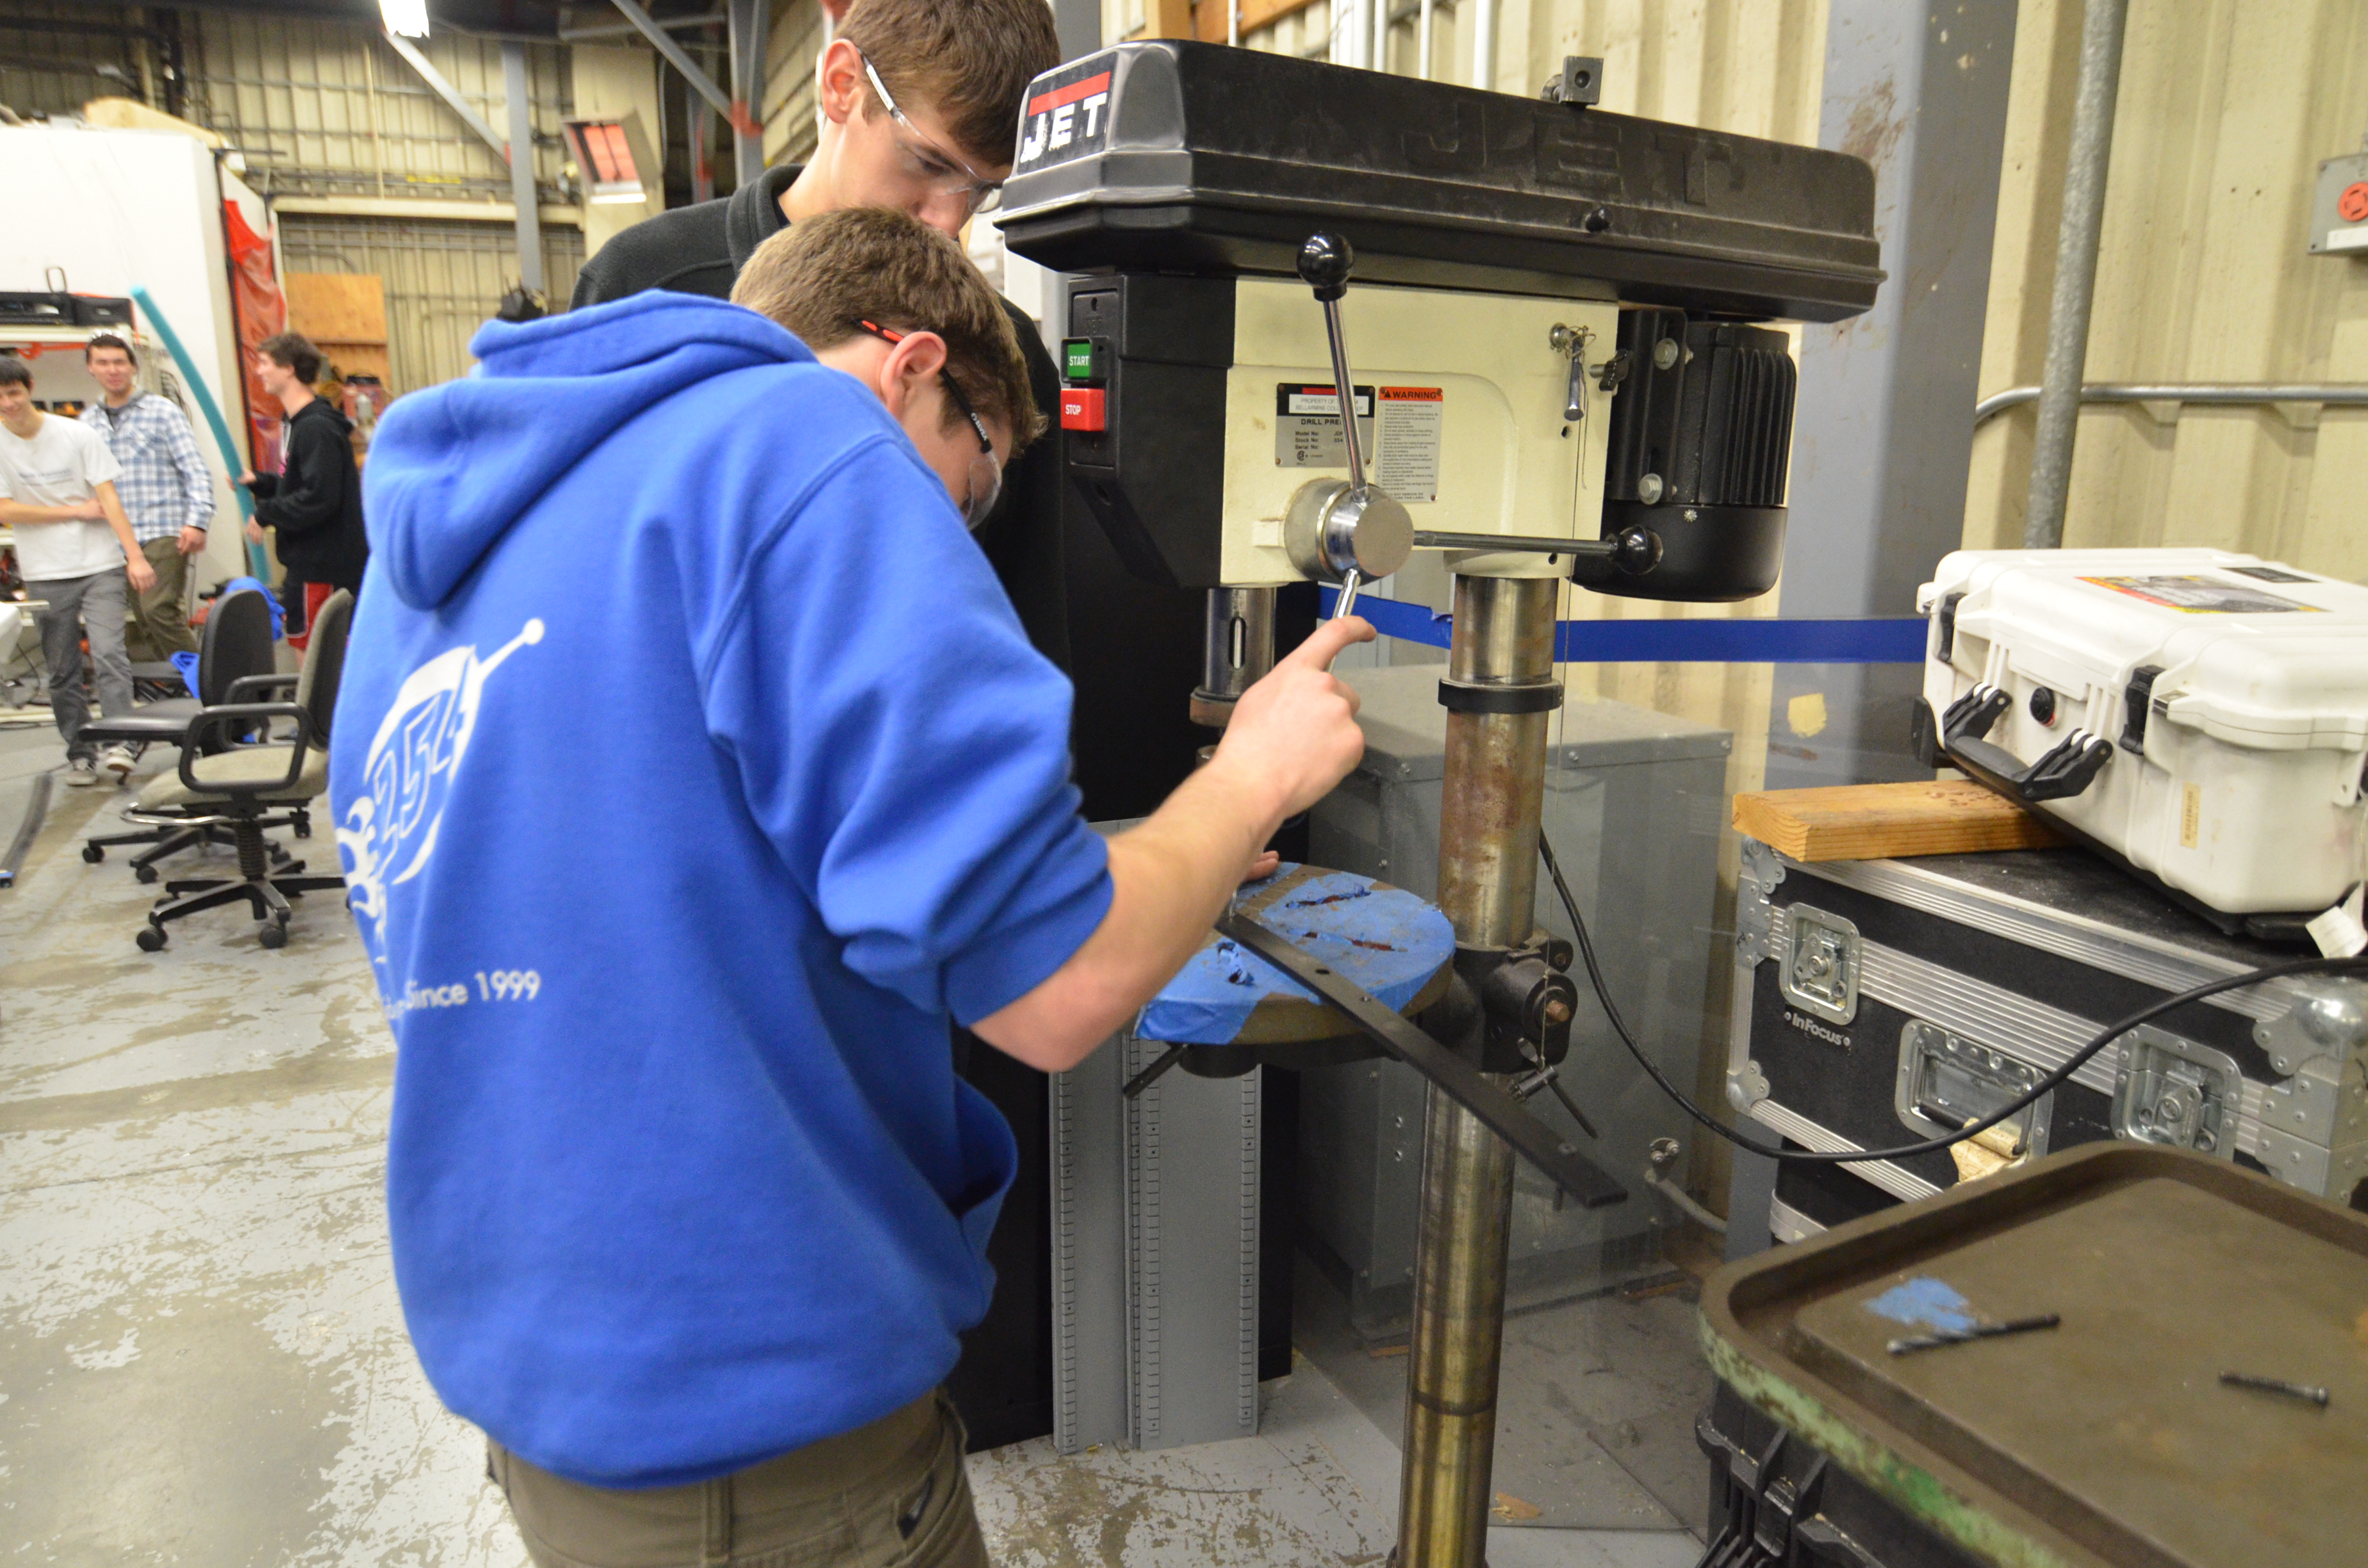
Manufacturing parts on the drill press
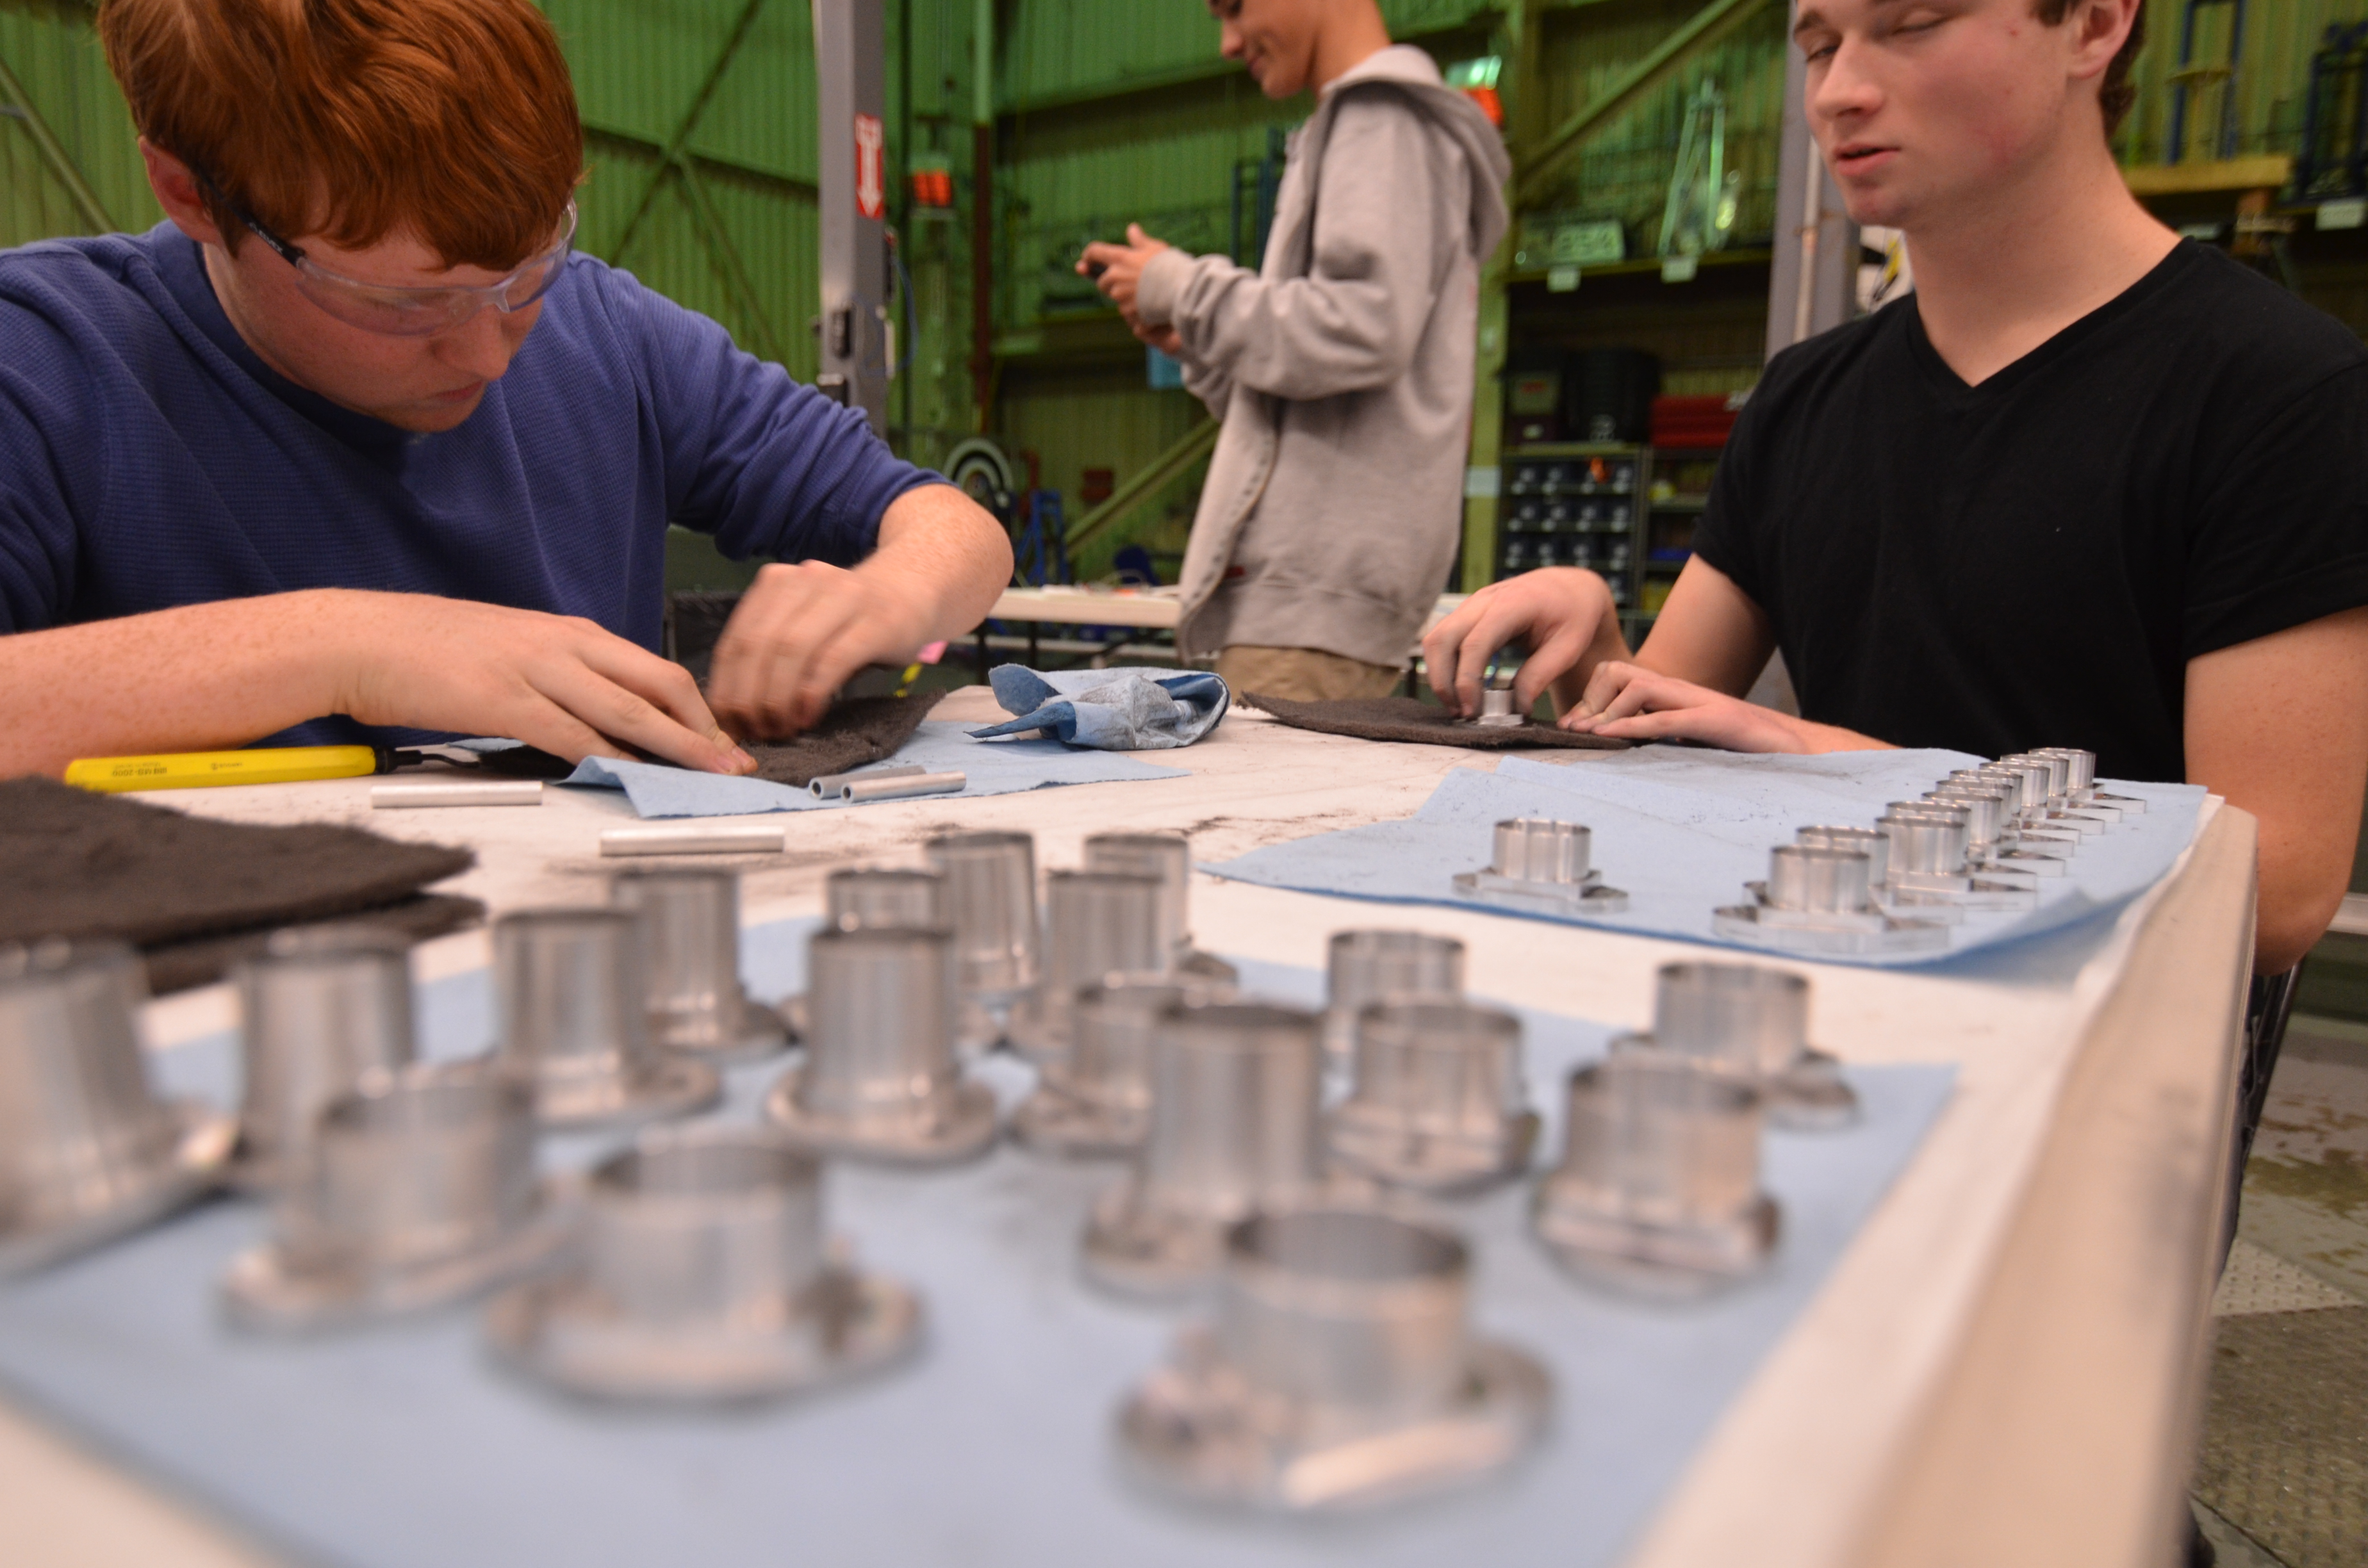
Students scotch-briting the bearing housings
CAD
Students continued designing the robot bumpers in Solidworks. The pool noodles and wooden frame of the bumpers were designed, but the team still needs to create a couple more pool noodles. Upon their completion, the noodles and the frame will be assembled in Solidworks.
Other students created weld drawings for drive chassis.
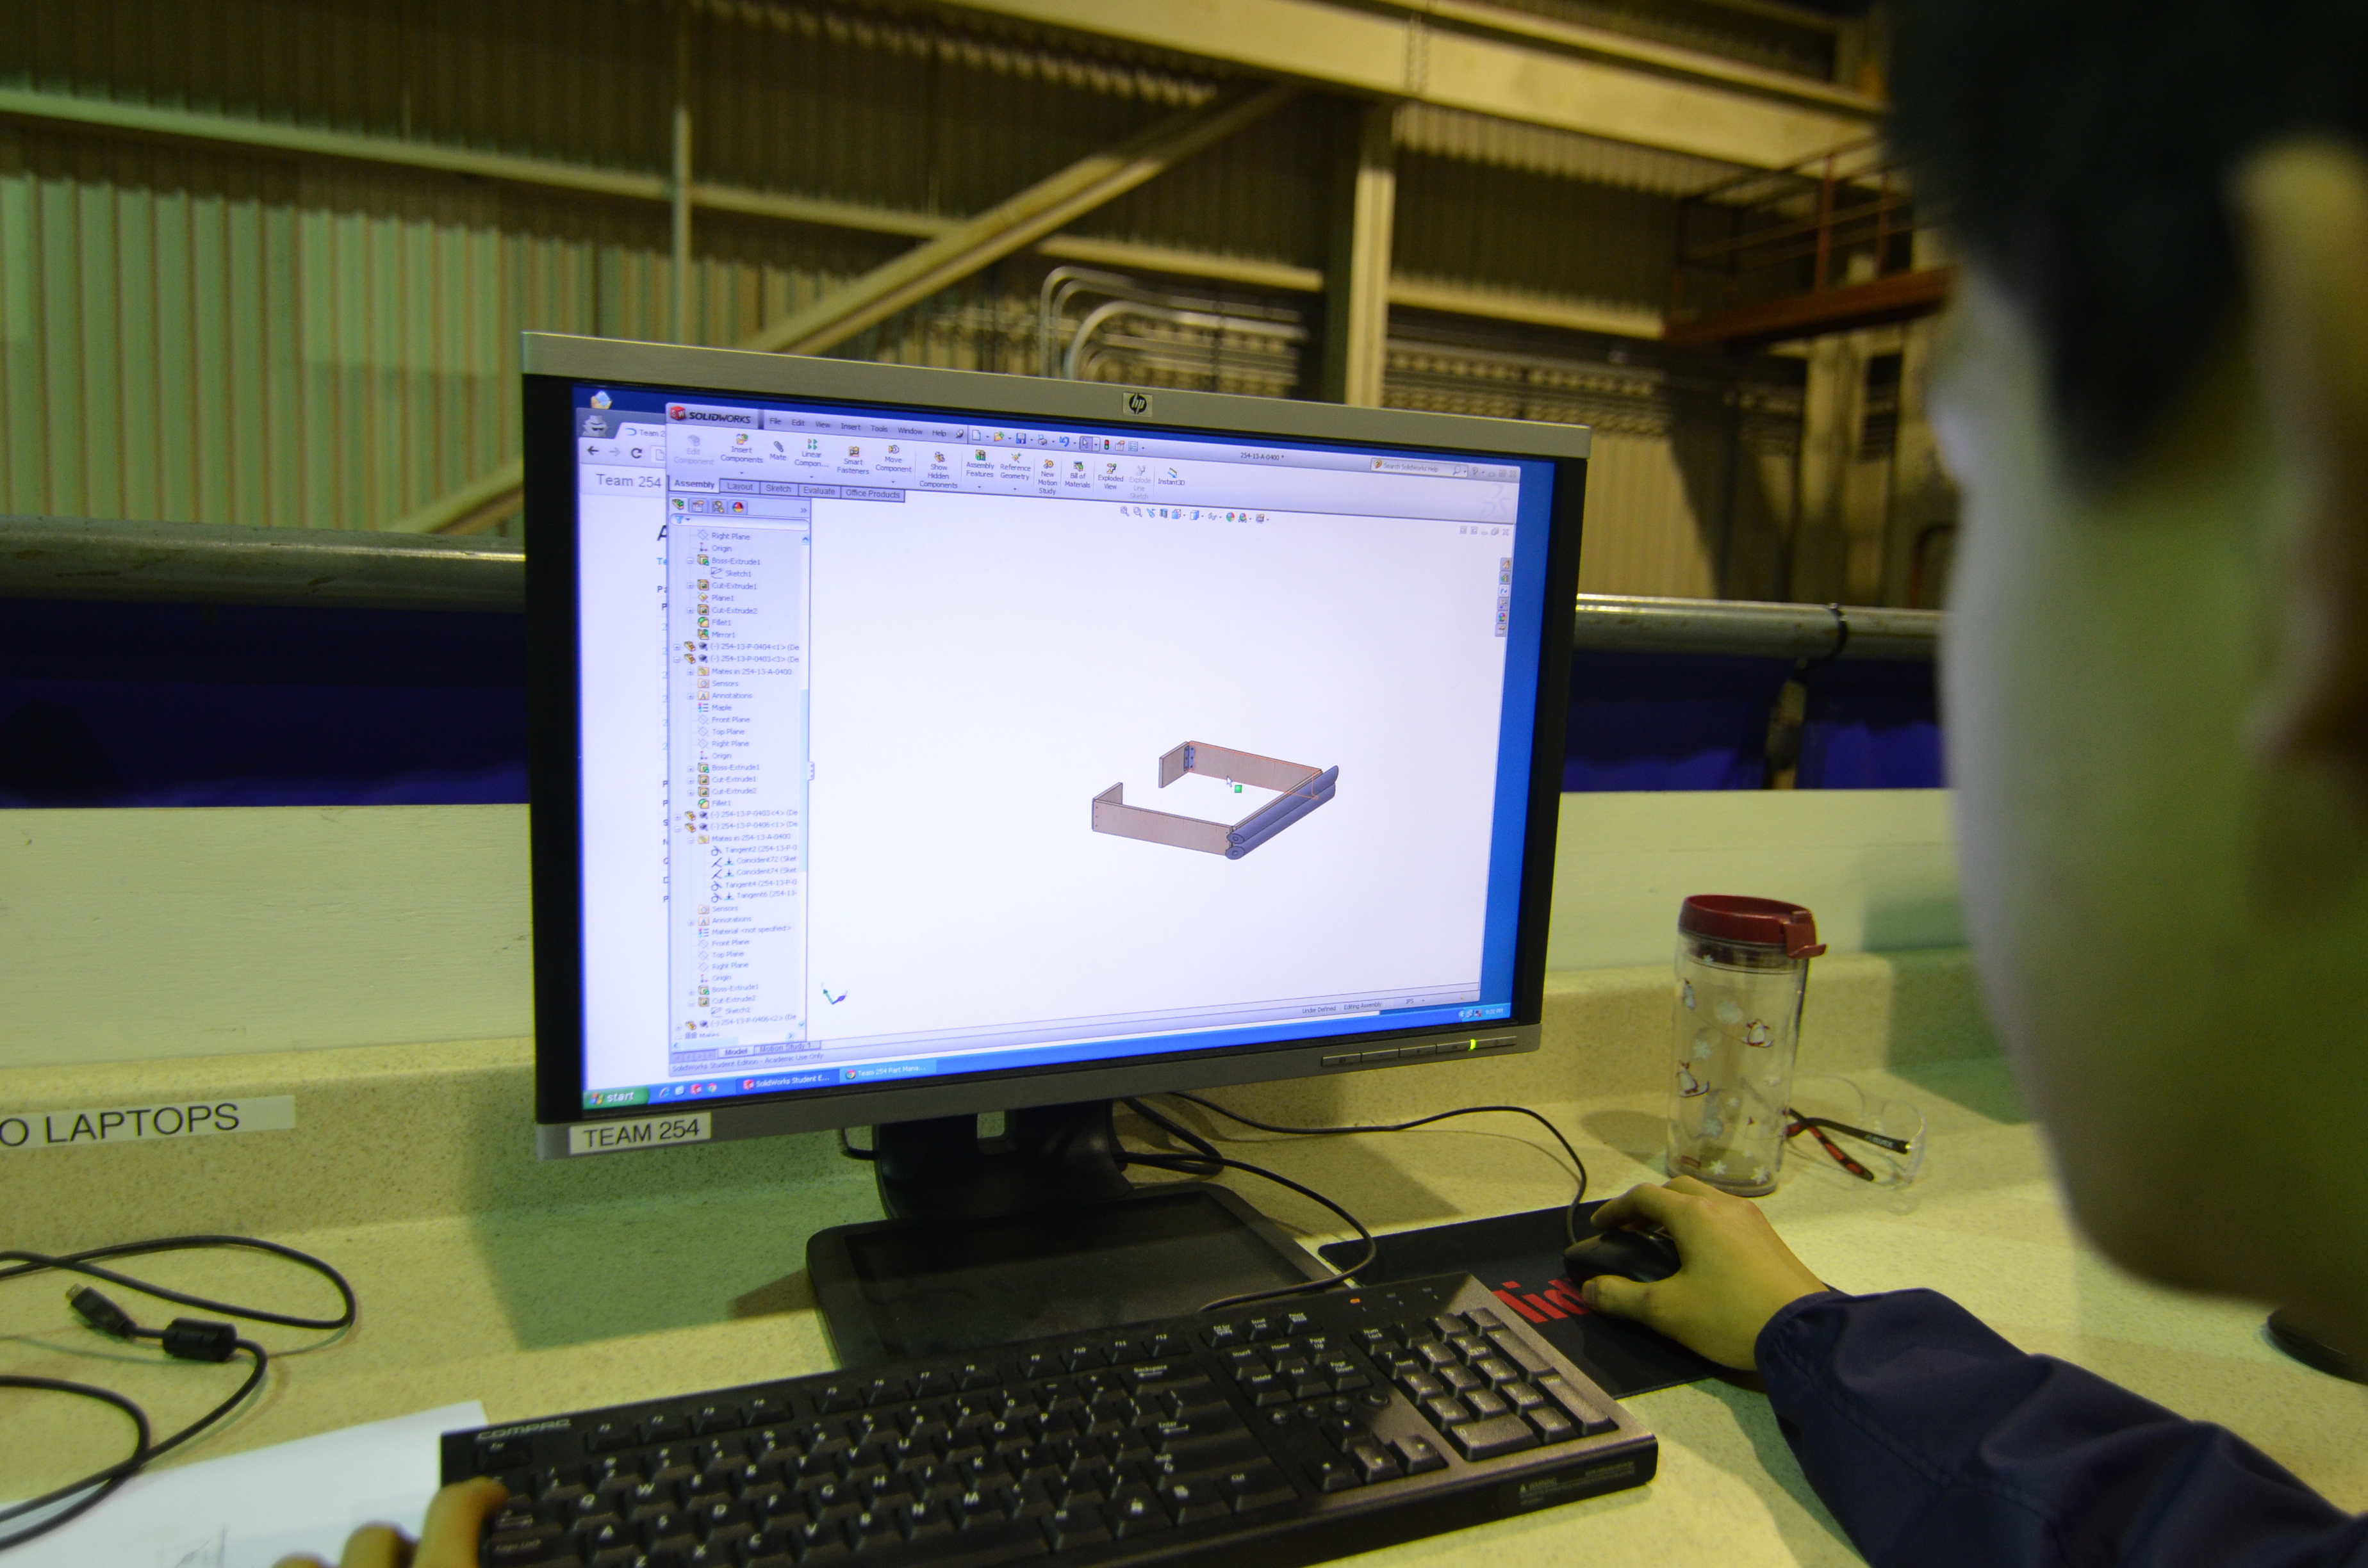
Designing the bumpers in Solidworks
Programming
The programming team conducted tests of the VEX light sensors. The team hopes to use some sort of sensor to check whether a frisbee in the shooter is right-side-up or upside-down. However, the VEX light sensors seemed to have a difficult time differentiating between the two. The error margin or difference between the two values were too small and close to be used effectively. The team believes that the ambient light in the NASA lab may have contributed to this.
Next, the team tried connecting a photoelectric sensor to the robot for testing. However, there may have been an error in wiring or code that gave the students inconsistent and incorrect values. The team will look more into infrared sensors to accomplish the goal.
Action Items
- Continue CAD of bumpers
- Re-assemble shooter
- Check PDM for parts to manufacture
- Manufacture parts on mill and lathe
Lab closing time for the night was 11:45
Day #8: Really Consistent Shooter Prototype
Prototyping
Intake Prototype
The intake was totally redesigned in Solidworks today. The design features multiple sets of belts to move the frisbees around. It uses belts on the bottom to increase the friction between the disc and the polycarbonate sheet. In total, 11 belts need to be manufactured and welded. The newly designed intake prototype is currently under development.
The conveyor prototype
Welding the polyurathane belts for the new intake
Making modifications to the intake roller
Shooter Prototype
Students made changes and modifications to the shooter prototype. C-channels were added on the left and right side of the prototype to guide the frisbee as it travels through the shooter's wheels, preventing it from moving upwards and adding stability. In addition, new parts and attachments for the shooter were milled and manufactured.
The shooter prototype
The shooting prototype was tested extensively. As the results show, the frisbees that were fired were somewhat accurate. The orientation of the frisbee (upside-down vs. right-side-up) appears to have a slight influence on the trajectory of the frisbee. An upside-down frisbee ends up at a smaller height than the height of a right-side-up frisbee.
2010 Robot
Makeshift bumpers were added to the 2010 robot today. The bumpers were constructed out of pool noodles, which the students will use to create the real bumpers from later on. The team hopes to use the 2010 robot's drivebase to attach and test the intake and shooter prototypes upon their completion. Metal frames were also installed on the robot. With these bumpers, students can test the intake mechanism as if it were on the real robot.
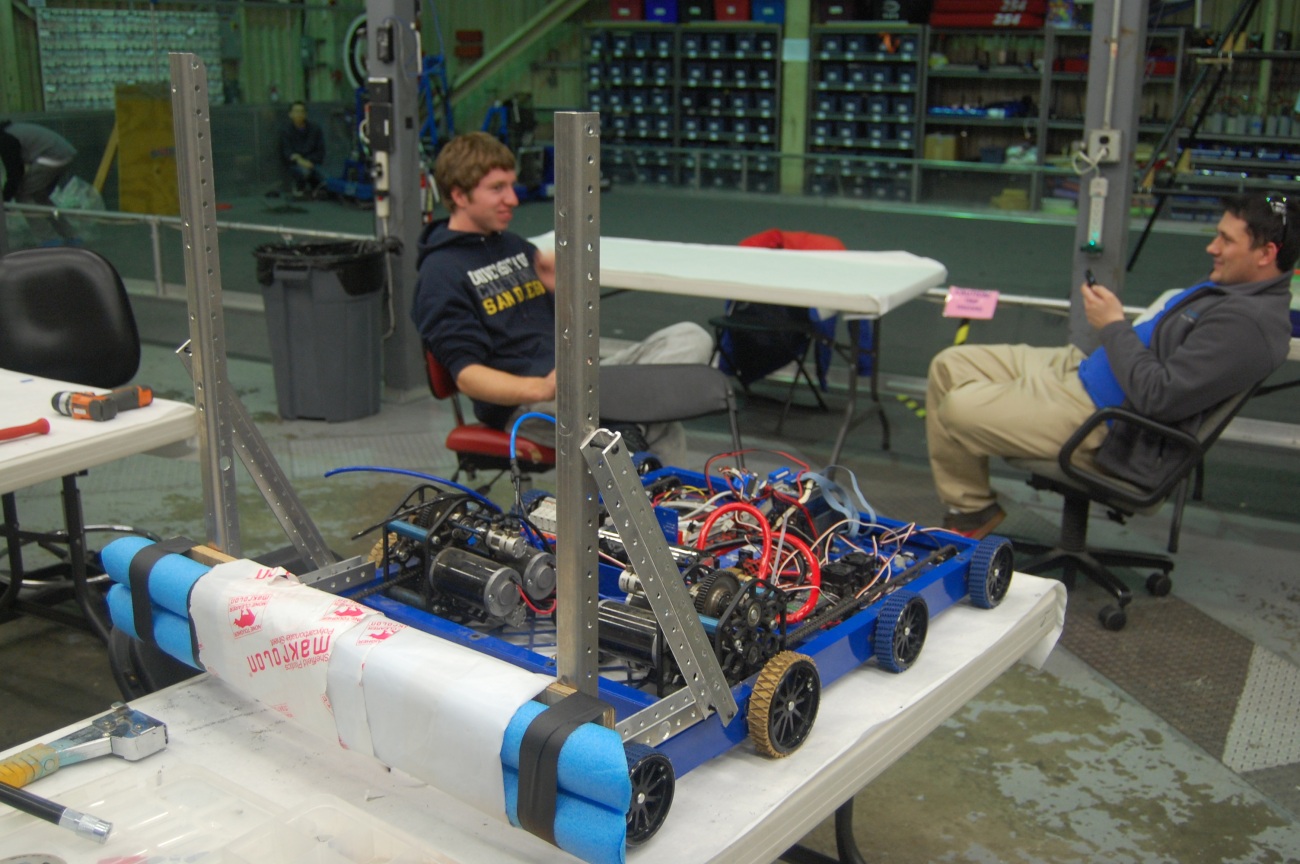
The 2010 robot with bumpers and metal attachments
Programming
The programmers worked on a multitude of tasks today. Some students worked on a custom Smart Dashboard widget that would populate a text file with a constant's name and value, then upload the file to the robot with FTP. Currently, the widget is working, but students still have to investigate problems with the FTP connection.
Students also worked on automous command scripting. With this, the robot can read autonomous commands from a text file on the robot, and execute them. The benefit of this method is that the team won't have to re-compile or re-deploy the code in order to make one small modification to the autonomous. Currently, the system is working as intended. The robot was able to interpret the drive and wait commands.
Lastly, the programmers continued to work on reading constants from a file. This has not yet been completed, but the students have a general idea and framework for what needs to be written.
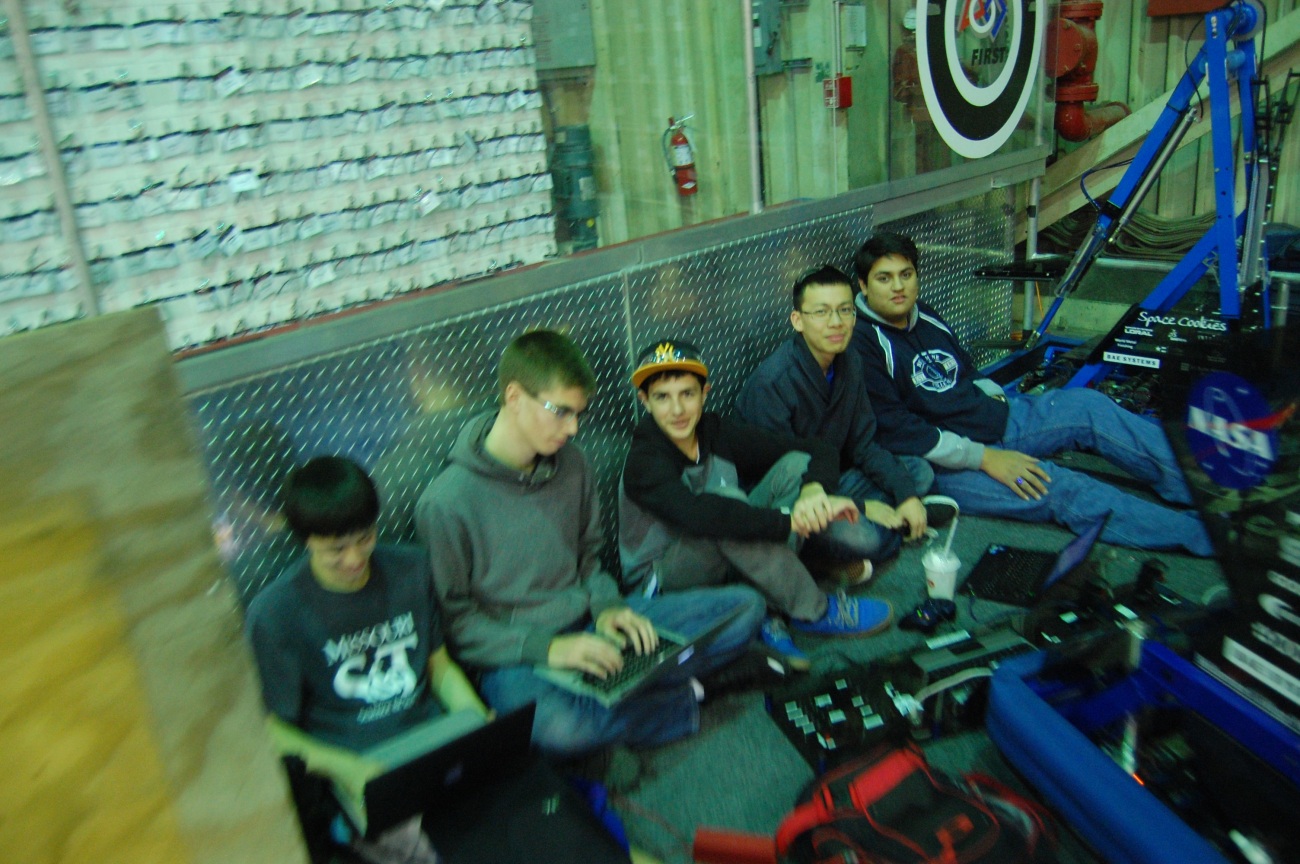
Programmers programming
Pat Fairbank
This is a prime example of our foremost Canadian mentor in his natural state of observation and intense thought about the world of robots.
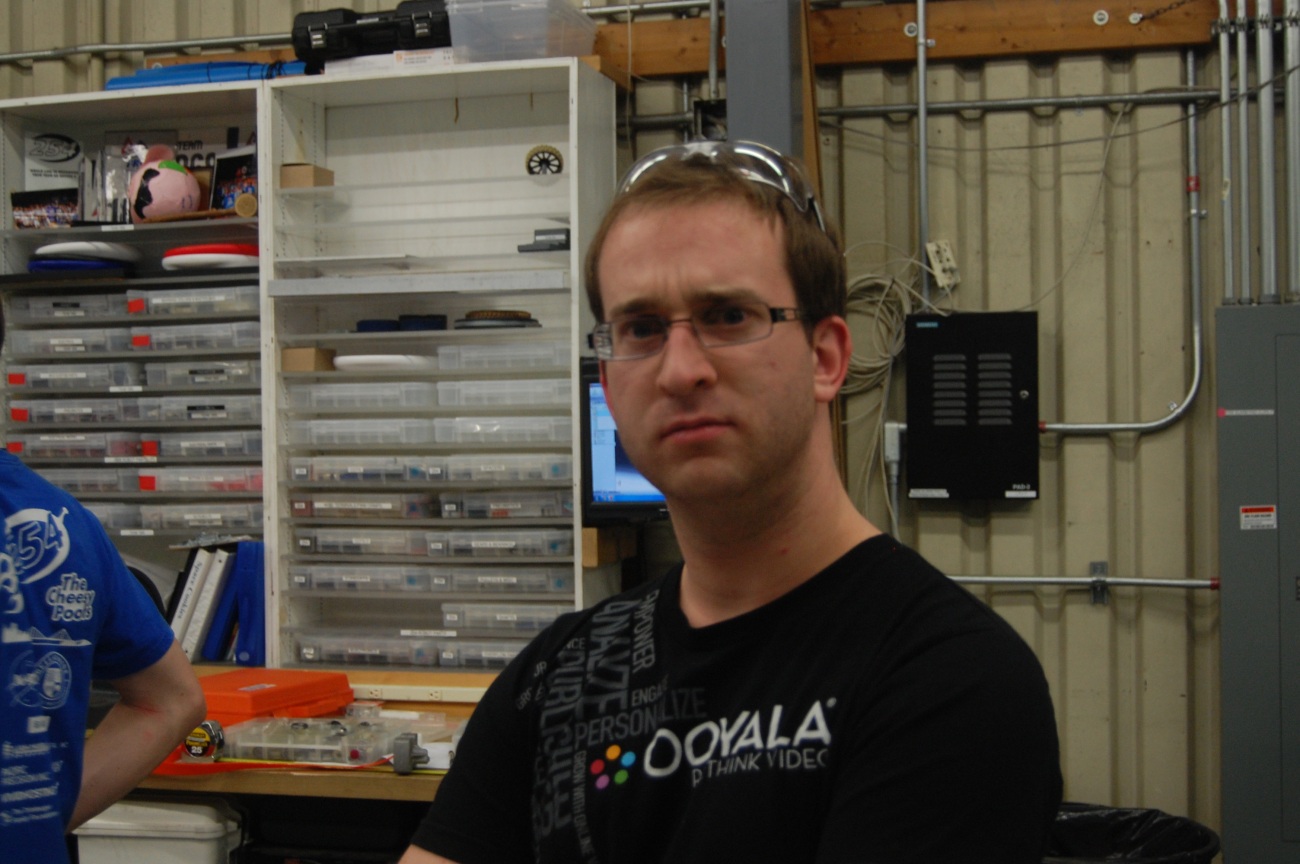
Pat being Pat
Action Items
-
Finish intake prototype
-
Mount said prototype to 2010 robot(onslaught)
-
connect all 3 prototypes and test from start to finish(Intake-Conveyor-Shooter)
-
Programming-work on reading constants from a file
Lab closing time was 12:50 A.M.
FRC Programming – Action Items
In order to keep track of programming-related action items for FRC, we've created a spreadsheet with tasks that are sorted by priority. If you're ever at the lab and want to do some programming, swing by and choose a task that interests you. We hope that this list will make it easier for you to find a cool project to work on while in the lab.
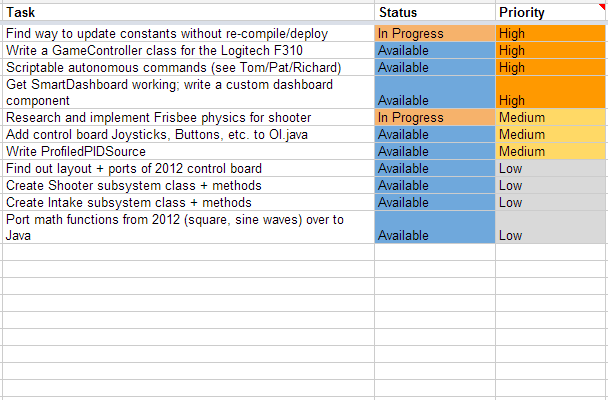
The action item list, as of Day 5
As always, you can let Richard, Stephen, Tom, or Pat if you have any questions or need clarification. Be sure to read the blog often to check out our programming progress!
