
Day #34: Intake and Field Assembly
CAD
Today students went through the entire CAD and made sure that all of the necessary parts and materials to complete the robot have been purchased. To do this, he used a special feature in Solidworks that automatically created a bill of materials for the entire robot. He then cross-referenced this with our existing bill of materials to make sure that all the parts have been ordered. As of now, most of the parts have been ordered, however we still need to complete one more order with McMaster to obtain everything we need.
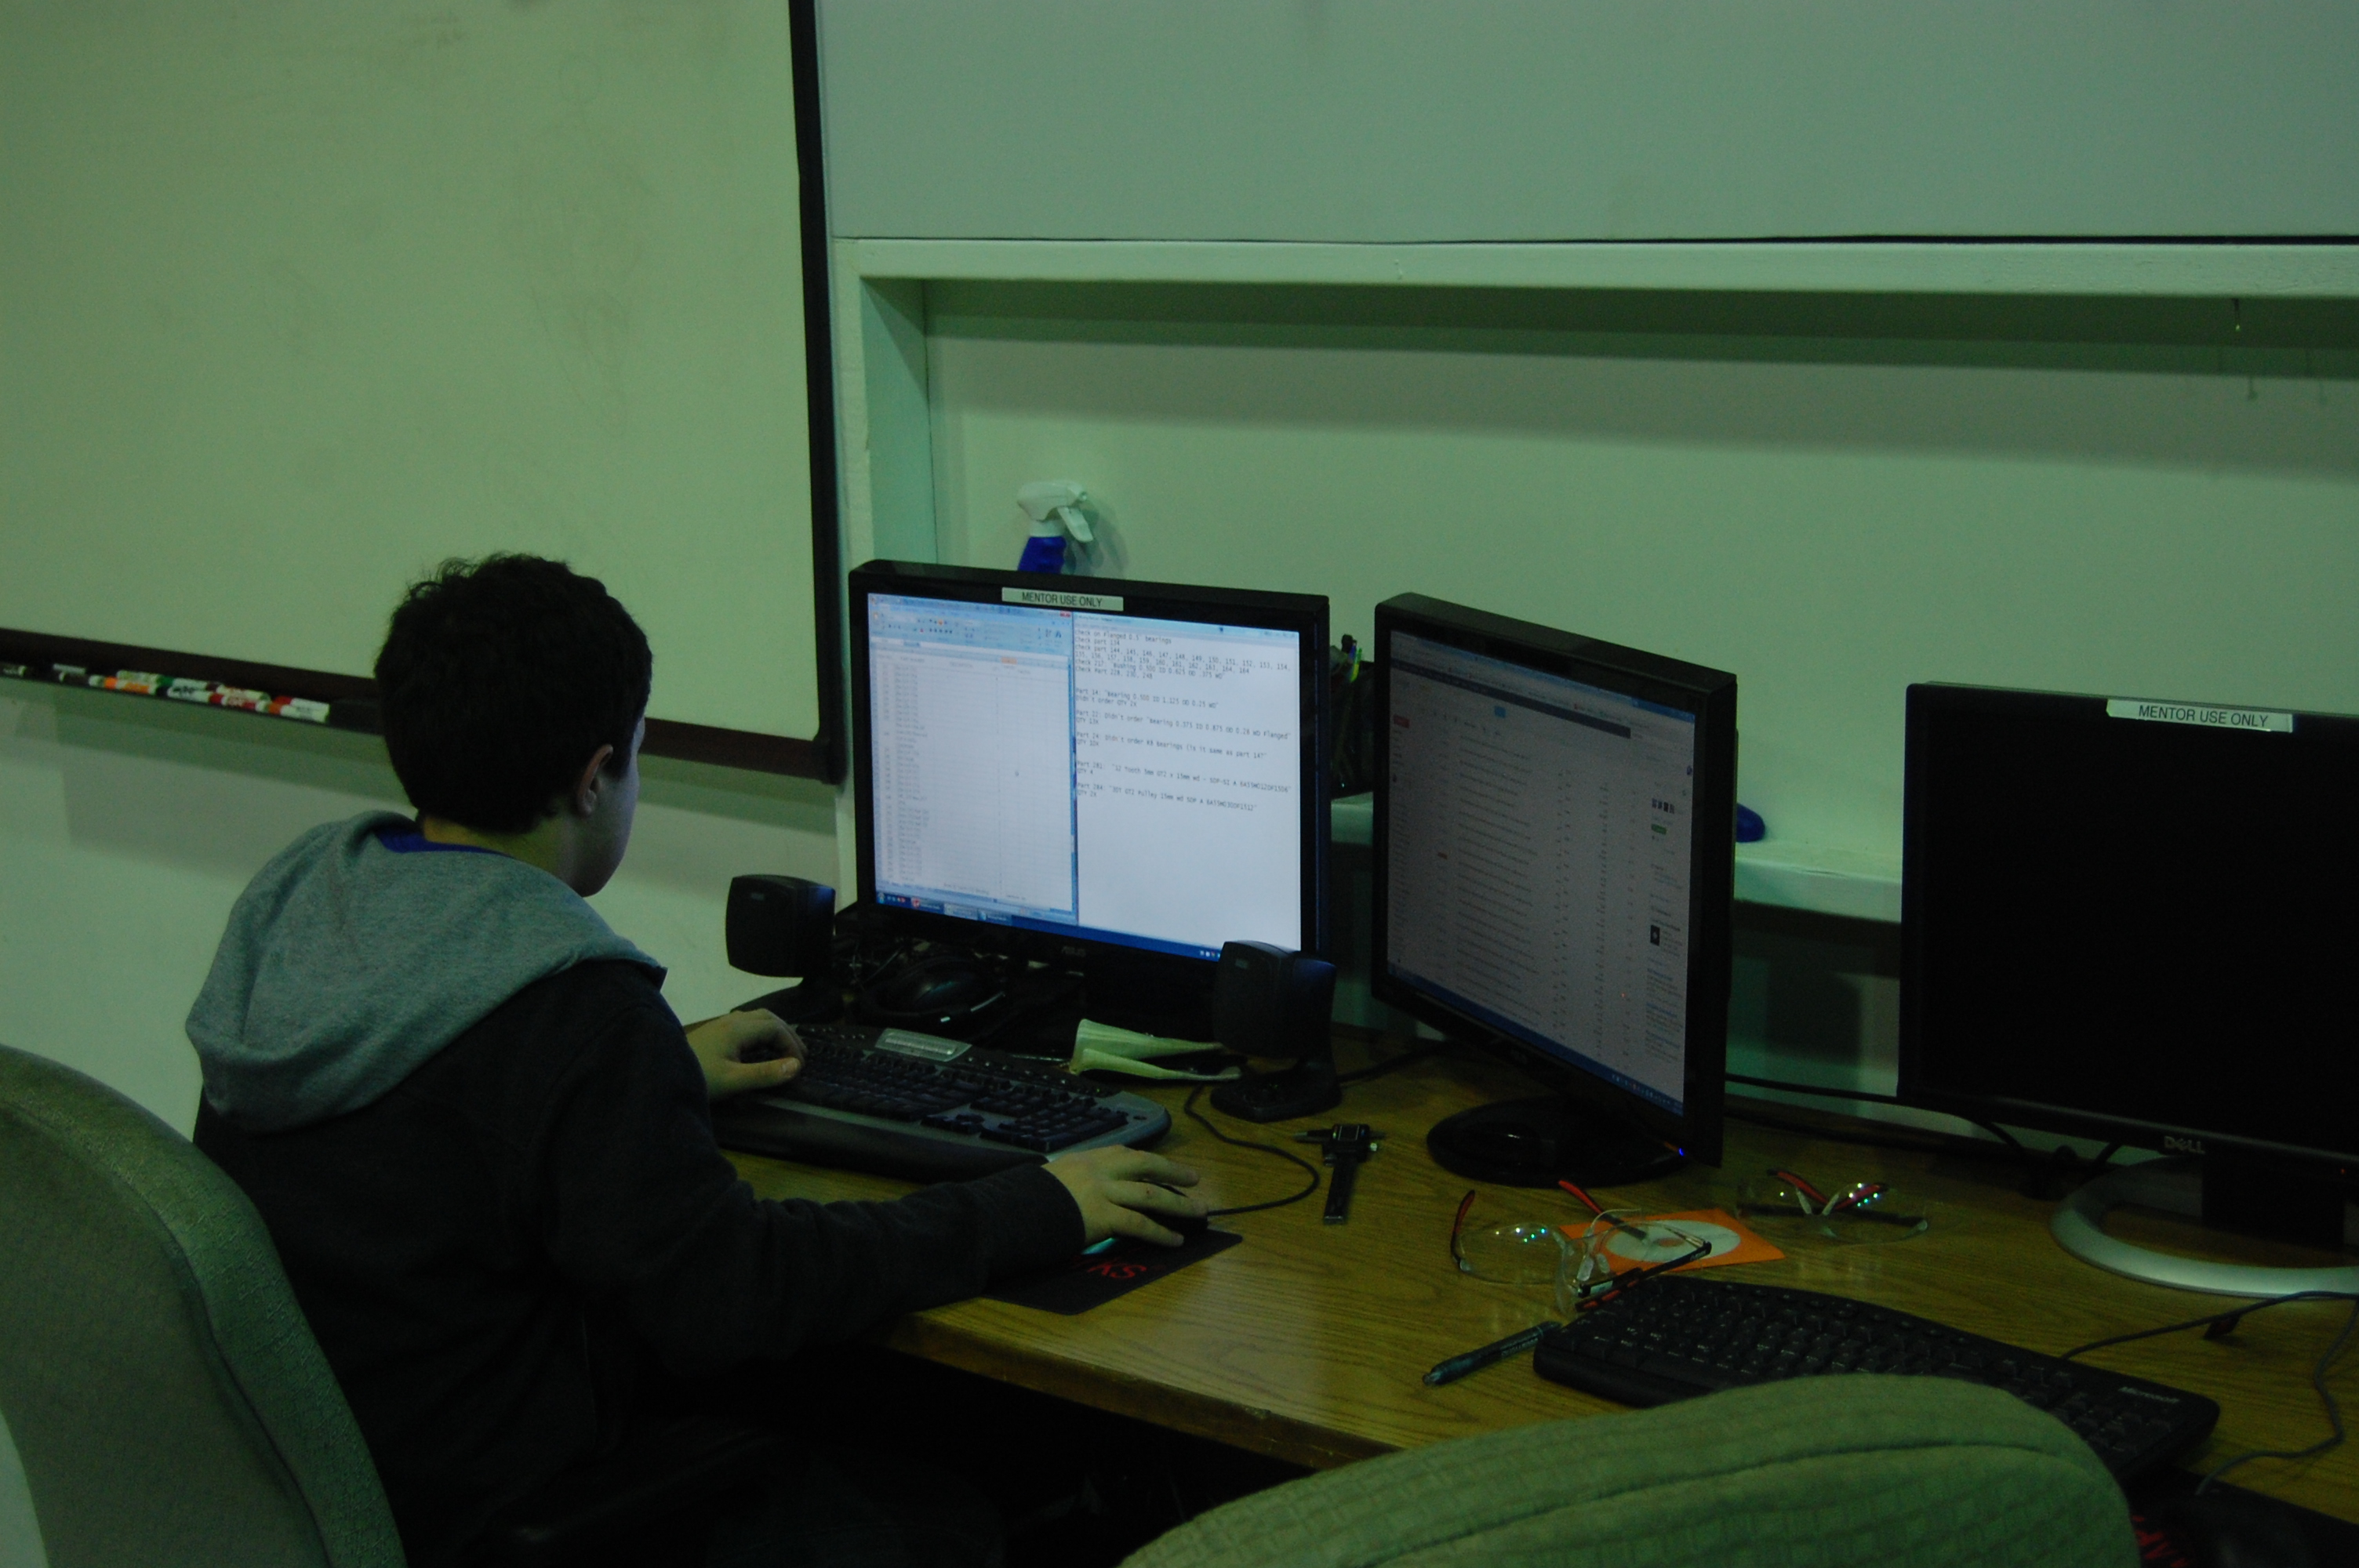
Nagy Hakim checking the Bill of Materials
Manufacturing
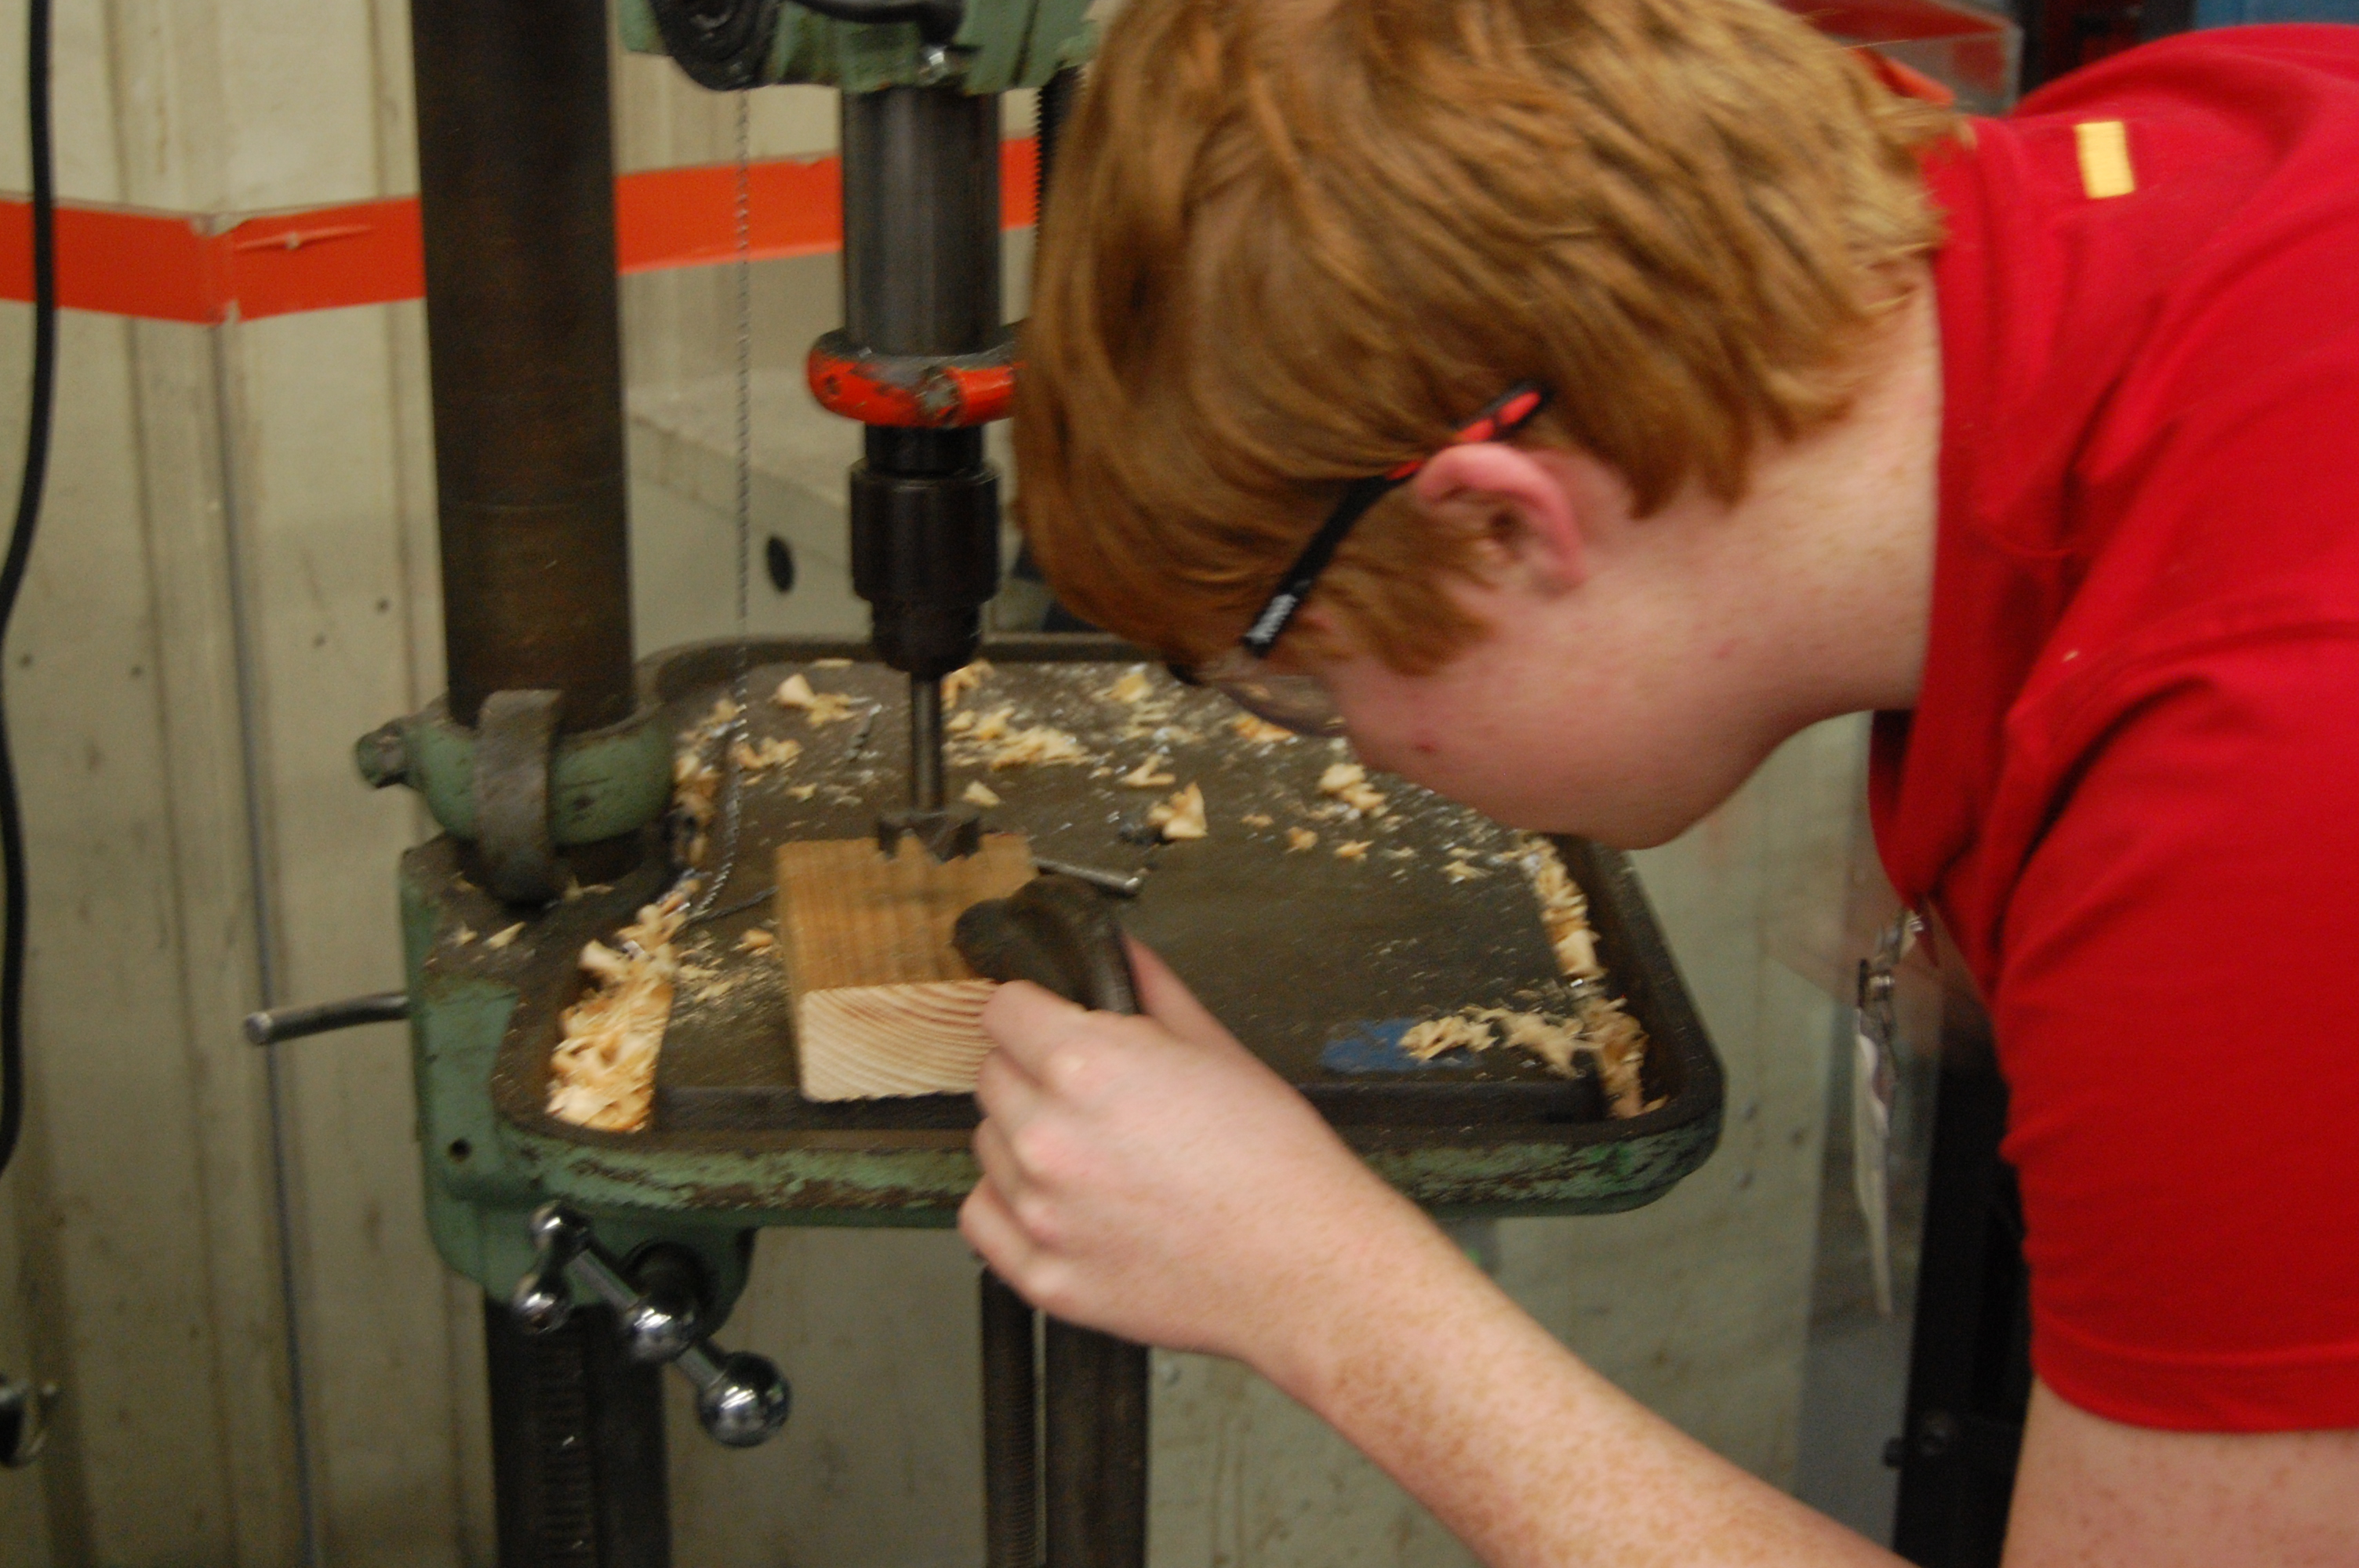
A lot of work was completed on the CNC today. Machining for the conveyor side plates is complete and ready for powdercoat. Machining for additional parts on the CNC, such as a structural gusset for the shooter, has begun.
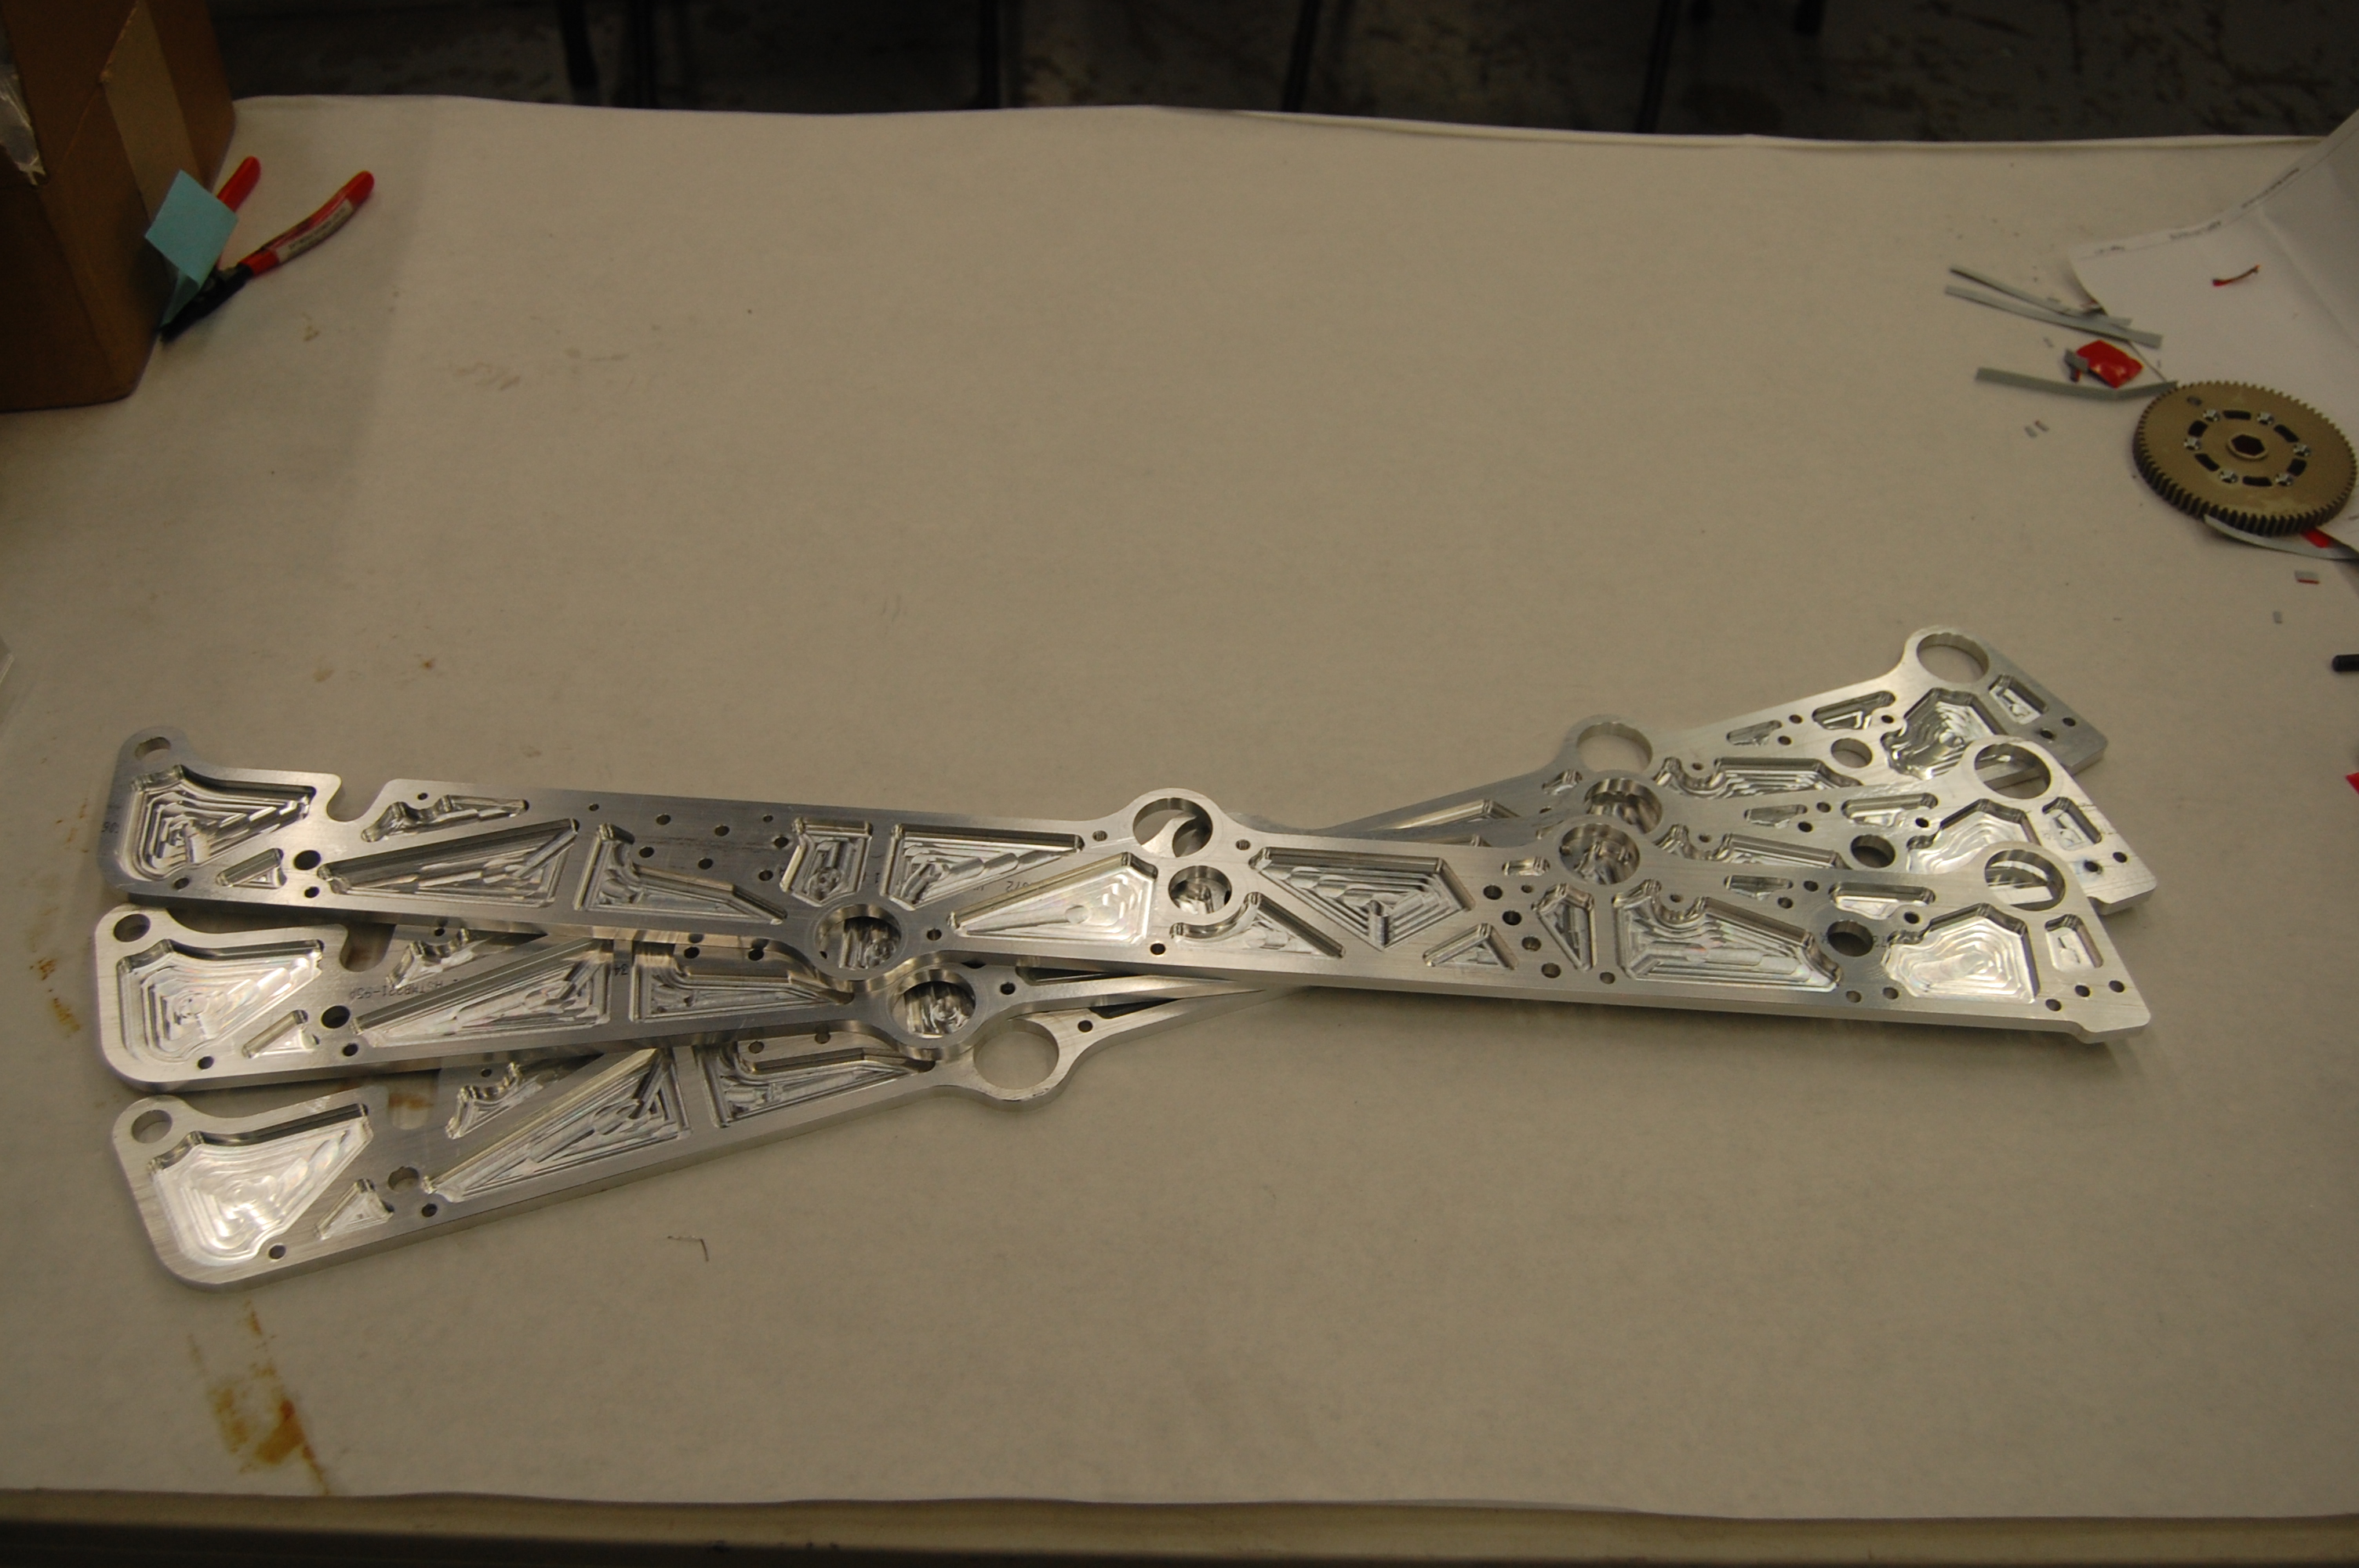
Finished Conveyor Side Plates
Additionaly, manufacturing for more shooter parts have begun. Students with the help of mentors finished machining the cross-pieces for the shooter assembly. These pieces will act as spacers for the shooter side plates and provide support for the entire assembly.
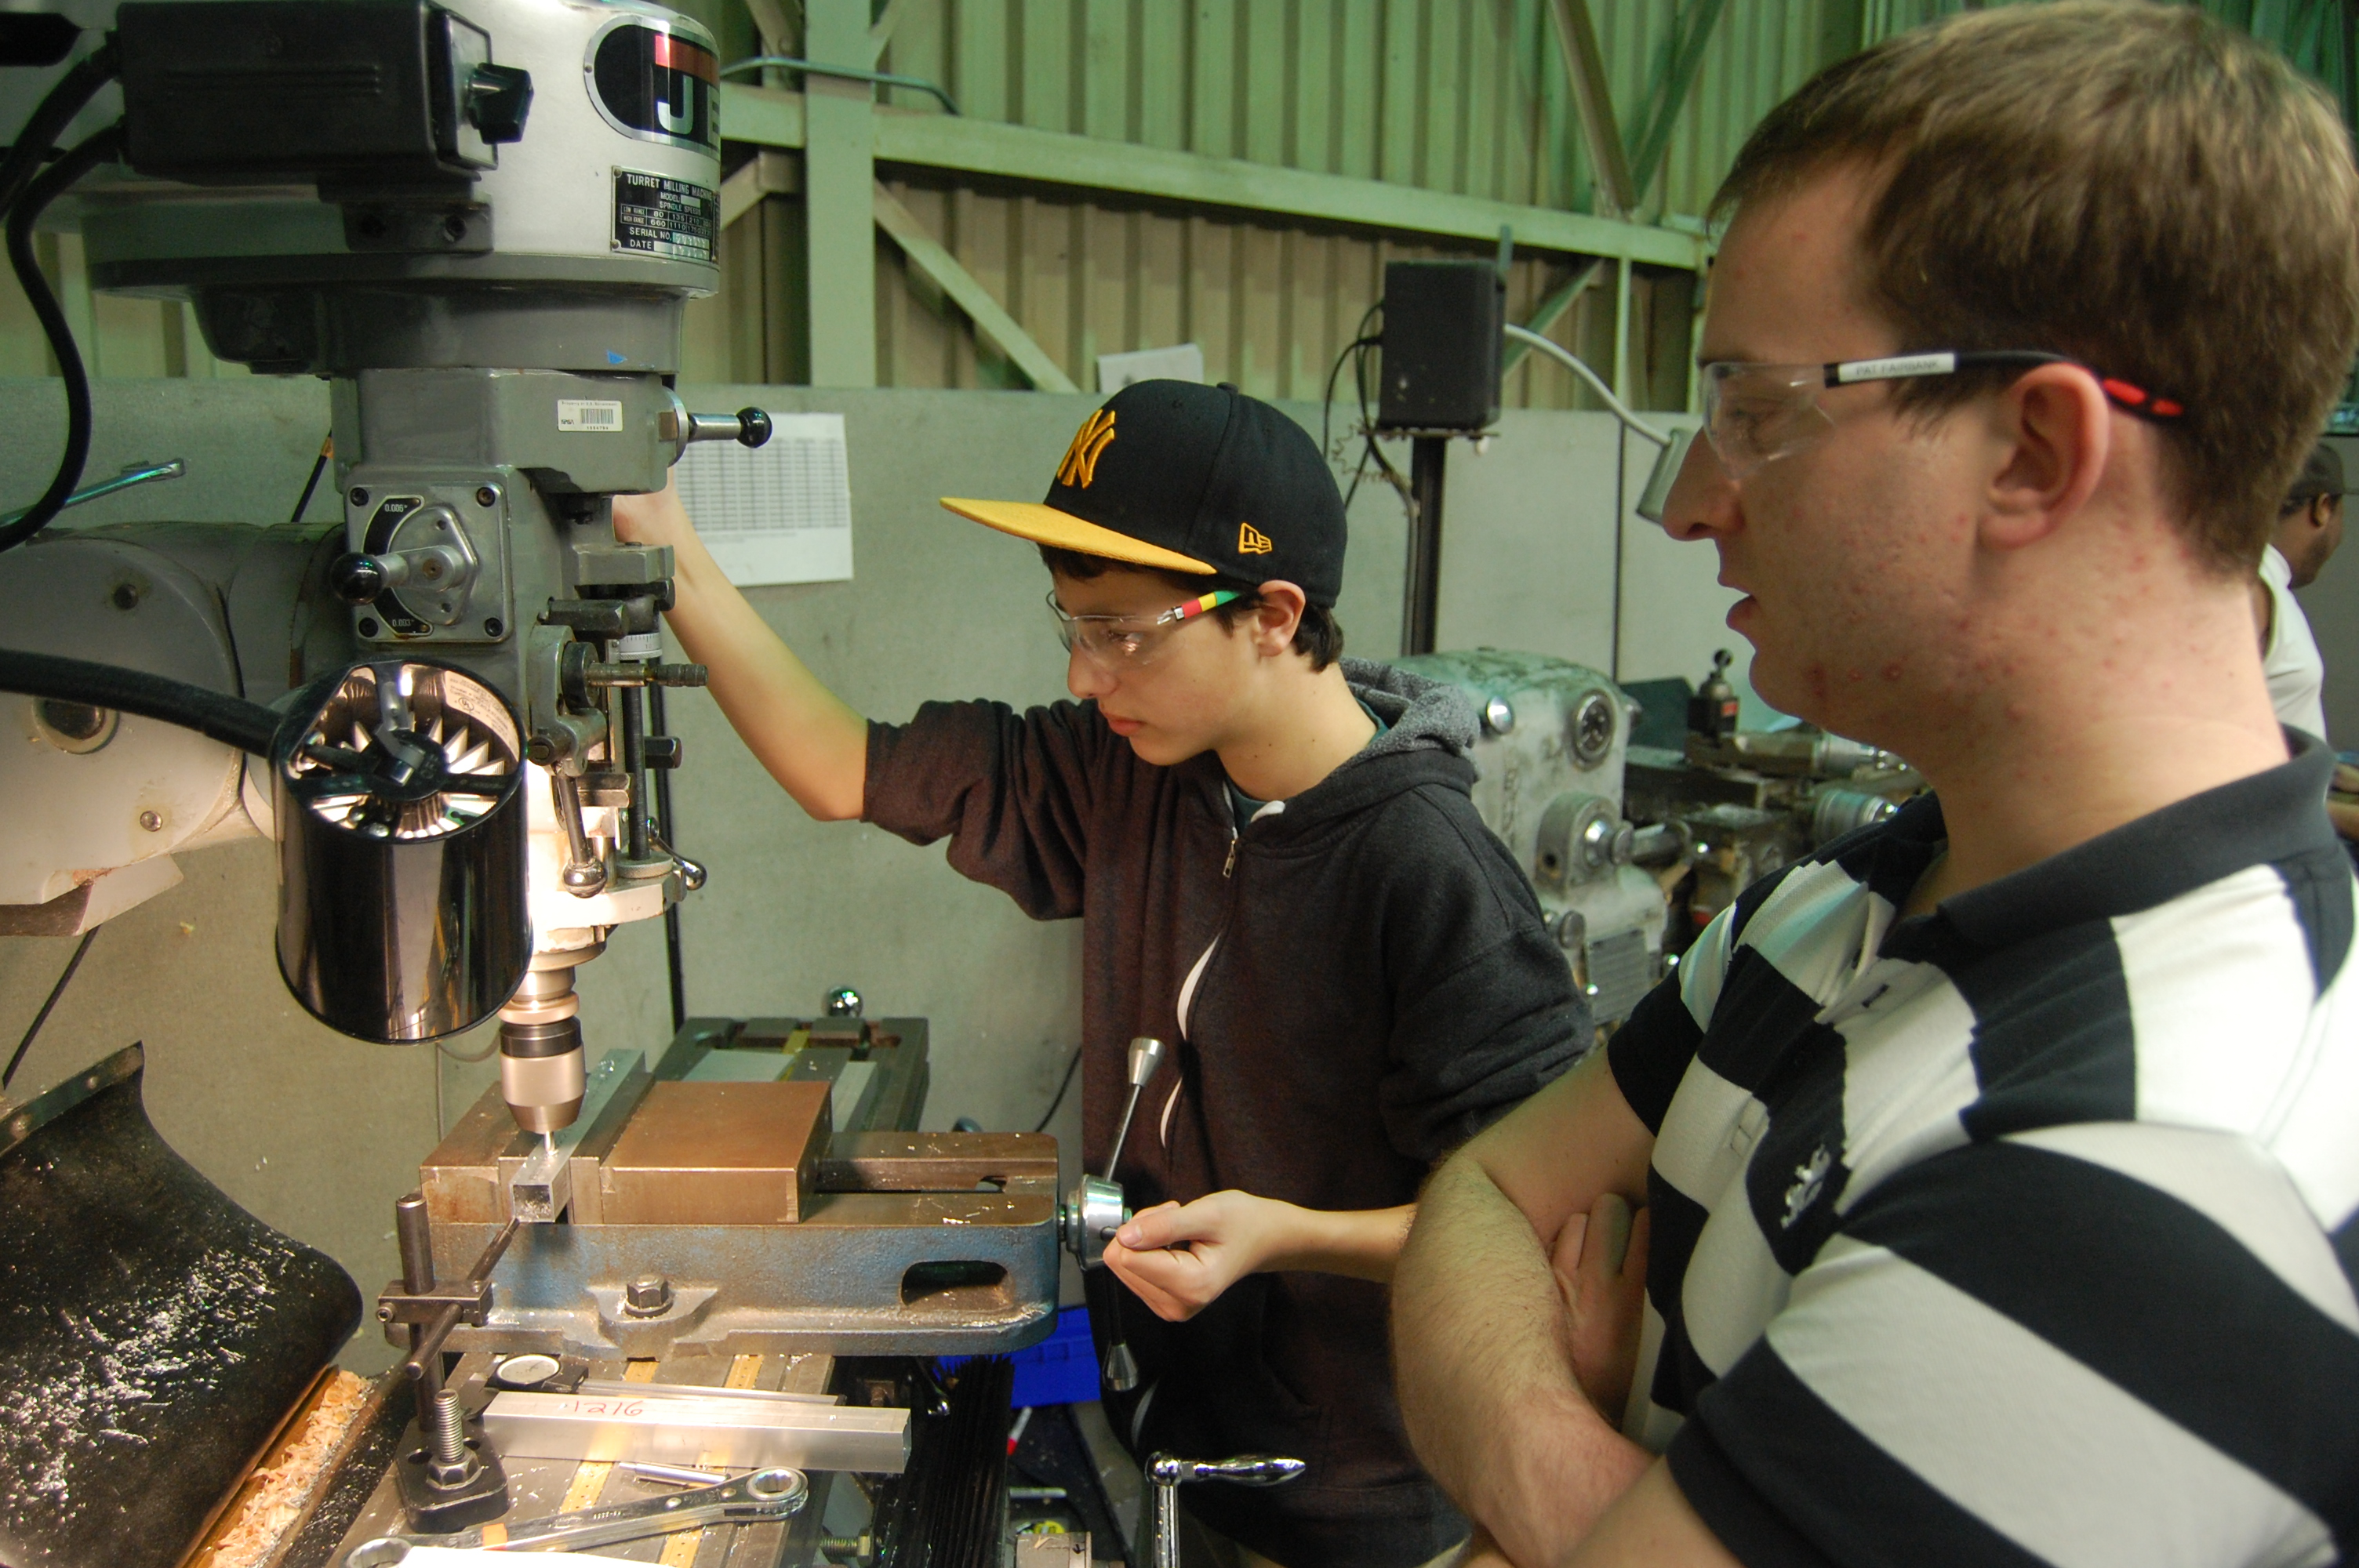
Precision Milling with Pat and Nick
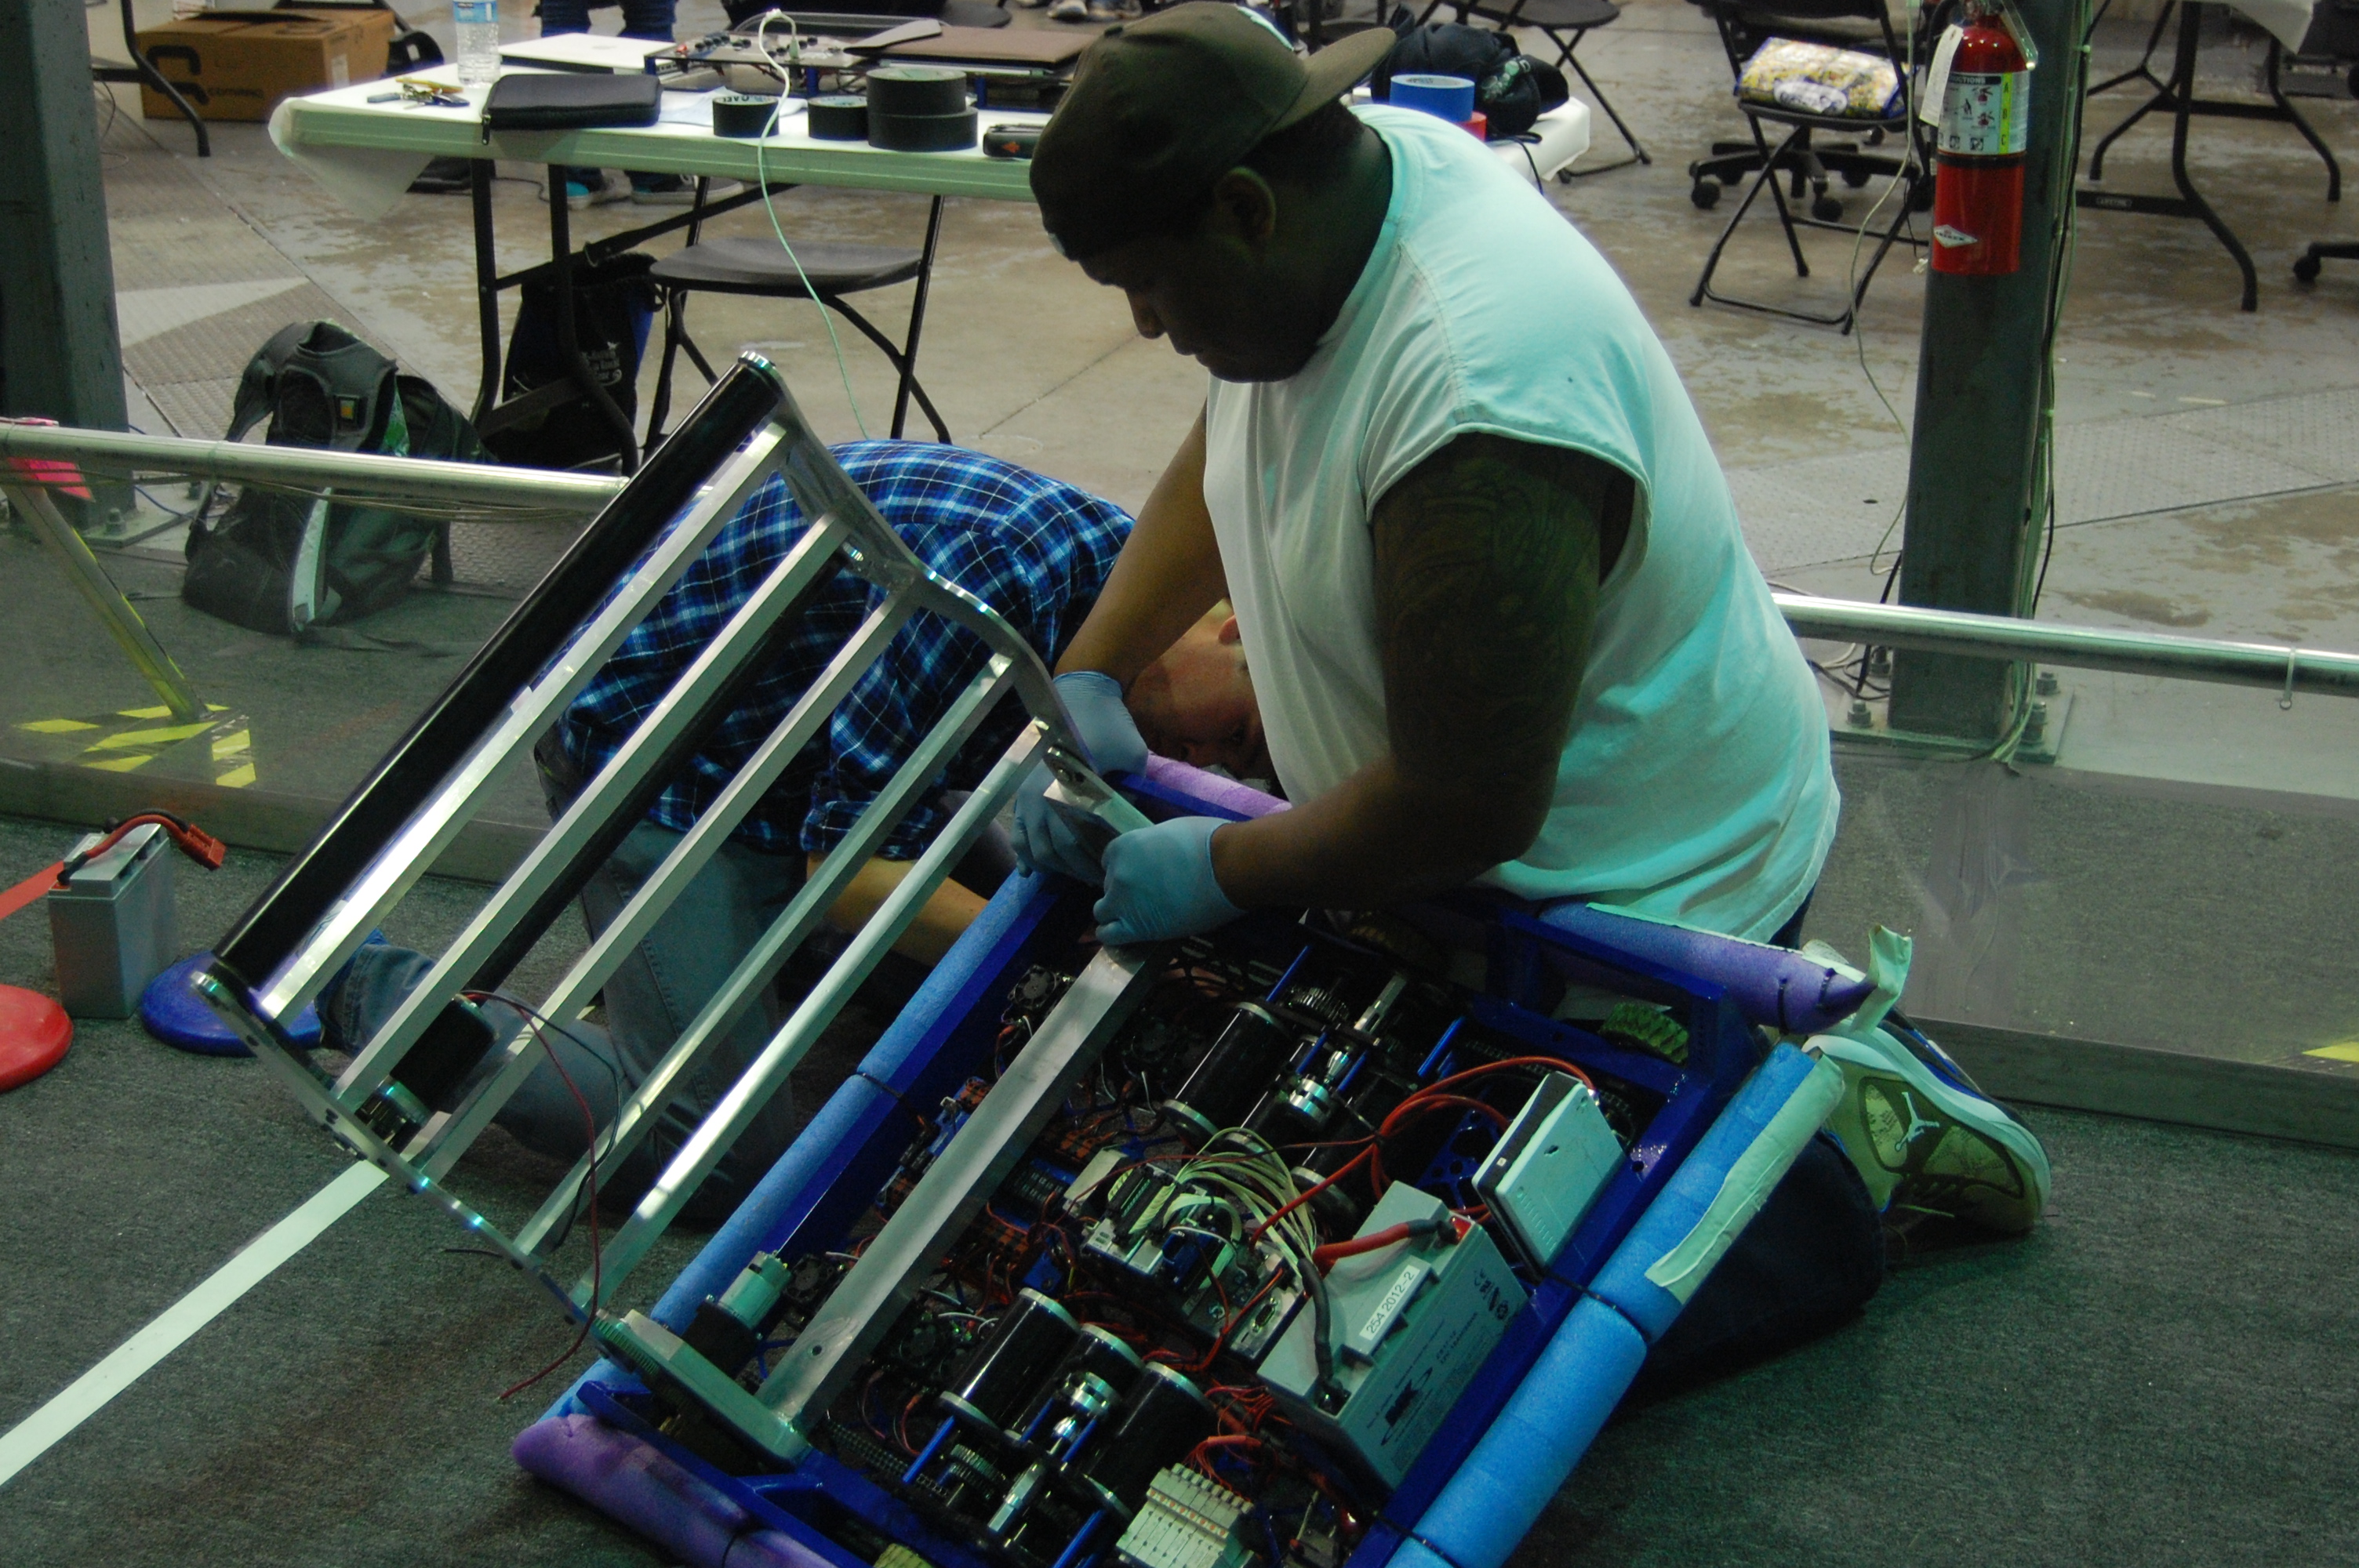
Intake
Students with the help of mentors assembled the intake today. First, bearings were pressed into the intake side plates, and some were attached using bearing retaining screws. Then the rollers were fitted with BBD to help grip the frisbees. Team 254 debuted the use of a new BBD for the front intake roller, which is twice as large as the previous BBD used. Next, the intake gearbox was assembled and lubricated, and the was attached to a mini-CIM motor. This entire assembly was then mounted to one of the intake side plates.

Assembling the Intake
Addionaly, the intake was mounted to the practice robot for testing. Students along with the help of mentors assembled and lubricated the VEX pro planetary gearbox powering the mechanism lifting the intake. This is a special gearbox which will allow for a 100:1 gear reduction in a small volume, which increases torque. It also transfers energy coaxially, or along the axis of a shaft. A BaneBots 550 motor was attached to the gearbox, and this assembly was attached to the intake mount. At the same time, students countersunk VEXpro gears for the intake, and mounted them on the intake and the intake mount.
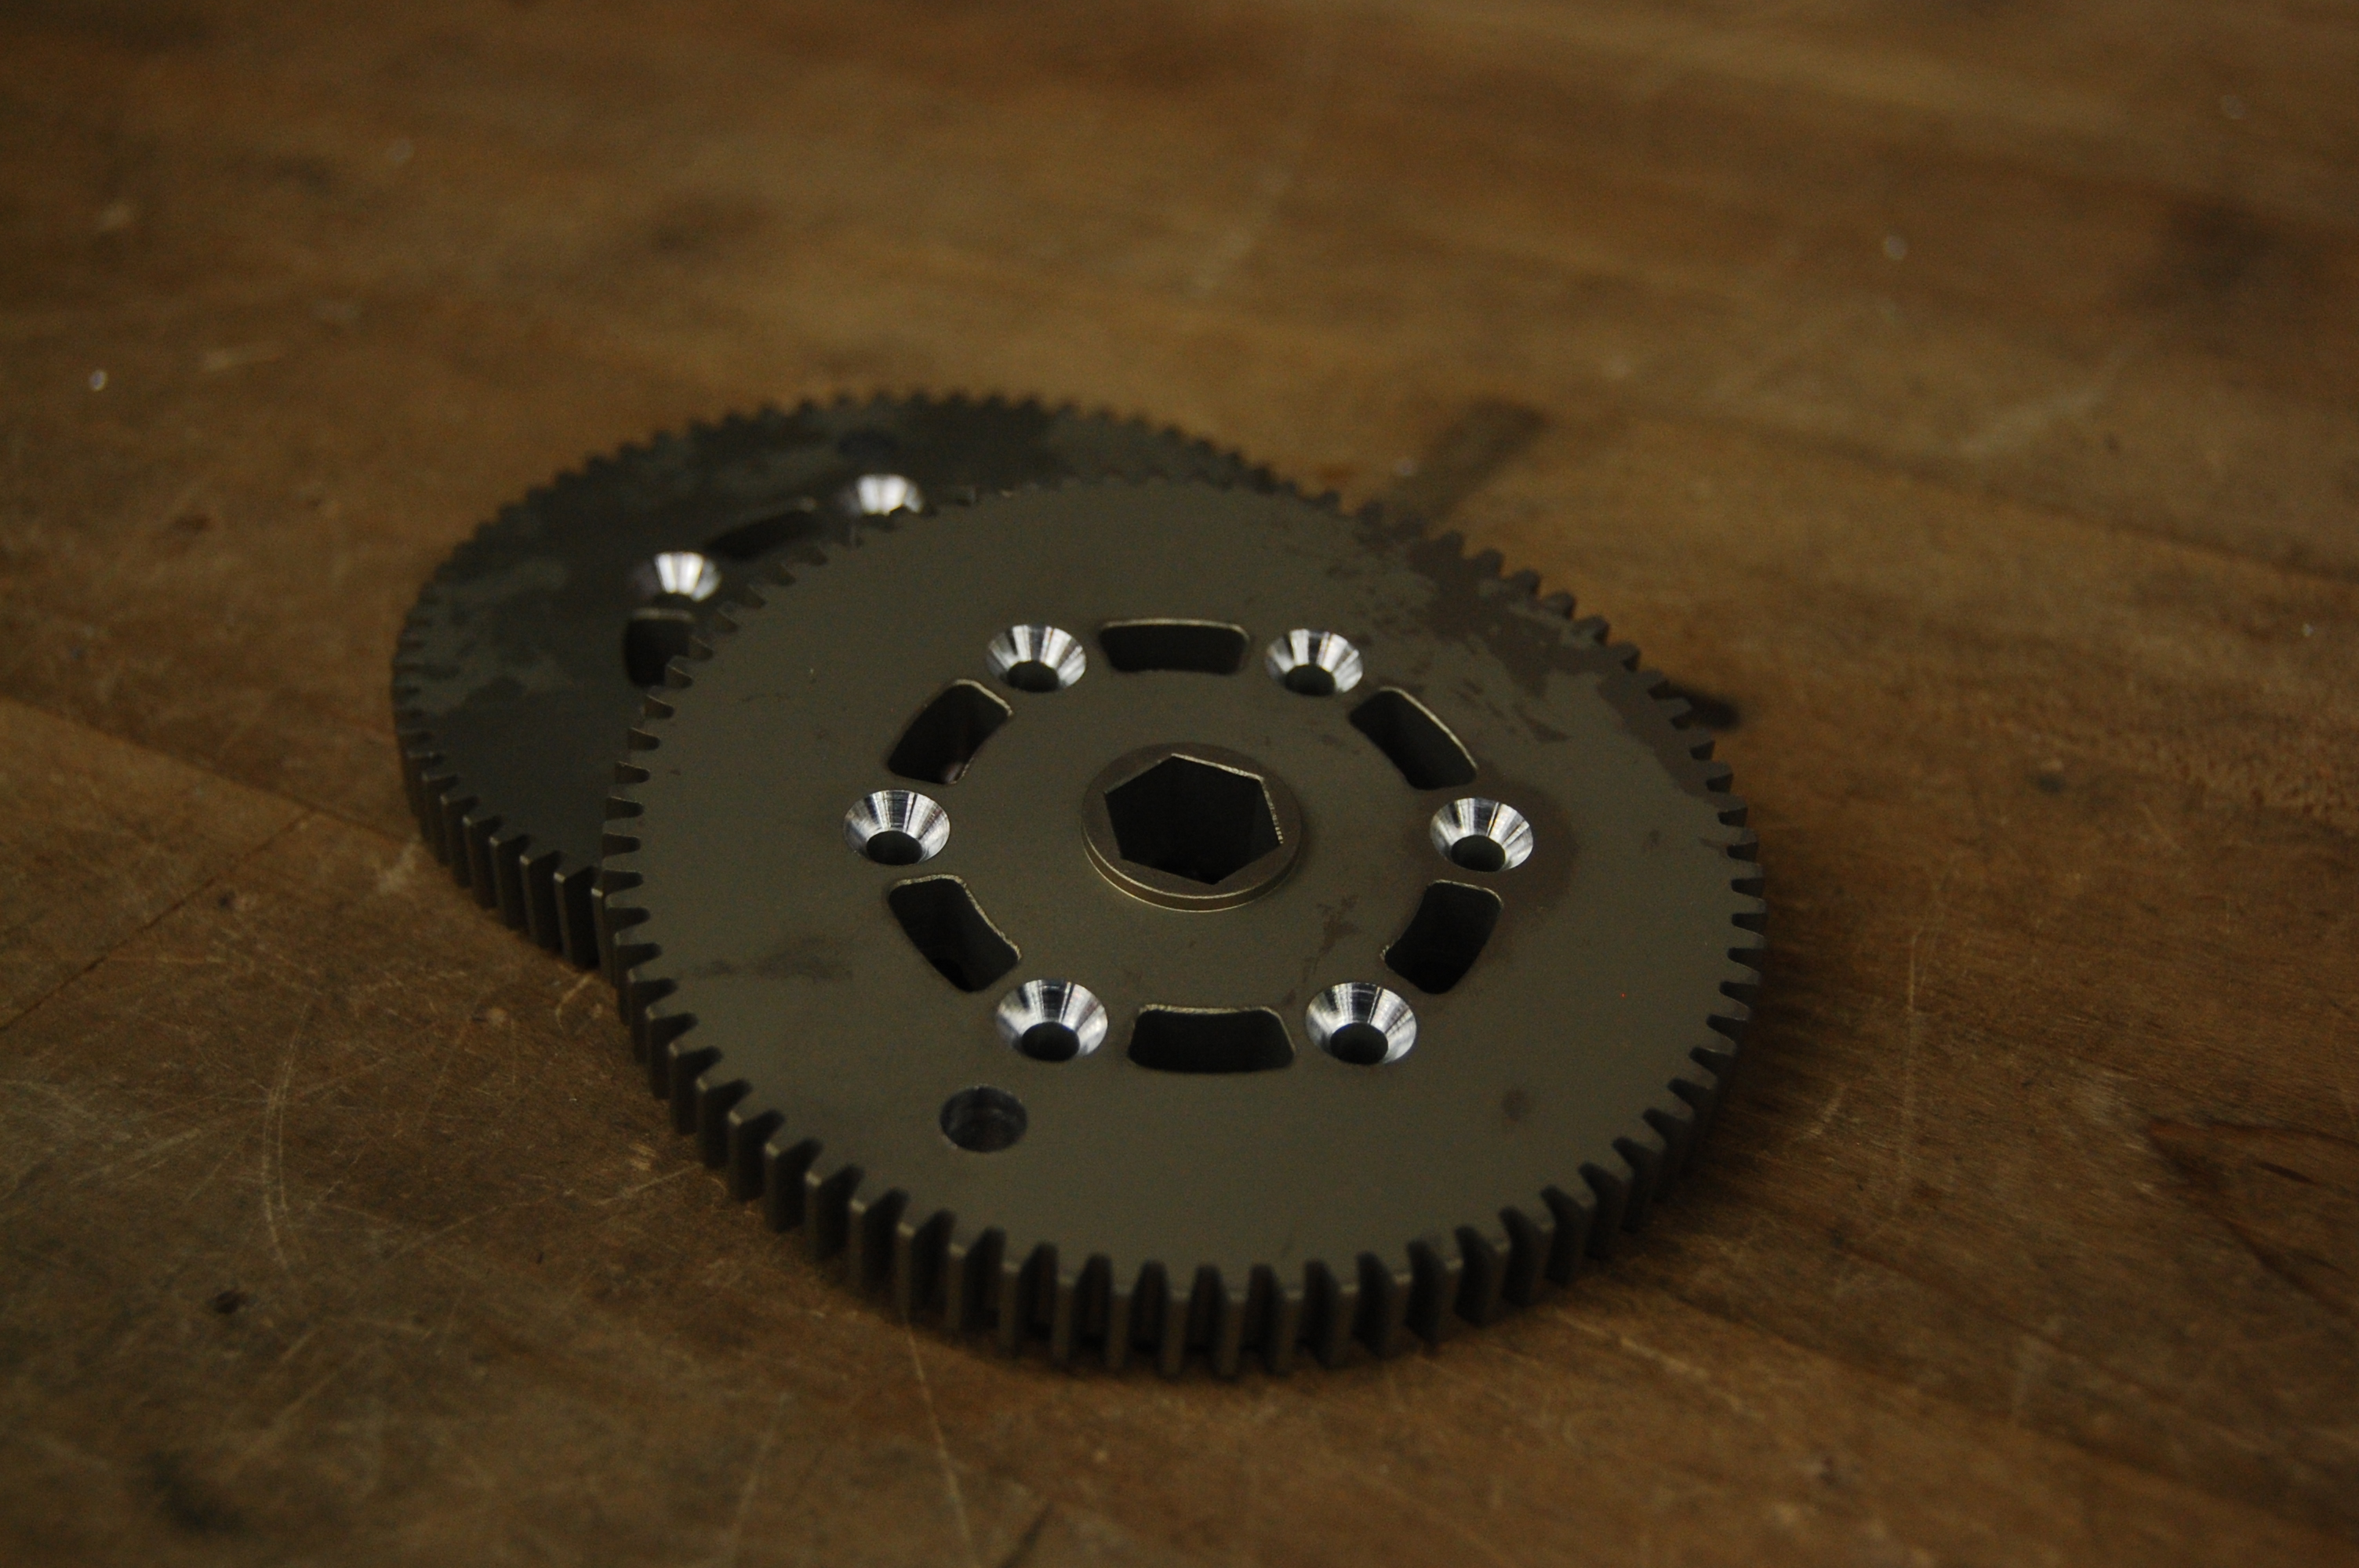
Counter-sunk Gears
 EJ and Jonathan mount the Intake
Field
Several students and mentors worked on fixing the structural supports for the goals that were created yesterday. Students first worked on creating new wooden shims to keep the vertical supports in the right place. They then worked on getting the structures on both sides of the field attached and aligned on the driver station wall. With Travis’s help, students also leveled the top of the driver station walls using a sawzall tool. This allows for the goals to lie flush on the supports. Students then worked on getting the goals mounted on the structures by first mounting the frames onto the structure, then placing the goals inside the frames. As of today, the red side of the field has been completed.
Art Kalb machining the wooden shims
 Students and Mentors align and mount the goals
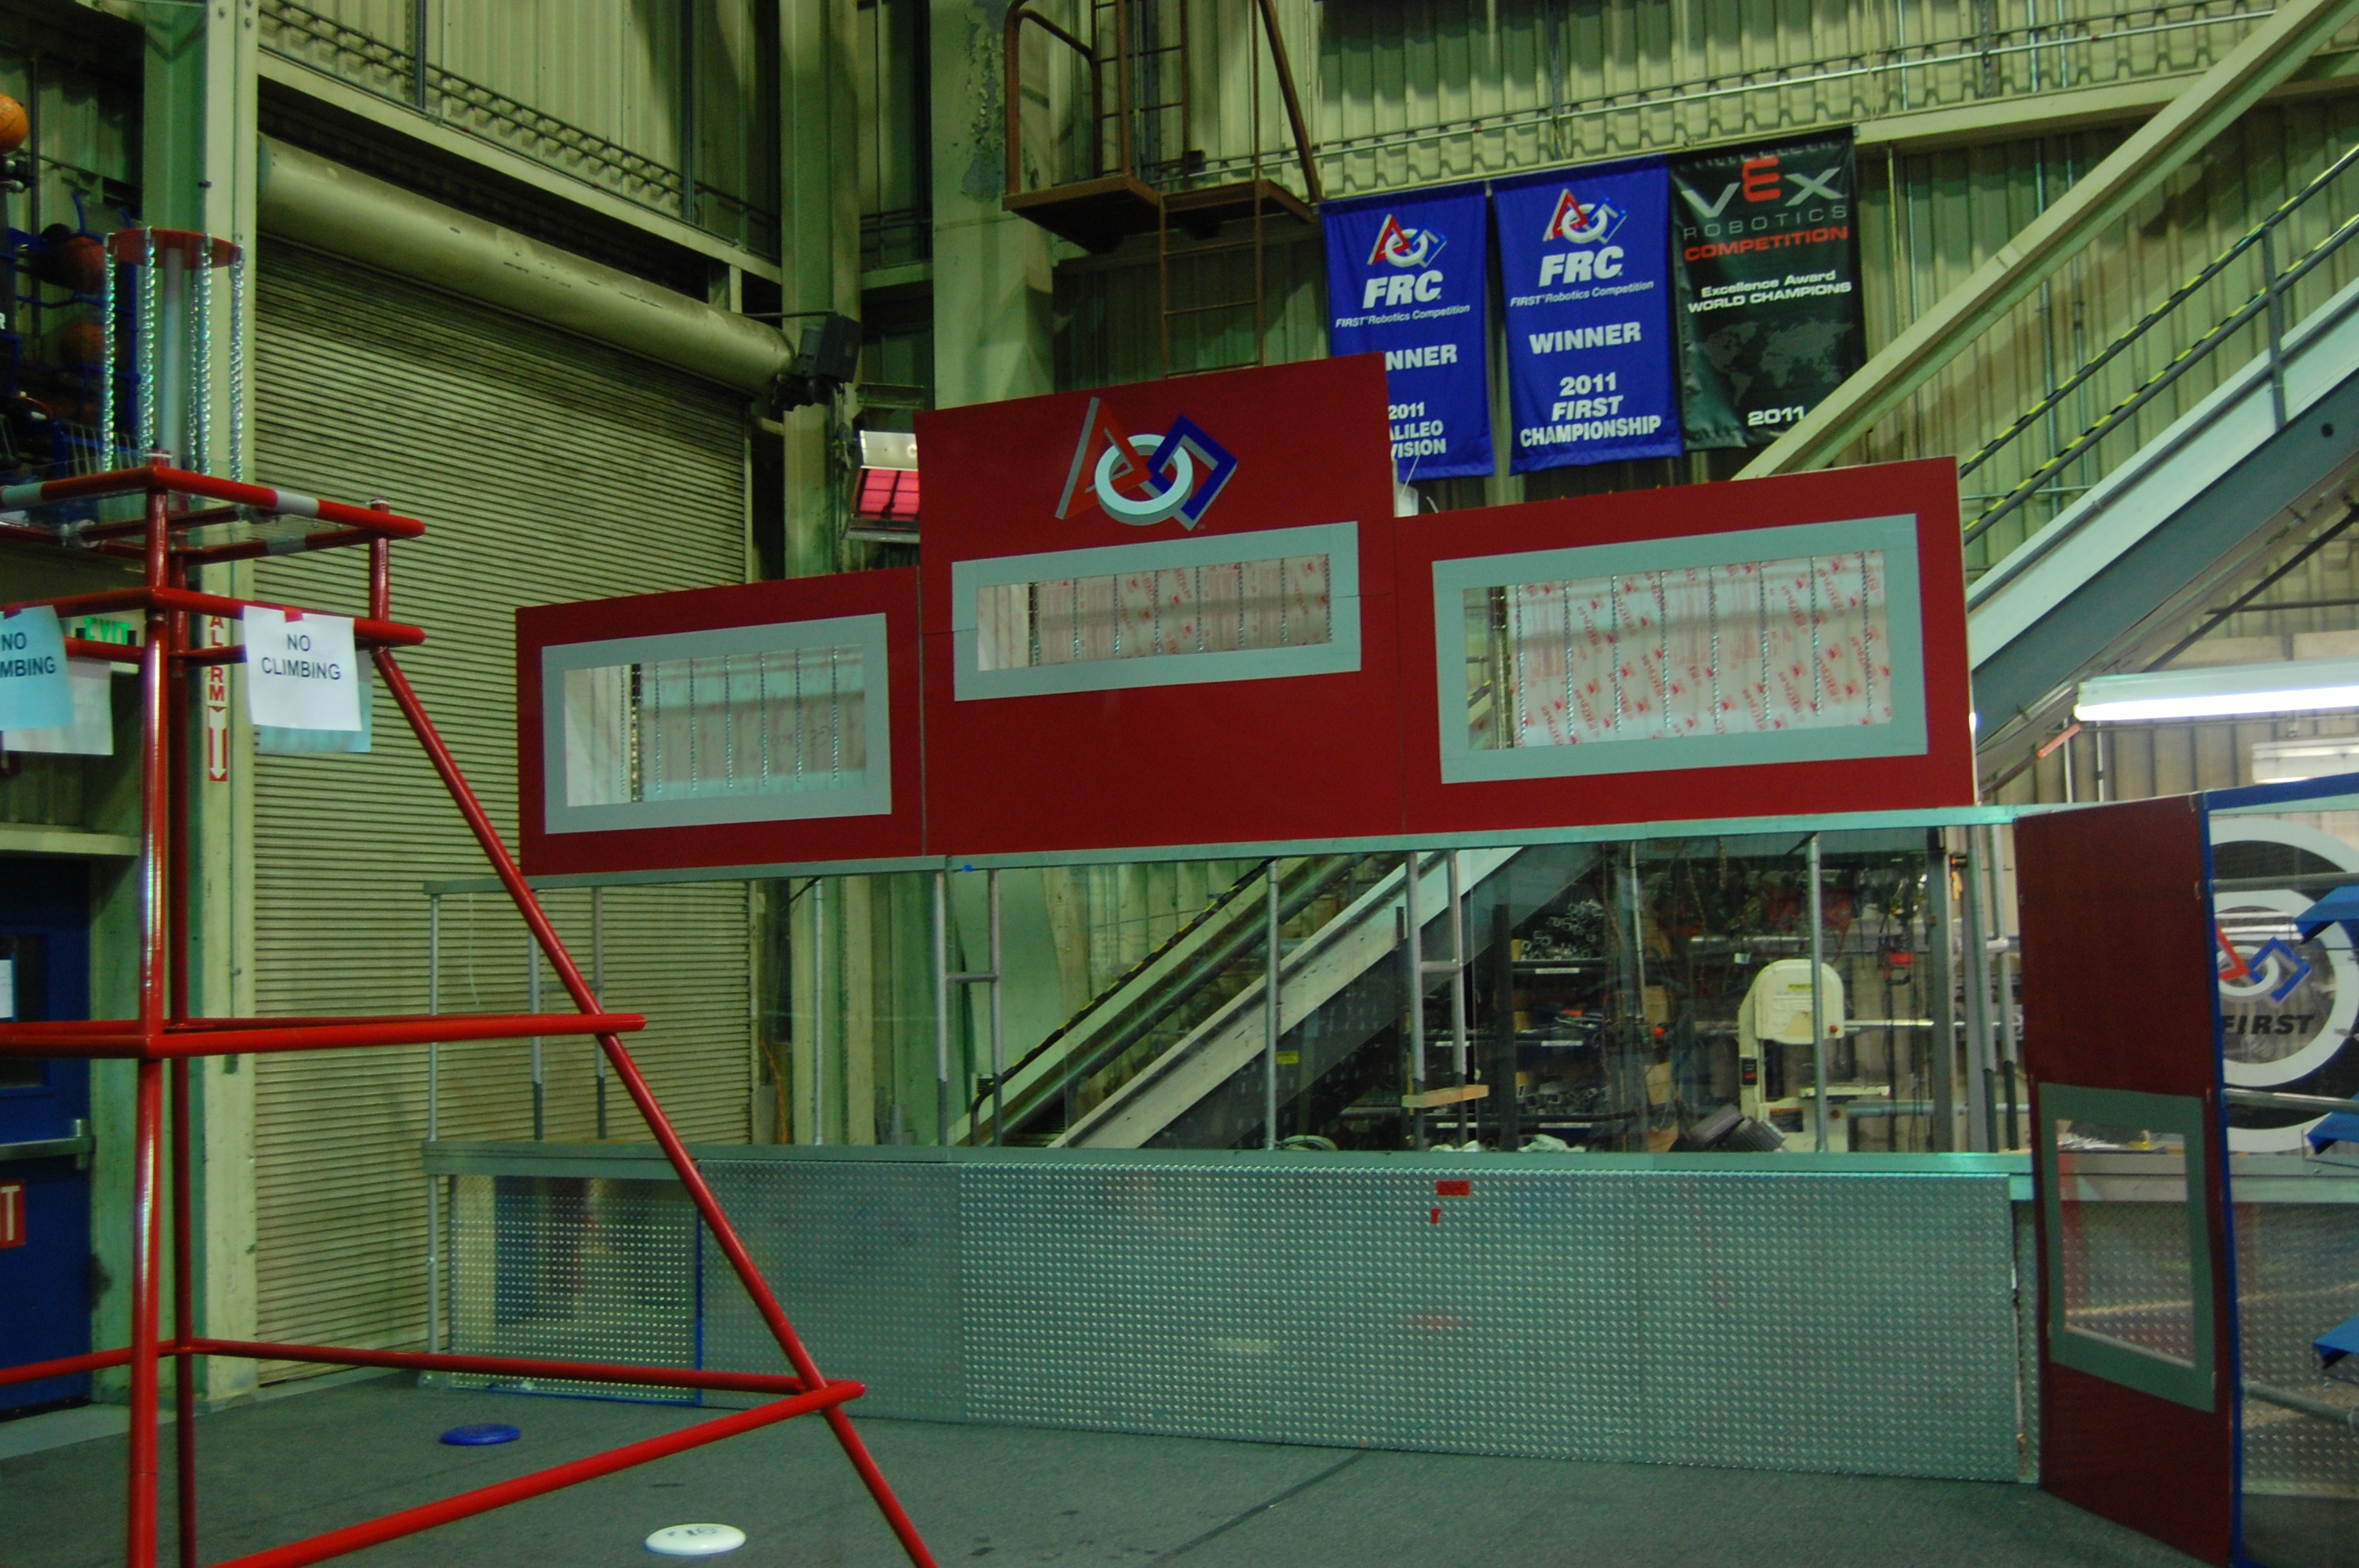 The Red Side is Done
Action Items
- Finish attaching Blue Goals
- Finish machining shooter parts
Lab Closing Time: 3:30 AM
