
Day 15: CAD, Machining, Prototype Robot, Programming, S’MORES!
by Clay Rosenthal
Important Reminder
Wear safety glasses on bottom floor of lab at all times! Even if you are not machining or there are few people in the lab this is a requirement.
CAD
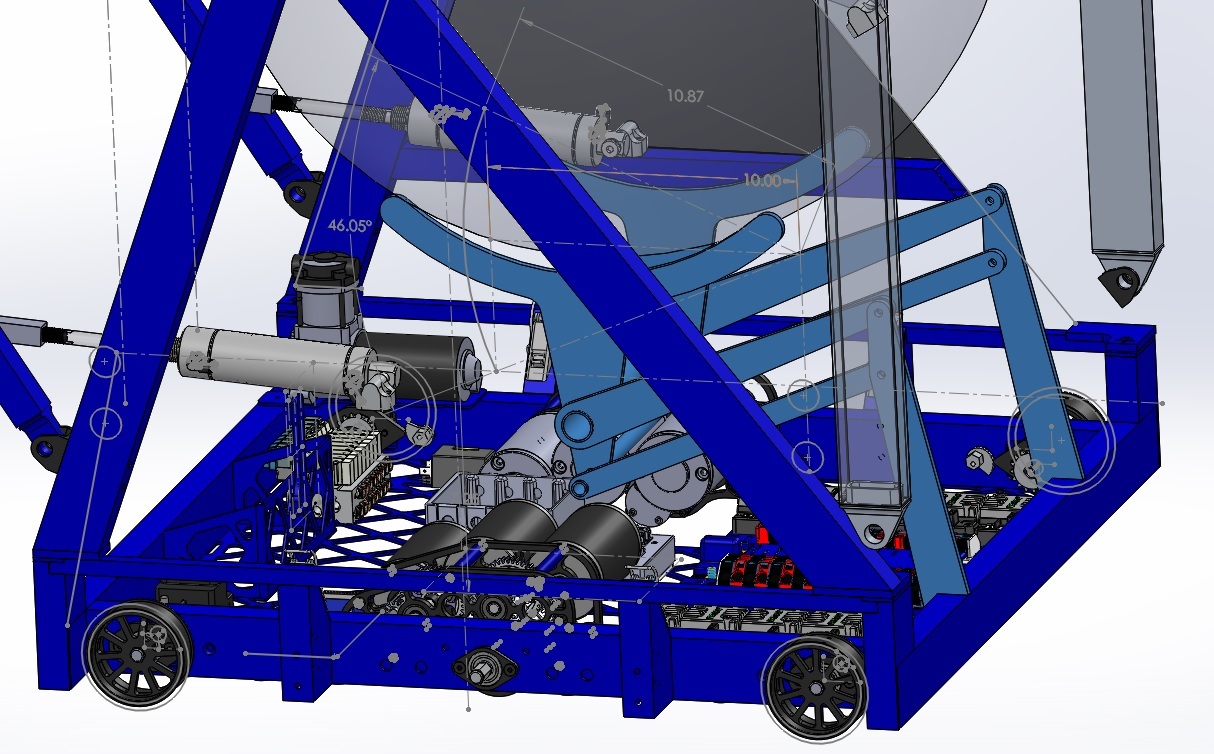
Today, work continued on the design of the inner plates of the hood. We also investigated the use of a Watt’s linkage for lifting the ball into the shooter. The Watt’s linkage has a large (approximately) linear region in the center of its travel that we could use to lift the ball straight into the shooter. A separate lifter idea used a 4 bar linkage to lift the robot. Work on both of these projects will continue tomorrow.
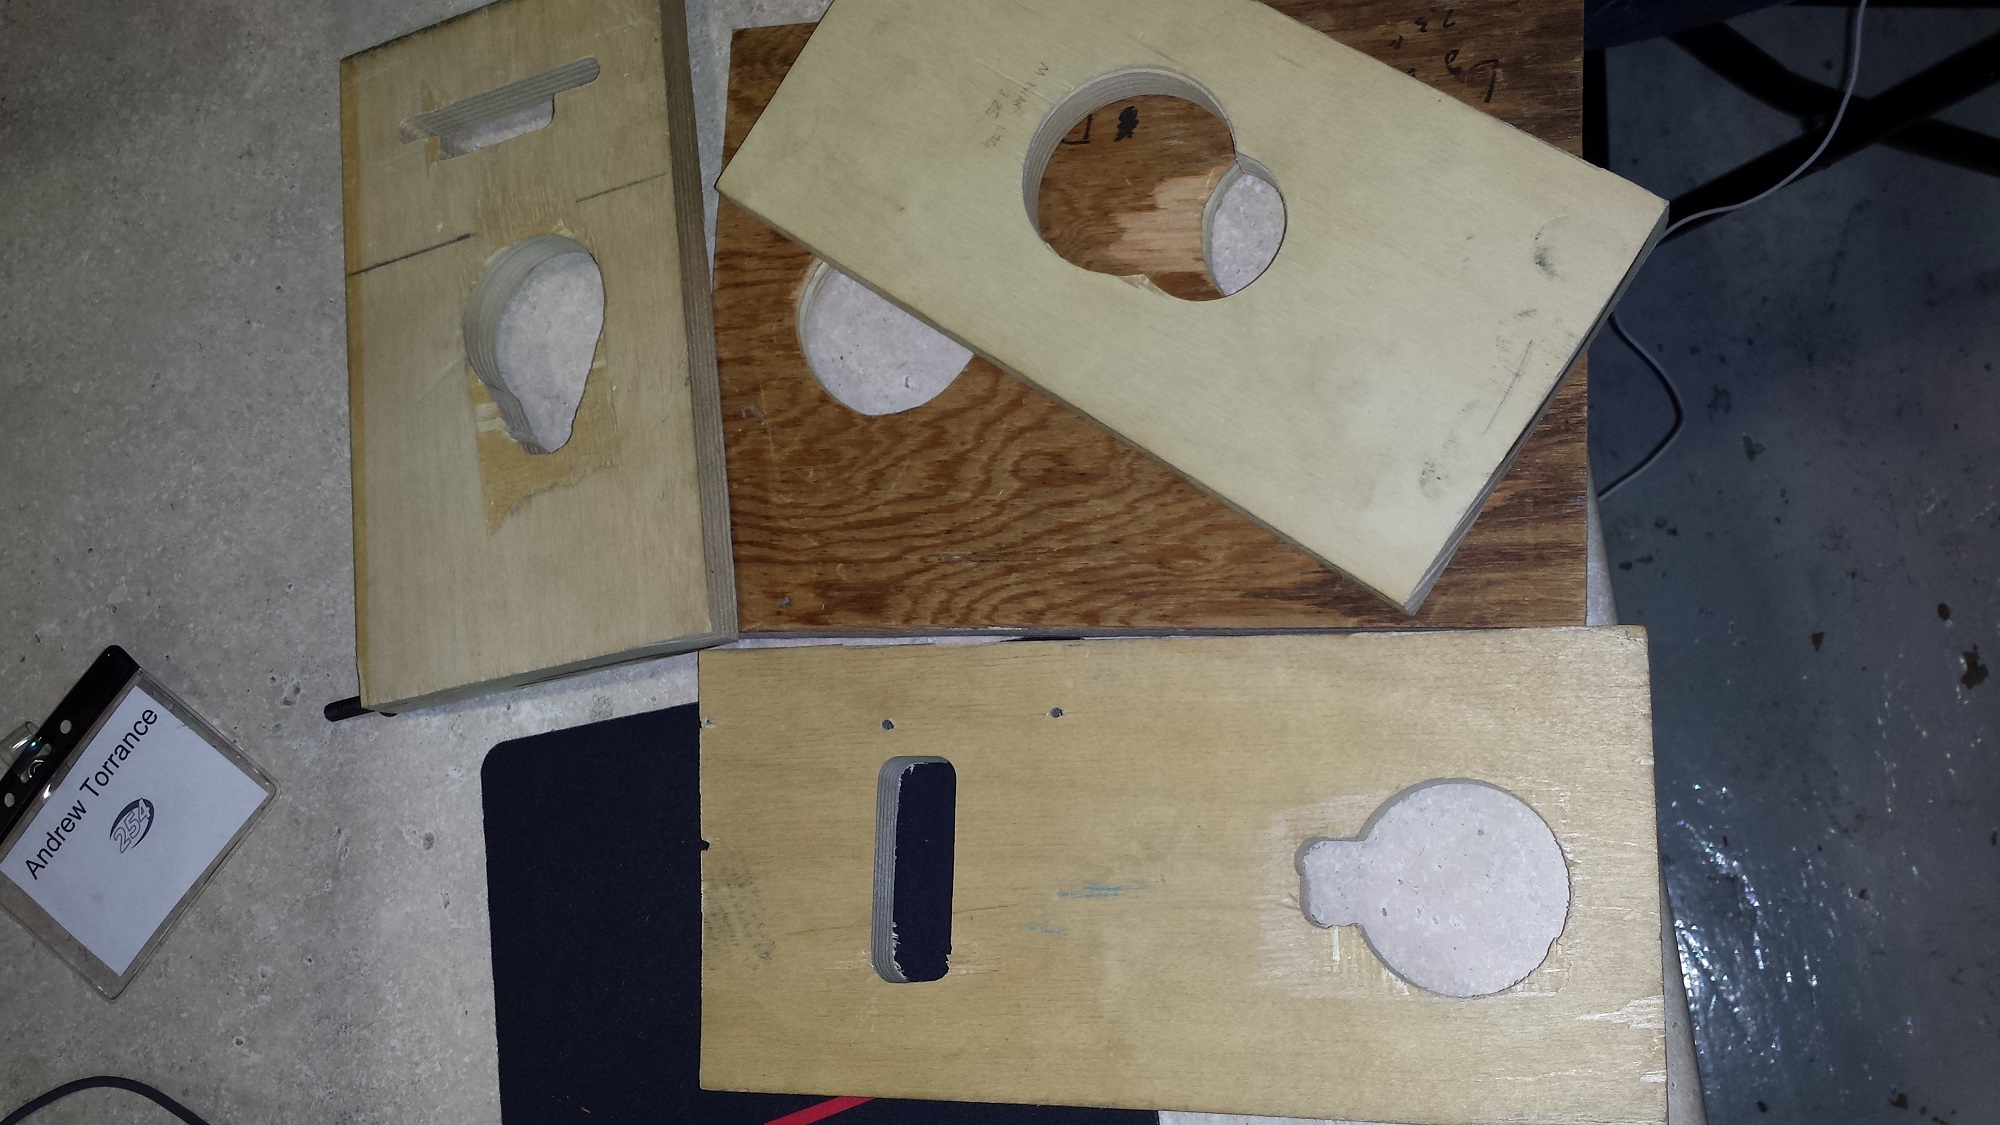
On the drill holder, holes for the large Milwaukee and DeWalt drills were prototyped today and the CAD was approved. This will soon be sent to Good Plastics for routing.
Buttons were added to the CAD of the control board to our operator’s specifications.
Machining
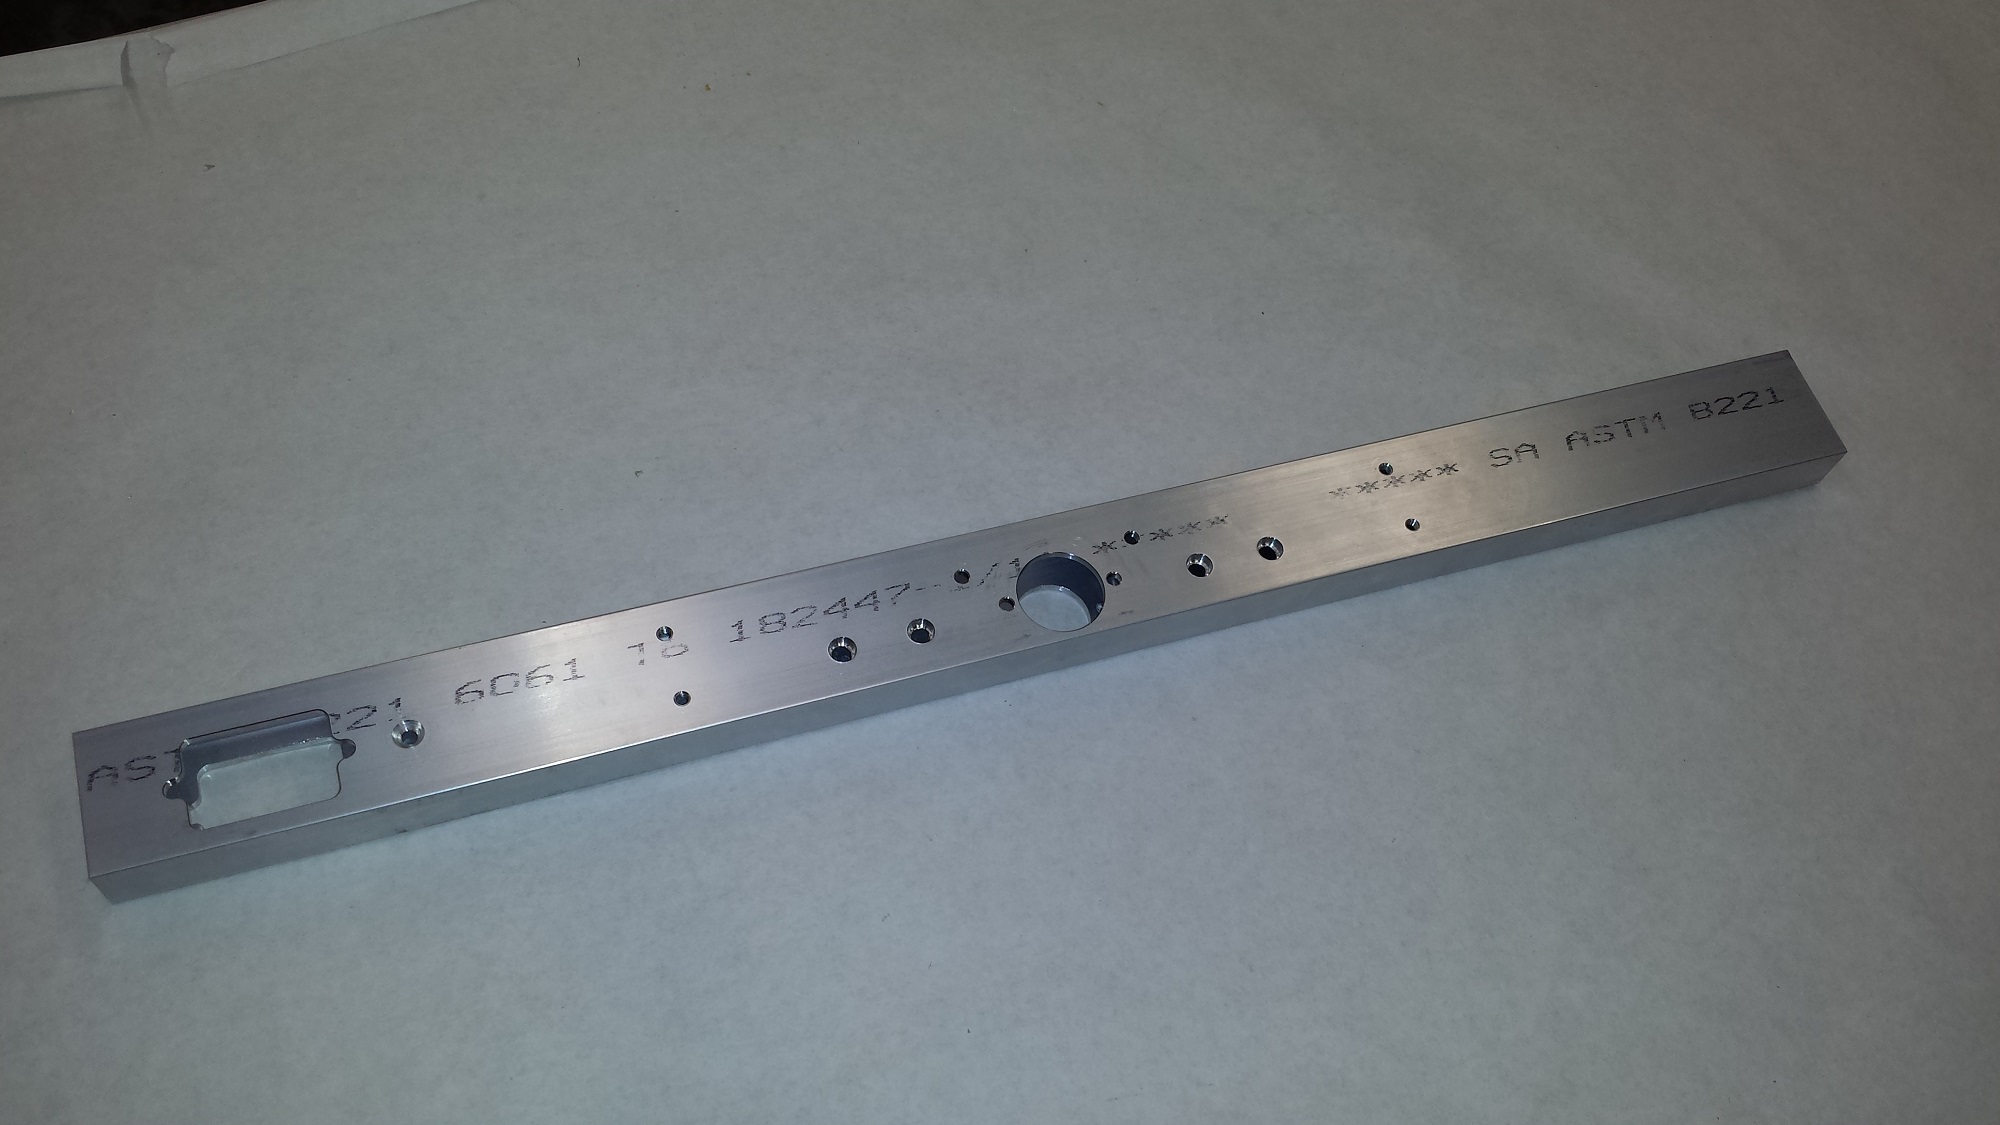
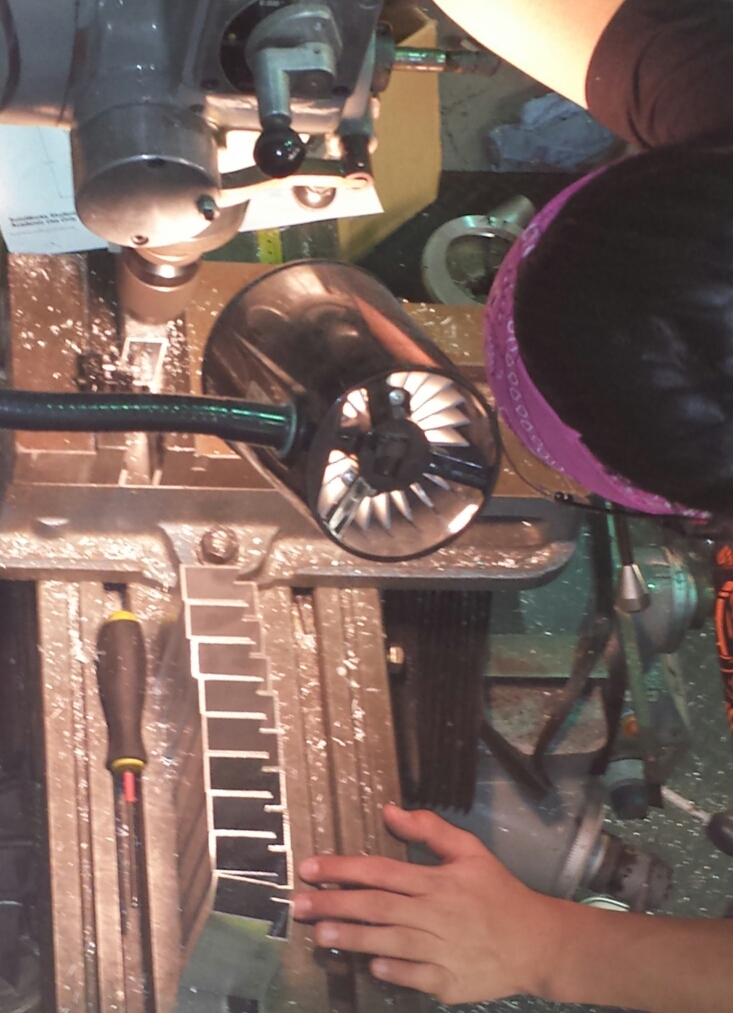
More pieces for the drivebase chassis were cut today including 4 frame side rails. Also, middle bumper supports were machined with the mill. These will eventually be riveted together with the rest of the chassis and sent out to welded and powder-coated.
Robot Prototype
The prototype was tested today. The robot was able to intake, “pop” the ball, and shoot it with driver control in the afternoon. The robot has balance issues that can cause it to tip and fall on occasion, as shown in yesterday’s post. In the evening adjustments were made and there arose complications involving the pistons for the popper not rising at the same time. This was fixed but will need to be perfected. The hood was extended to change the firing angle and the fly wheel had an extra wheel added. A button was added to the intake to help with autonomous. Also a more solid back plate was added to help keep the ball in. All of these modifications are making the shots faster and improving consistency and accuracy.
Programming
Today, the programmers first worked on designing an auto-intaking control loop to hold a ball in the intake off the ground while another ball is in the robot. This will allow the robot to transport multiple balls in autonomous. The control loop started very rough, simply running the intake whenever the ball lost contact with a bumper switch. Later, we added an encoder to the roller and designed a control loop to smooth the intake.
The second thing that we focused on today was the data grapher webpage. We decided what the layout of the JSON file that we send would be. We eventually decided to go with one big file that would contain many separate JSON objects for each graph.
Finally, the programmers worked to implement a simple two-ball autonomous routine. While it takes far longer than ten seconds to run, it is a good proof of concept.
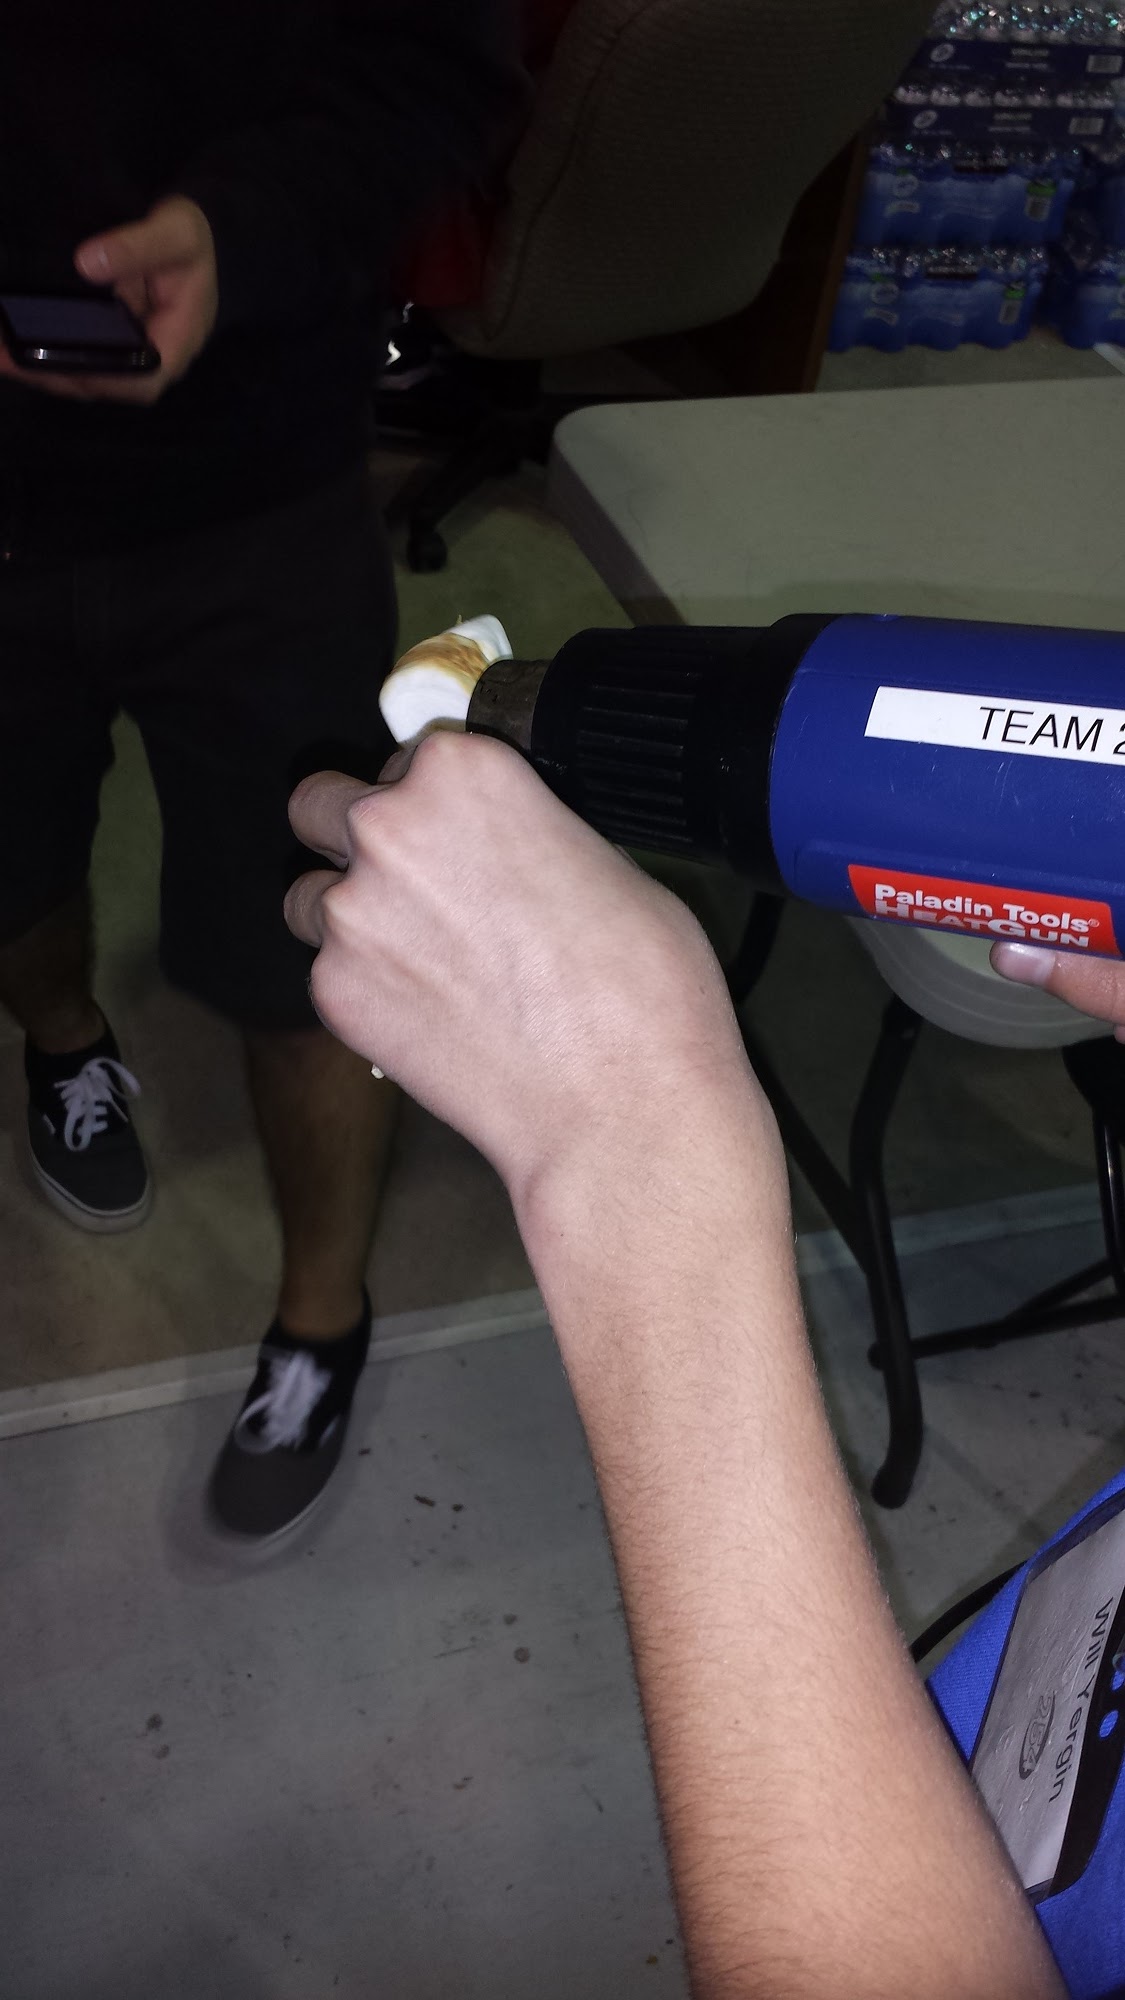
S’mores
Late at night, we made s’mores using a heat gun. It worked really well and the s’mores tasted great! We should do this more often.
Action Items
- Check the Trello!
- Finish refurbishing of the pit shelving crate (repaint, attach hinges/latches, add wheels)
- Programmers: test flywheel controller and intake state machine.
- Begin CAD of the Battery Cart.
- Continue improving robot prototype, make more consistent.
