
Blog - February 2018
Build Blog Days 28 and 29 (2/23/18 & 2/24/18)
Programming
- On Friday, 2/23, we handed off practice bot to the programmers to begin working on autonomous code. The programmers rewrote a large portion of our code to greatly simplify all our state machines and change the way operator controls work. They separated operator controls into wrist angle presets and height presets and experimented using an xbox controller rather than the button board. They also began working on some autonomous actions for intaking, setting superstructure position, and shooting/placing cubes.
Driver Tryouts
- We had our first round of driver tryouts, where all 254 members interested in joining drive team participated in a written test. The purpose of the written test was to test one’s knowledge of the Game Rules and Drive Team Positions during a match. A few lucky students were chosen to move on to the second level of drive tryouts where they were able to drive Misfire, our robot from last year. Students were asked to pick up gears from the field and place them on a makeshift peg, using the controls on our driver station. After these two rounds of tryouts, we narrowed our choices for students on the drive team, and will finalize our choices over the course of this week.
Driver Practice
- To facilitate driver practice this weekend, we rigged up the wooden lever arm of the scale we got from the SJSU kickoff onto the aluminum scale we are currently constructing. Our driveteam also practiced with Team 973 and Team 5499 throughout the day.
Working on Programming Bot
- On Saturday, 2/24, we worked on getting programming bot to the same state as competition bot. This year, driving is an especially critical component of the game. Because our robot accelerates extremely quickly with the 6 MiniCIM drivetrain and has a high CG with the elevator, the driver needs to have confident control over the robot's motion to ensure it doesn't tip over and the operator needs to have confident control over the robot's operations to ensure our mechanisms are stowed unless needed and do not accidentally hit parts of the field.
Build Blog Days 18-27 (2/9/18 to 2/20/18)
It's assembly time!
Part 1
-
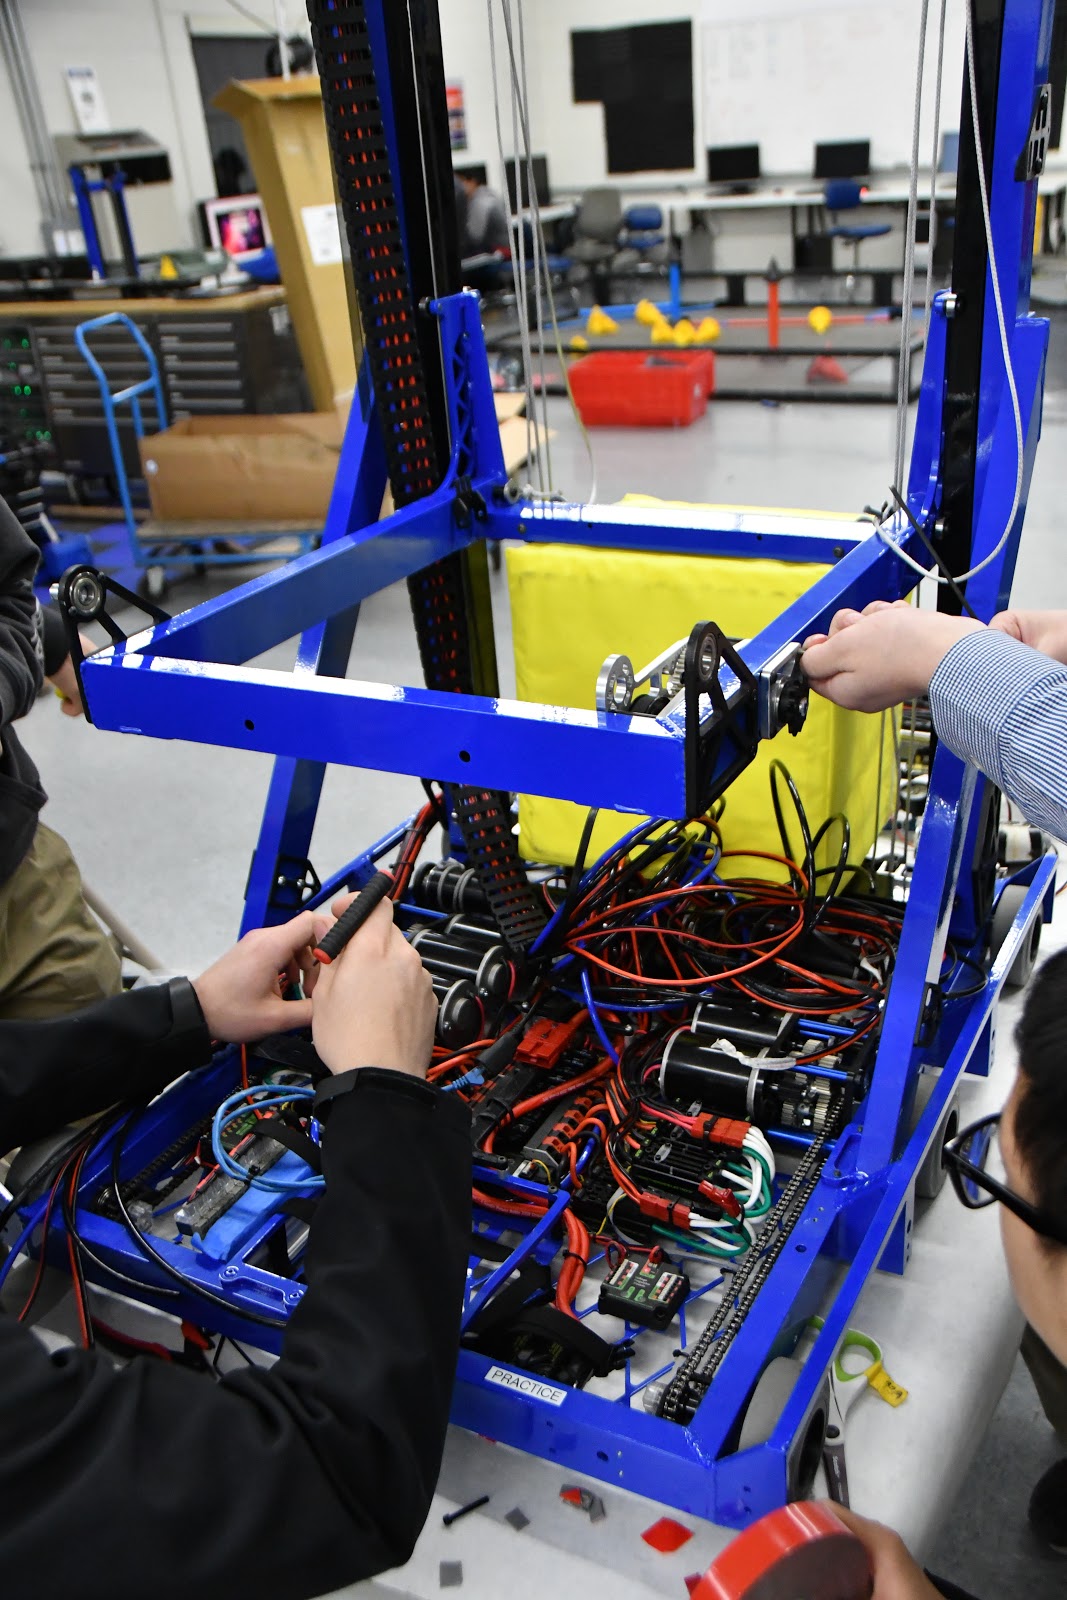
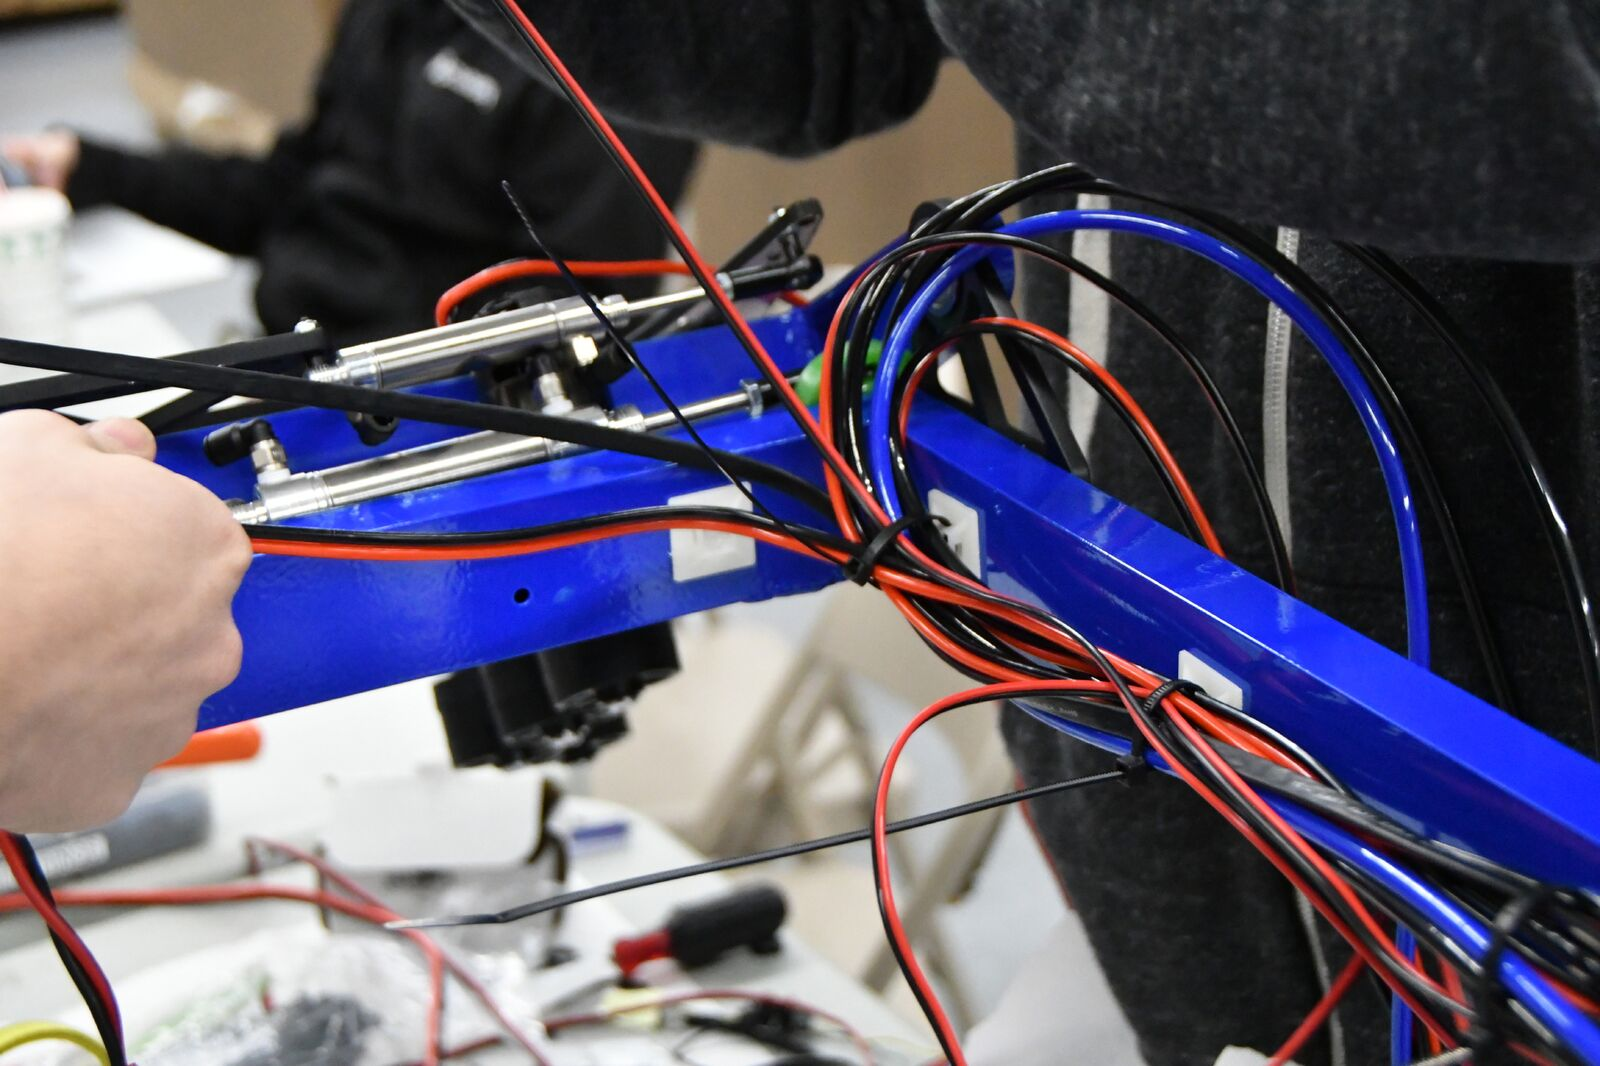
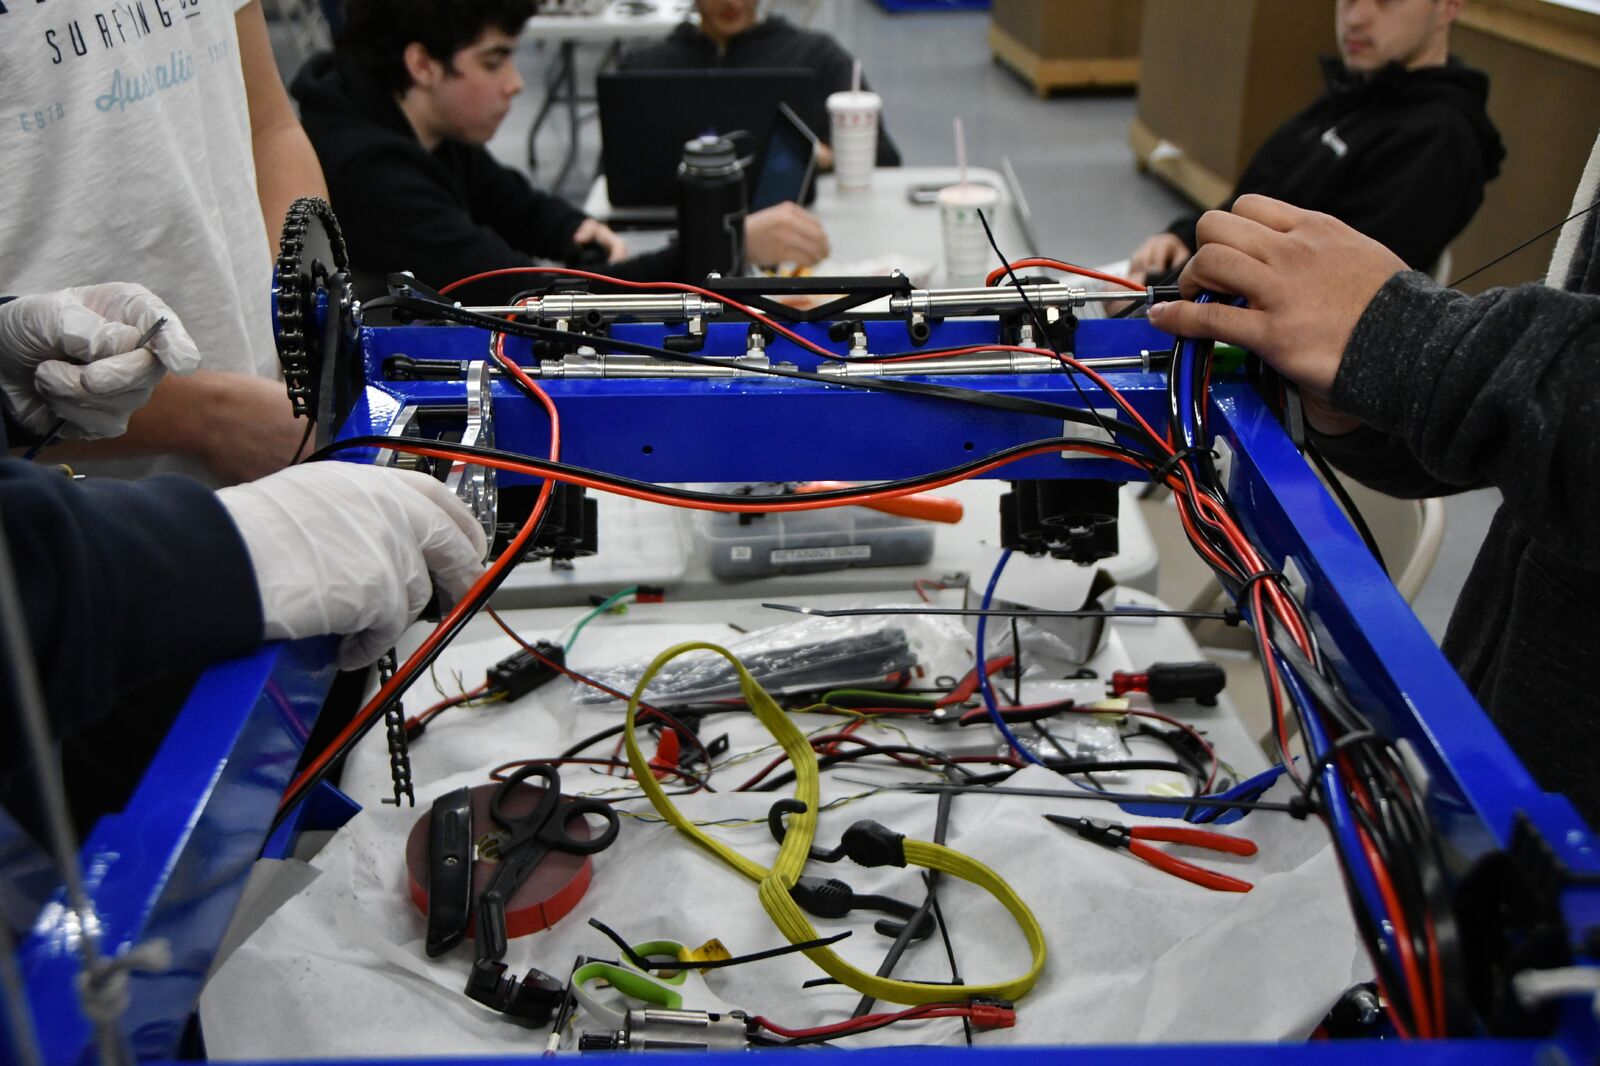
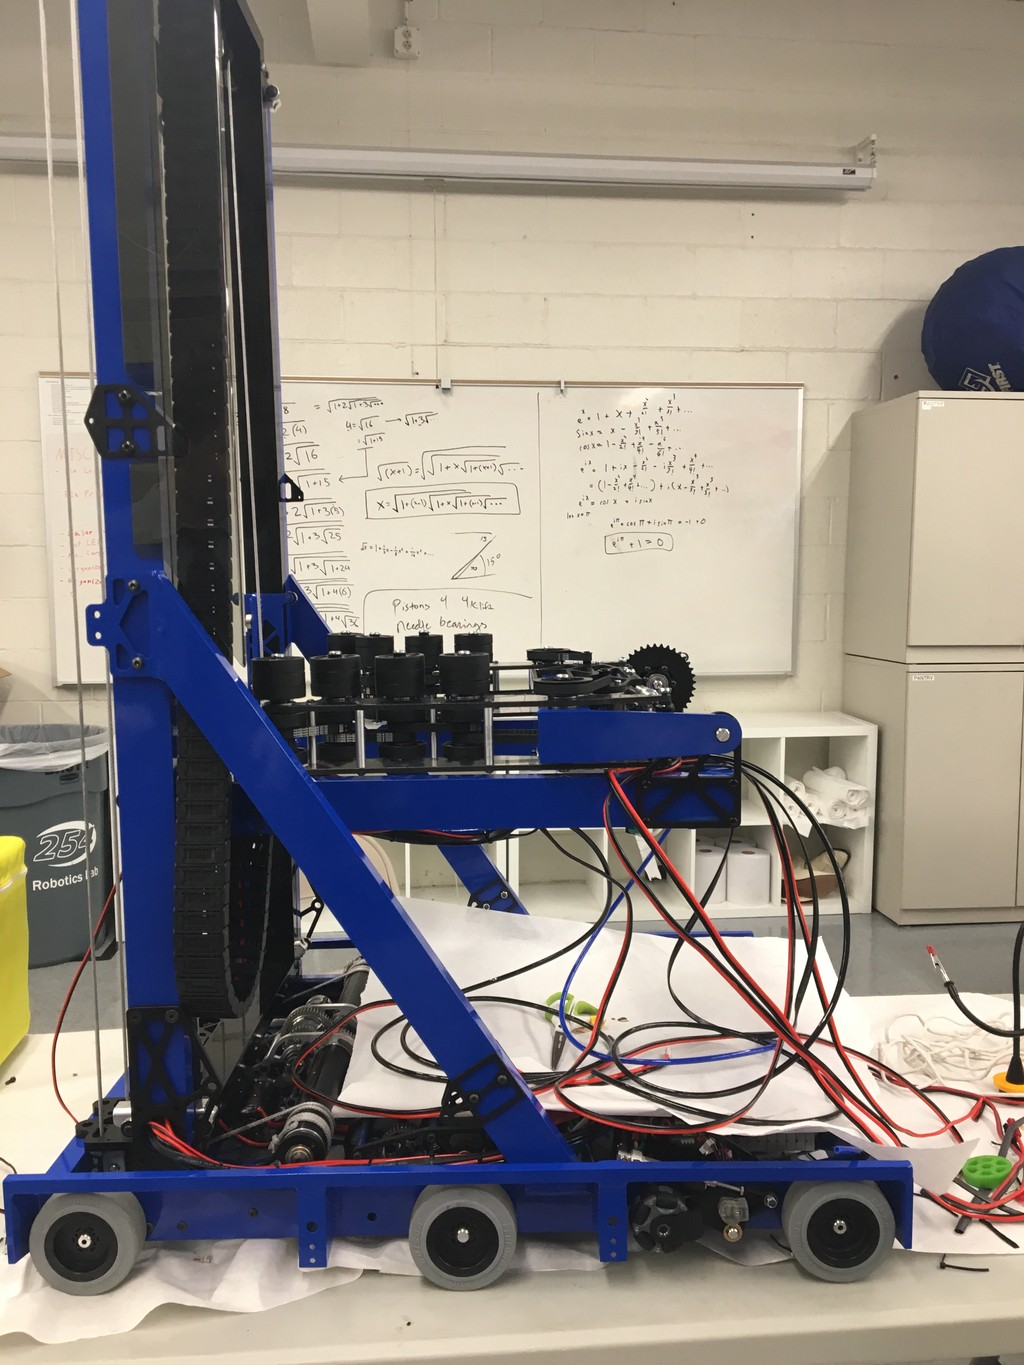
On Friday, 2/9, we assembled together the elevator on comp bot and tested out how wheel the intermediate stage and carriage slid with the bearing blocks. As we were sliding the stages, we noticed that the carriage was ripping off the powder-coating on the intermediate stage, so we decided to manufacture new inner stage uprights to be anodized for comp bot. We also assembled all 3 carriages and sanded down the welds. On Saturday, 2/10, we started putting everything together on all 3 robots. We installed all the bearing blocks and forklift brackets, and began wiring up the comp bot with the IGUS chain. We also decided to hook up a magnetic limit switch to the top of the horseshoe to detect the distance between it and the carriage. That switch will be connected to the encoder on the elevator gearbox. We also assembled an intake without the pivot arms and mounted it to programming bot to test out how well it works. On Sunday, 2/11, we worked on manufacturing more parts to send out for anodizing on Monday, 2/12, and we cabled up the elevator on practice bot and tested it out. We noticed that the elevator moves slower than we thought which may require a change in gearing, and we also noticed that the cable runs are too close together which may prove problematic for spitting the cube out the back.
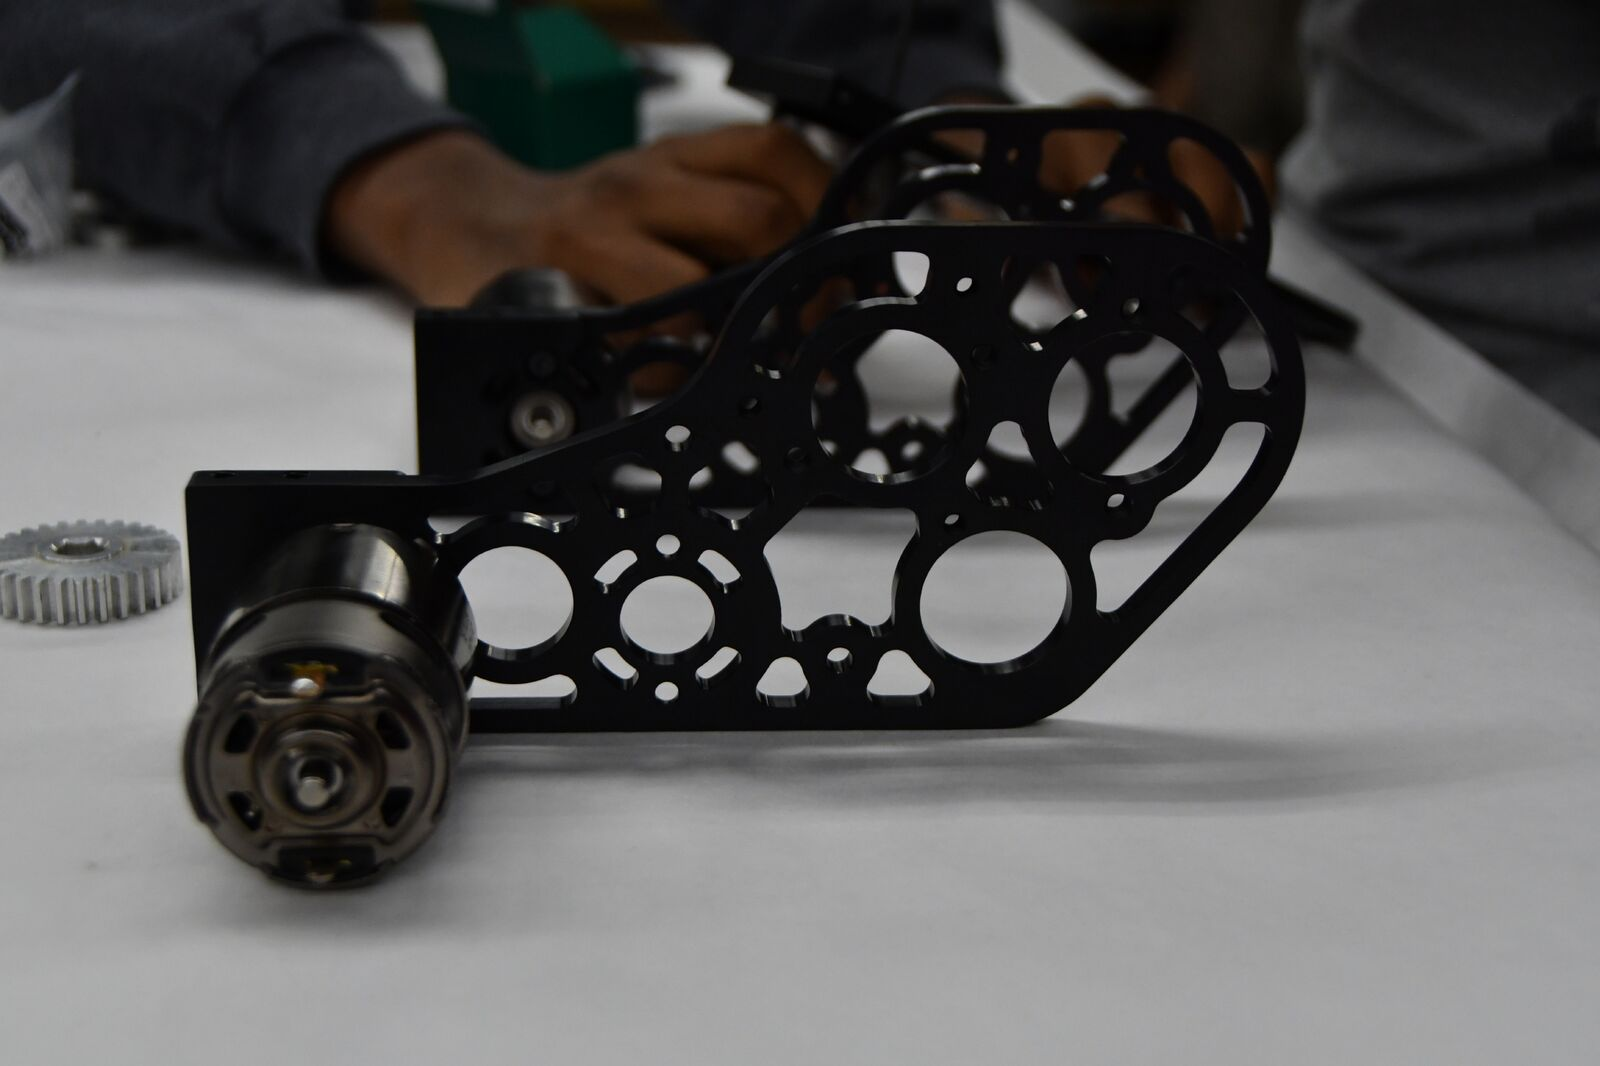
- On Wednesday, 2/14, we began assembling the programming bot and competition elevator gearboxes. After testing the elevator on Sunday night, we realized that it moved much slower than expected. To fix this, we swapped out the last stage gear reduction from an 18:50 to a 24:44 which theoretically allows us to climb 78.5" within 0.76 sec. We got back the intake pivot weldments from powder-coating and assembled them on practice bot.
- On Thursday, 2/15, we continued work on assembling the intake. We wired up the CAN coming up from the PDP into the talon, then had the CAN daisy chain from the talon to the canifier, and then had the CAN terminate after the canifier with a 120 ohm resistor. The canifier will be used to breakout various DIO sensors we plan on placing on the intake such as magnetic limit switch sensors for soft stops for the intake pivot and beam break sensors for cube detection. We wired up the motors and pneumatics on the intake, and tested it out.
- After 4 intense days of early mornings and late nights, we bagged and tagged our completion robot last night! Thank you to all the students, mentors, and parents who made this build season possible!
- Saturday, 2/17: We handed off the the practice bot to the programmers to begin tuning the wrist pivot and the elevator.
- We wired up the carriage on competition bot by drilling in holes in the box tubing to channel the wires. We mounted the intake on the carriage and placed the magnetic limit switch sensor on the carriage pivot gearbox
- Sunday, 2/18: The programming team continued tuning practice bot. We continued assembling and wiring competition bot.
- Monday, 2/19: The programming team took competition bot to tune the mechanisms while the assembly team took practice bot to mount the forklift and hanger. We tested out both the forklift and hanger and saw that the sneaky hang with a partner was able to support two robots. While doing a solo sneaky hang, the robot did swing in which we expected to happen. We mounted a rollercoaster arm on practice bot hoping to counteract that swinging, but rather it only caused the robot to now pivot around where the rollercoaster arm contacted the scale. After all this testing, we decided to remove the partner hang and only mount the sneaky hang on competition bot.
- Tuesday, 2/20: Stop build day! We finished up all the wiring and assembly on competition bot and took pictures of it. In the last hour, the programmers took the robot to test it, and we noticed a few issues arising with the intake, Omni followers, and sensors which will need to be corrected at competition. We bagged the robot at 115.9 lbs as well as a tote full of spare parts.


Part 2
Our Final Robot

Build Blog Days 16 and 17 (2/2/18 & 2/3/18)
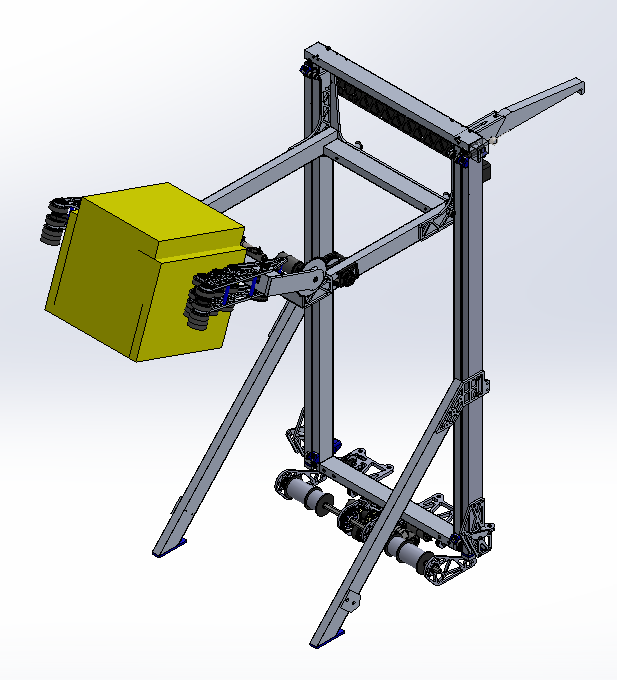
Elevator
Task: Design Elevator Cartoon CAD
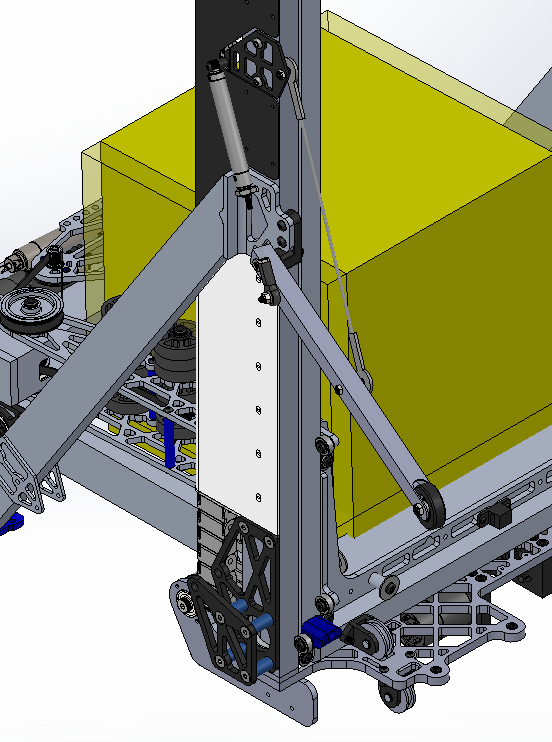
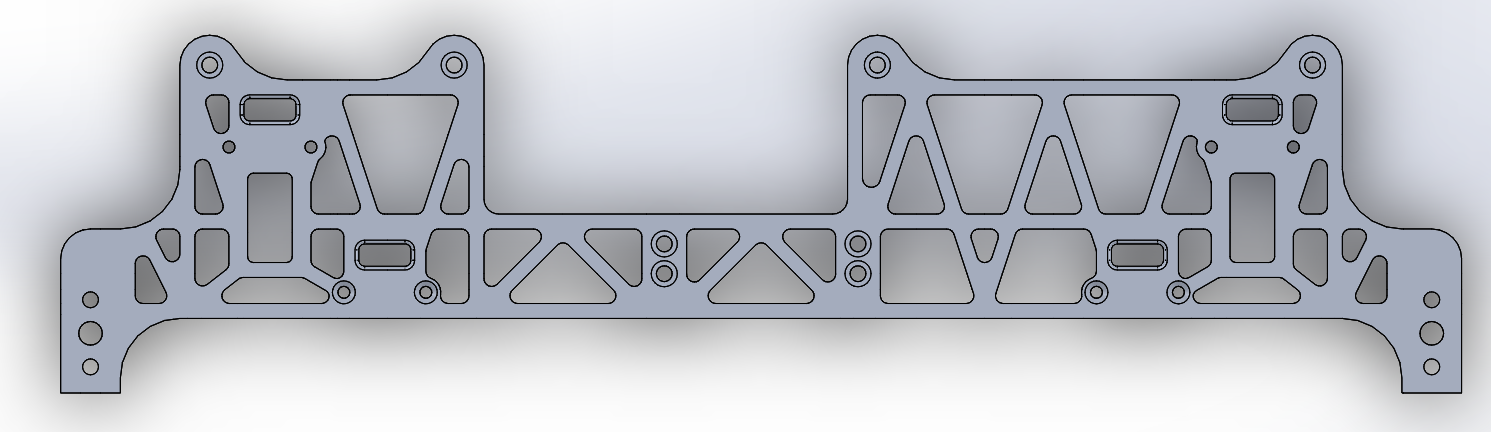
- We decided to offset the A-Frame from the frame rail to allow more space for the intake to open and close in between. To do so, this also required moving the frame rail closer to the elevator such that it would not interfere with the omni followers. We finalized the outer stage and A-Frame of the elevator, manufactured all the parts, and sent them out to be welded. We decided to have the igus chain ride on a polycarb guide on the same plane as the outer face of the upright. The igus chain will attach to the top of the polycarb guide, will curl around the side tube of the carriage weldment, and will bolt to the inside of the carriage. We also moved the pulleys in a little on the bottom side of the horseshoe to make space for our pit crew members to easily put in the thumbscrew bolting the bumpers to the back of the frame rail.
Forklift
Task: Design Forklift CAD
- We adjusted the forklift pivot and piston to work around the A-Frame by using a larger bore piston with a smaller stroke. We had initially planned on using a 3/4″ bore piston with a long lever arm, but because we decided to move it within a protected area and closer to the elevator, the lever arm decreased and thus required a larger bore piston to hold the forklift upright. We also finalized the tensile member which will be a steel wire bolting from the elevator to a-frame gusset to a standoff on the forklift and added a crossmember between the two forks.
Rollercoaster Wheels
Task: Complete Rollercoaster Wheels CAD Design
- We completed the design of the rollercoaster wheels. We decided to use metal lanyards as the deploying hardstop. In addition, we chose to use a ball bearing with a 3D printed cover to increase the size of the wheel without increasing the thickness.
Electrical
Task: Wire the Practice, Programming, and Competition Robots
- Over the past two builds, we completed wiring the practice, programming, and comp bots. We also installed all necessary gearboxes and chains on each drivebase. So far, the practice and programming robots are set with pneumatics. At our next build, we plan to finish plumbing the pneumatics on the comp bot.
Stanford Outreach Event
Shockwave Shows Off Some Mad Skills!
A Brief Summary
WHAT: Shockwave launched t-shirts into a crowd of excited Stanford Basketball Fans
WHEN: Saturday, February 3rd, 2018
WHERE: Stanford University in Stanford, CA
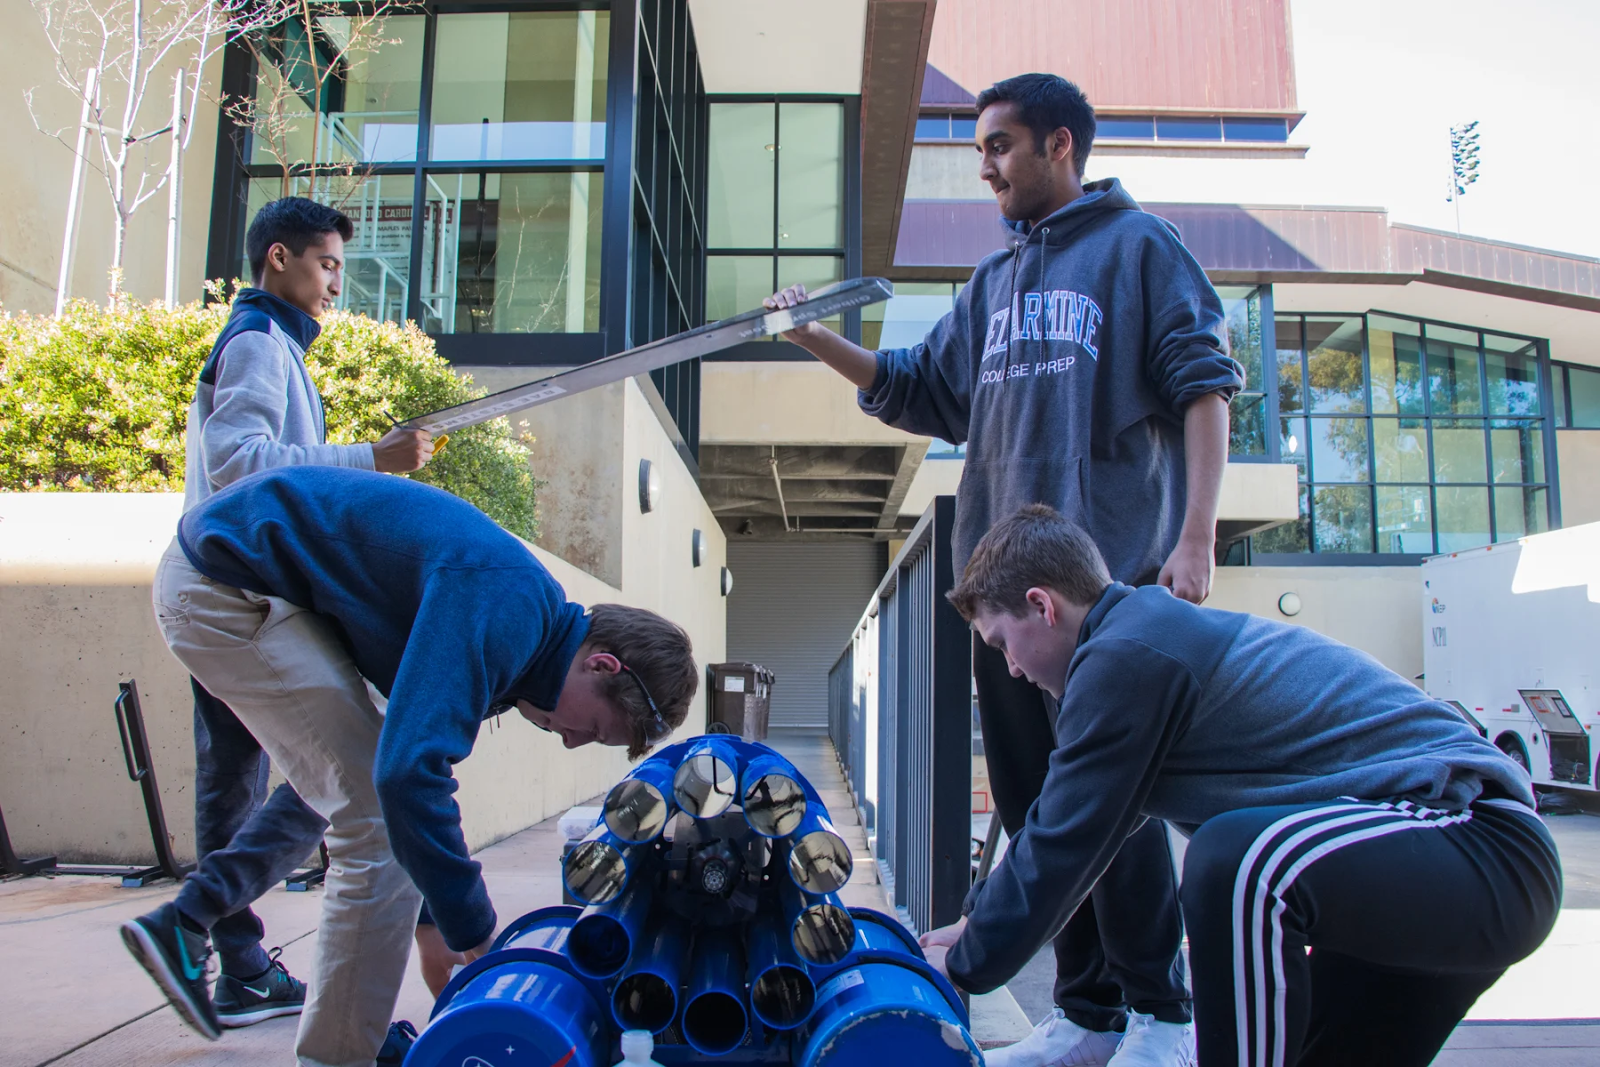
Team 254 Members Griffin Soule, Shruthik Musukula, Mubashir Hussain, and Jack Gnibus work together to prepare Shockwave before the game
As part of an eventful weekend, we participated in a successful outreach event at Stanford, CA. Due to the efforts of students on our outreach subteam, Team 254 students were excited to have the opportunity to present Shockwave at the Stanford Basketball Game, where Stanford played against the Oregon Ducks from the University of Oregon. During a timeout in the first half of the game, Team 254 students Yusuf Halabi, Shruthik Musukula, Jack Gnibus, Griffin Soule, and Mubashir Hussain worked together to operate Shockwave and launch several Stanford t-shirts into a crowd of approximately 8,000 people. We are extremely grateful to have such an opportunity and would love to support Stanford University in the future!

Shockwave launches t-shirts towards excited audience members
Build Blog Days 14 and 15 (1/29/18 & 1/31/18)
Elevator
Task: Design Elevator CAD
- We changed the placement of the A-Frame by pushing it further towards the front of the robot and higher up the outer stage elevator upright such that the bumper latch could freely swing without contacting it, and we made the corresponding changes to the gusset joining the A-Frame to the outer stage elevator upright. We also modified the horseshoe plate to accommodate the omni follower wheels on the back of the robot by having the cutout fit around a space of the follower wheels. To ensure that our forklift would not contact our pulleys and cables when stowed within the frame perimeter, we looked into pushing the pulleys closer to the sides of the elevator, but realized that they would then interfere with the carriage as it traveled up. Instead, we decided to adjust the forklift pivot such that it could stow vertically and not have the carbon fiber rods leaning into the elevator assembly. Moving forward, we will also need to design in a part to protect the pulleys in case the forklift sways while we accelerate across the field during a match. We also modelled in a new piston pivot off the lower part of the A-Frame to actuate the stowing/deploying of the forklifts. We decided to move this piston to be above the frame rail and below the top of the bumpers such that it is in a protected area. If it was kept in its previous configuration, a robot could have easily come in and hit it, which would have rendered us incapable of actuating the forklifts for that match.
Electrical
Task: Wire the Practice, Programming, and Competition Robots
- We finished wiring the PCM on the Practice and Programming Robots. We also finished wiring all the Talons for each robot. Lastly, we worked on gathering and assembling the pneumatic systems for each robot.
Programming
Task: RPLIDAR Driver
- Today, we finished the odometry calculations necessary to track the robot’s position using the follower wheels. The main difference from last year’s code is the inclusion of the back follower wheel, which can be used to detect sideways slip when making turns. We are pretty much ready to test the follower wheels once they are ready, but we still need to figure out where the encoders will plug in so we can finish up the code.
