
Blog Archive
Day 29: Assembling Gearboxes
By Michael Simeon, Matthew Tran, Christian Bagamaspad, Stephen Pinkerton
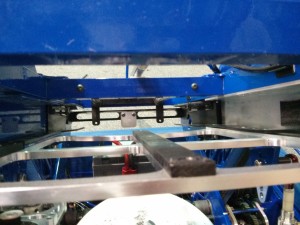
Machining
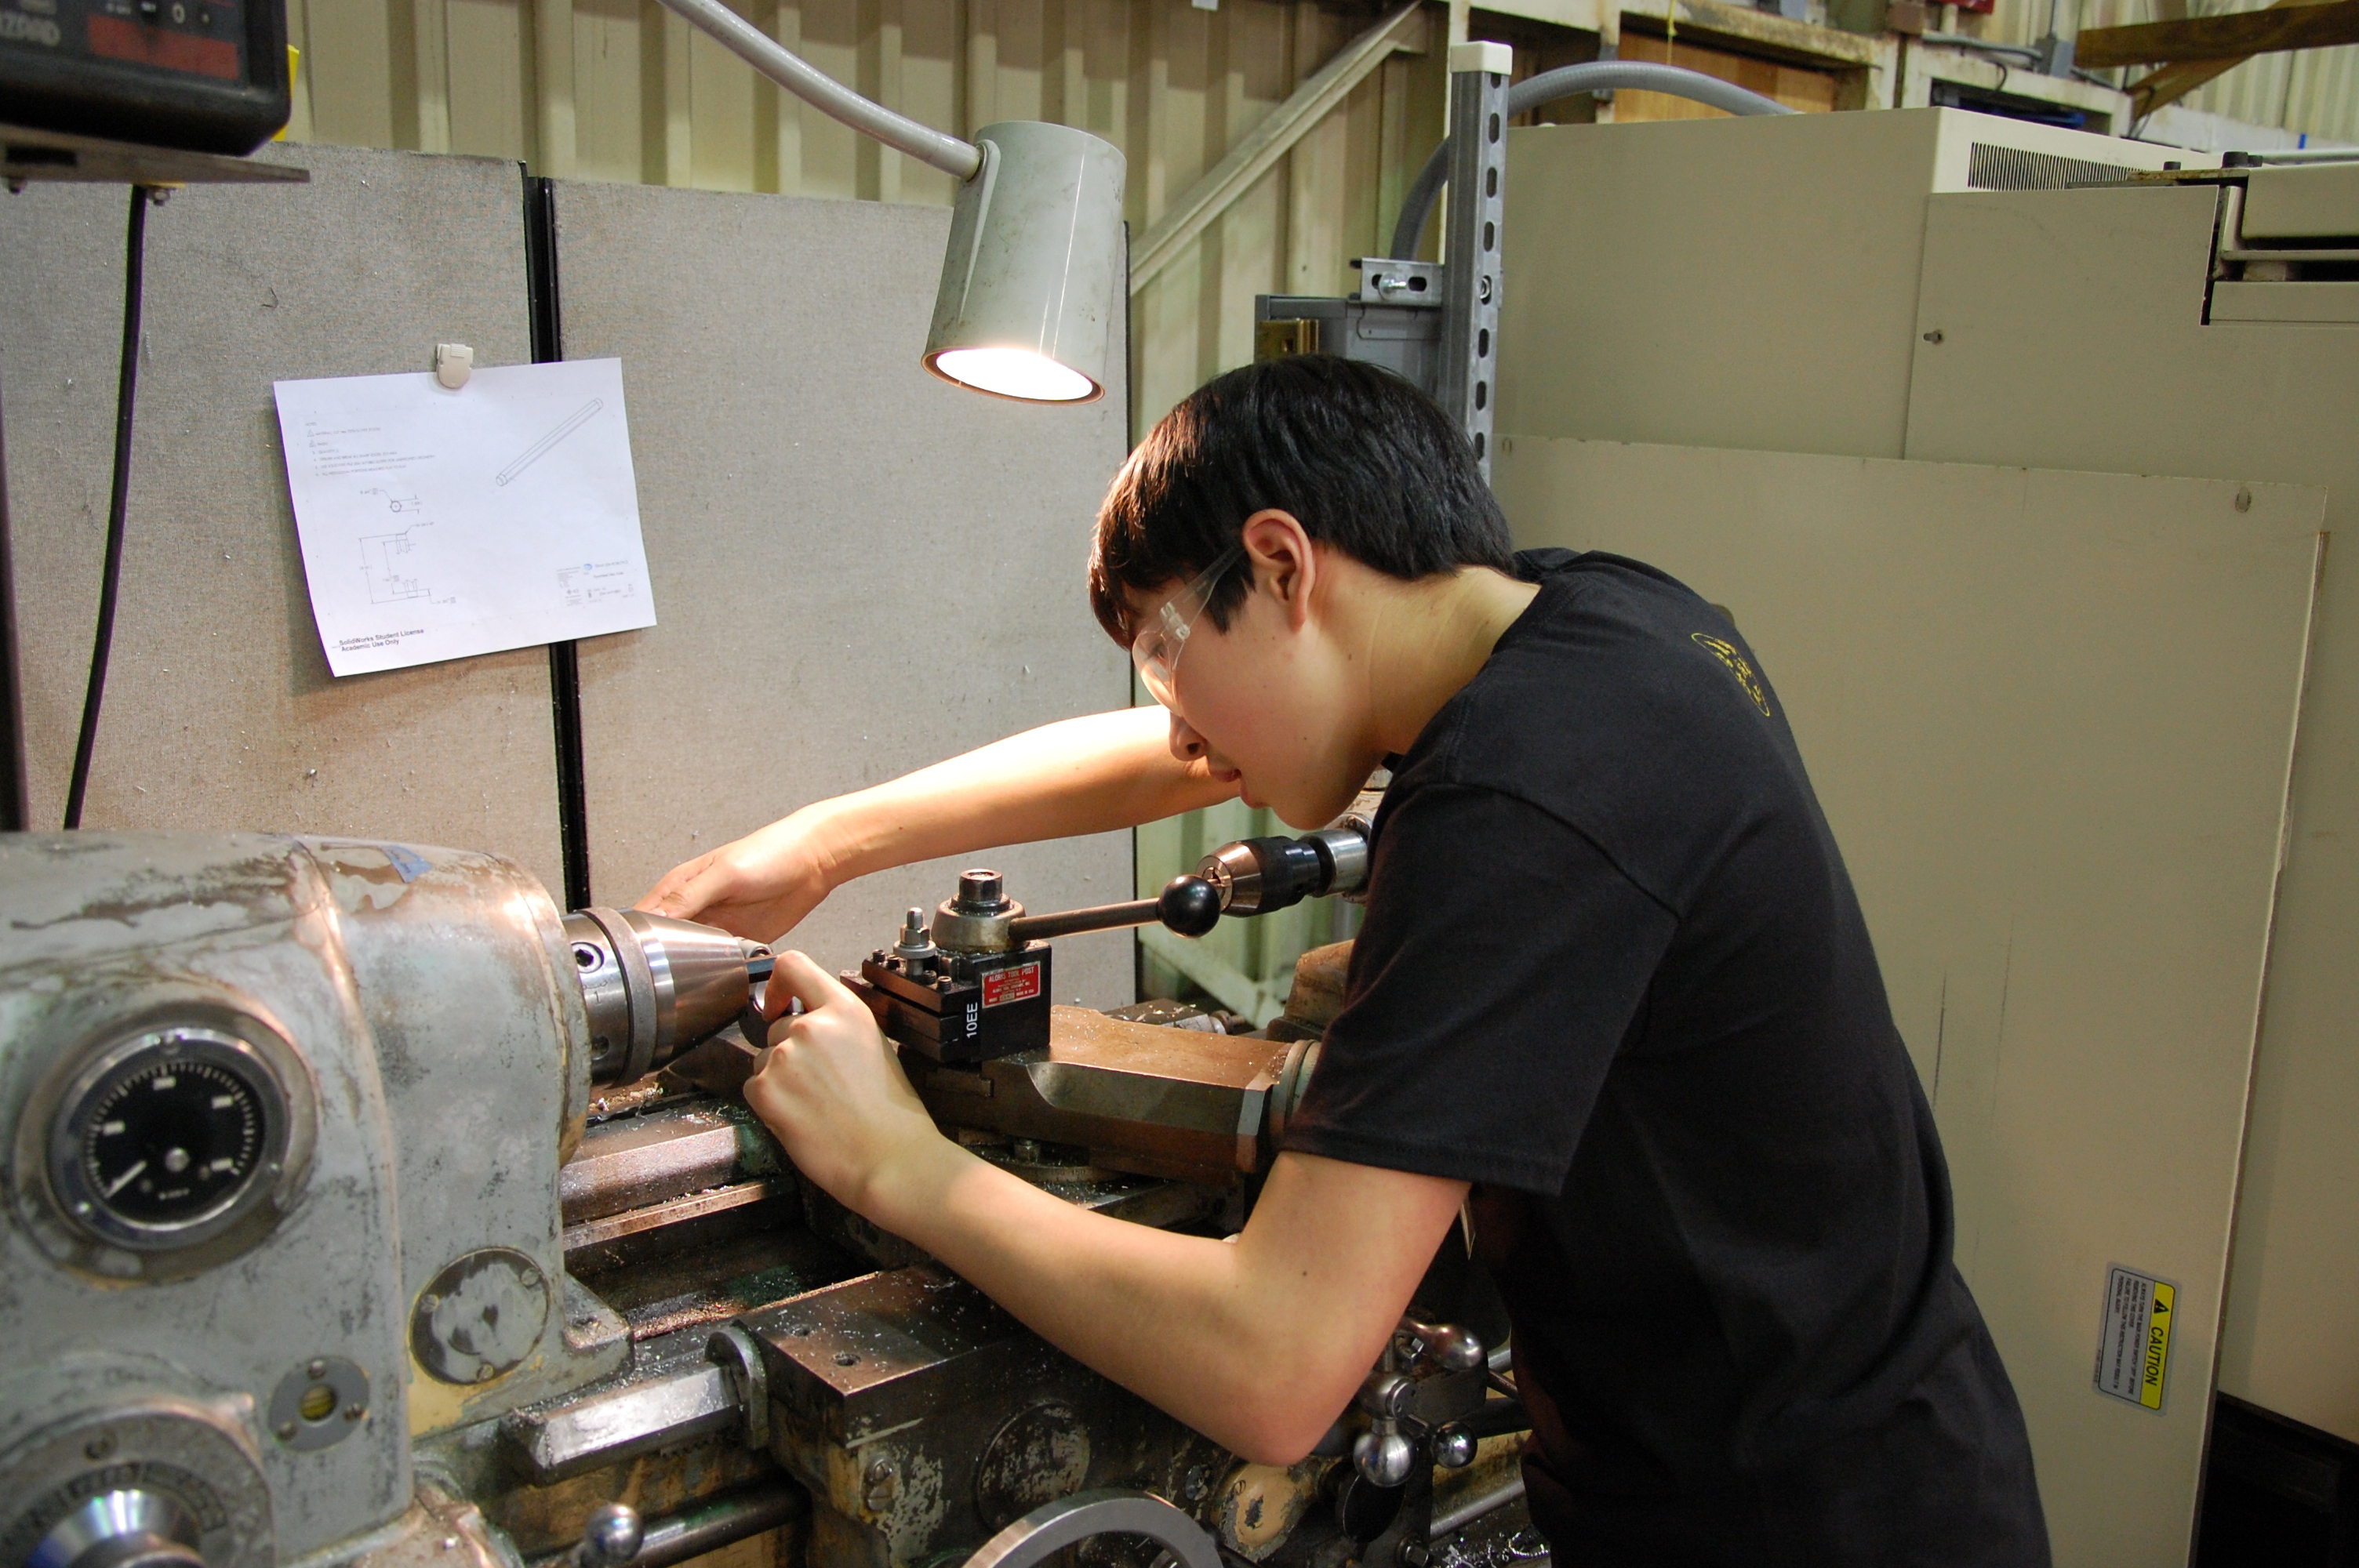
Today, members manufactured shooter shafts, standoffs, spacers for gearbox, and crosspieces for “seal.” Additionally, they began detailing and manufacturing parts for the front and back intakes.
They also machined parts for the hood weldment assembly, which still need to get welded. Most of the other hood elements are still being designed.
The superstructure parts are done and ready to be welded. Part of the hood attachment still needs to be CNC’ed before sending items to the welder on Monday.
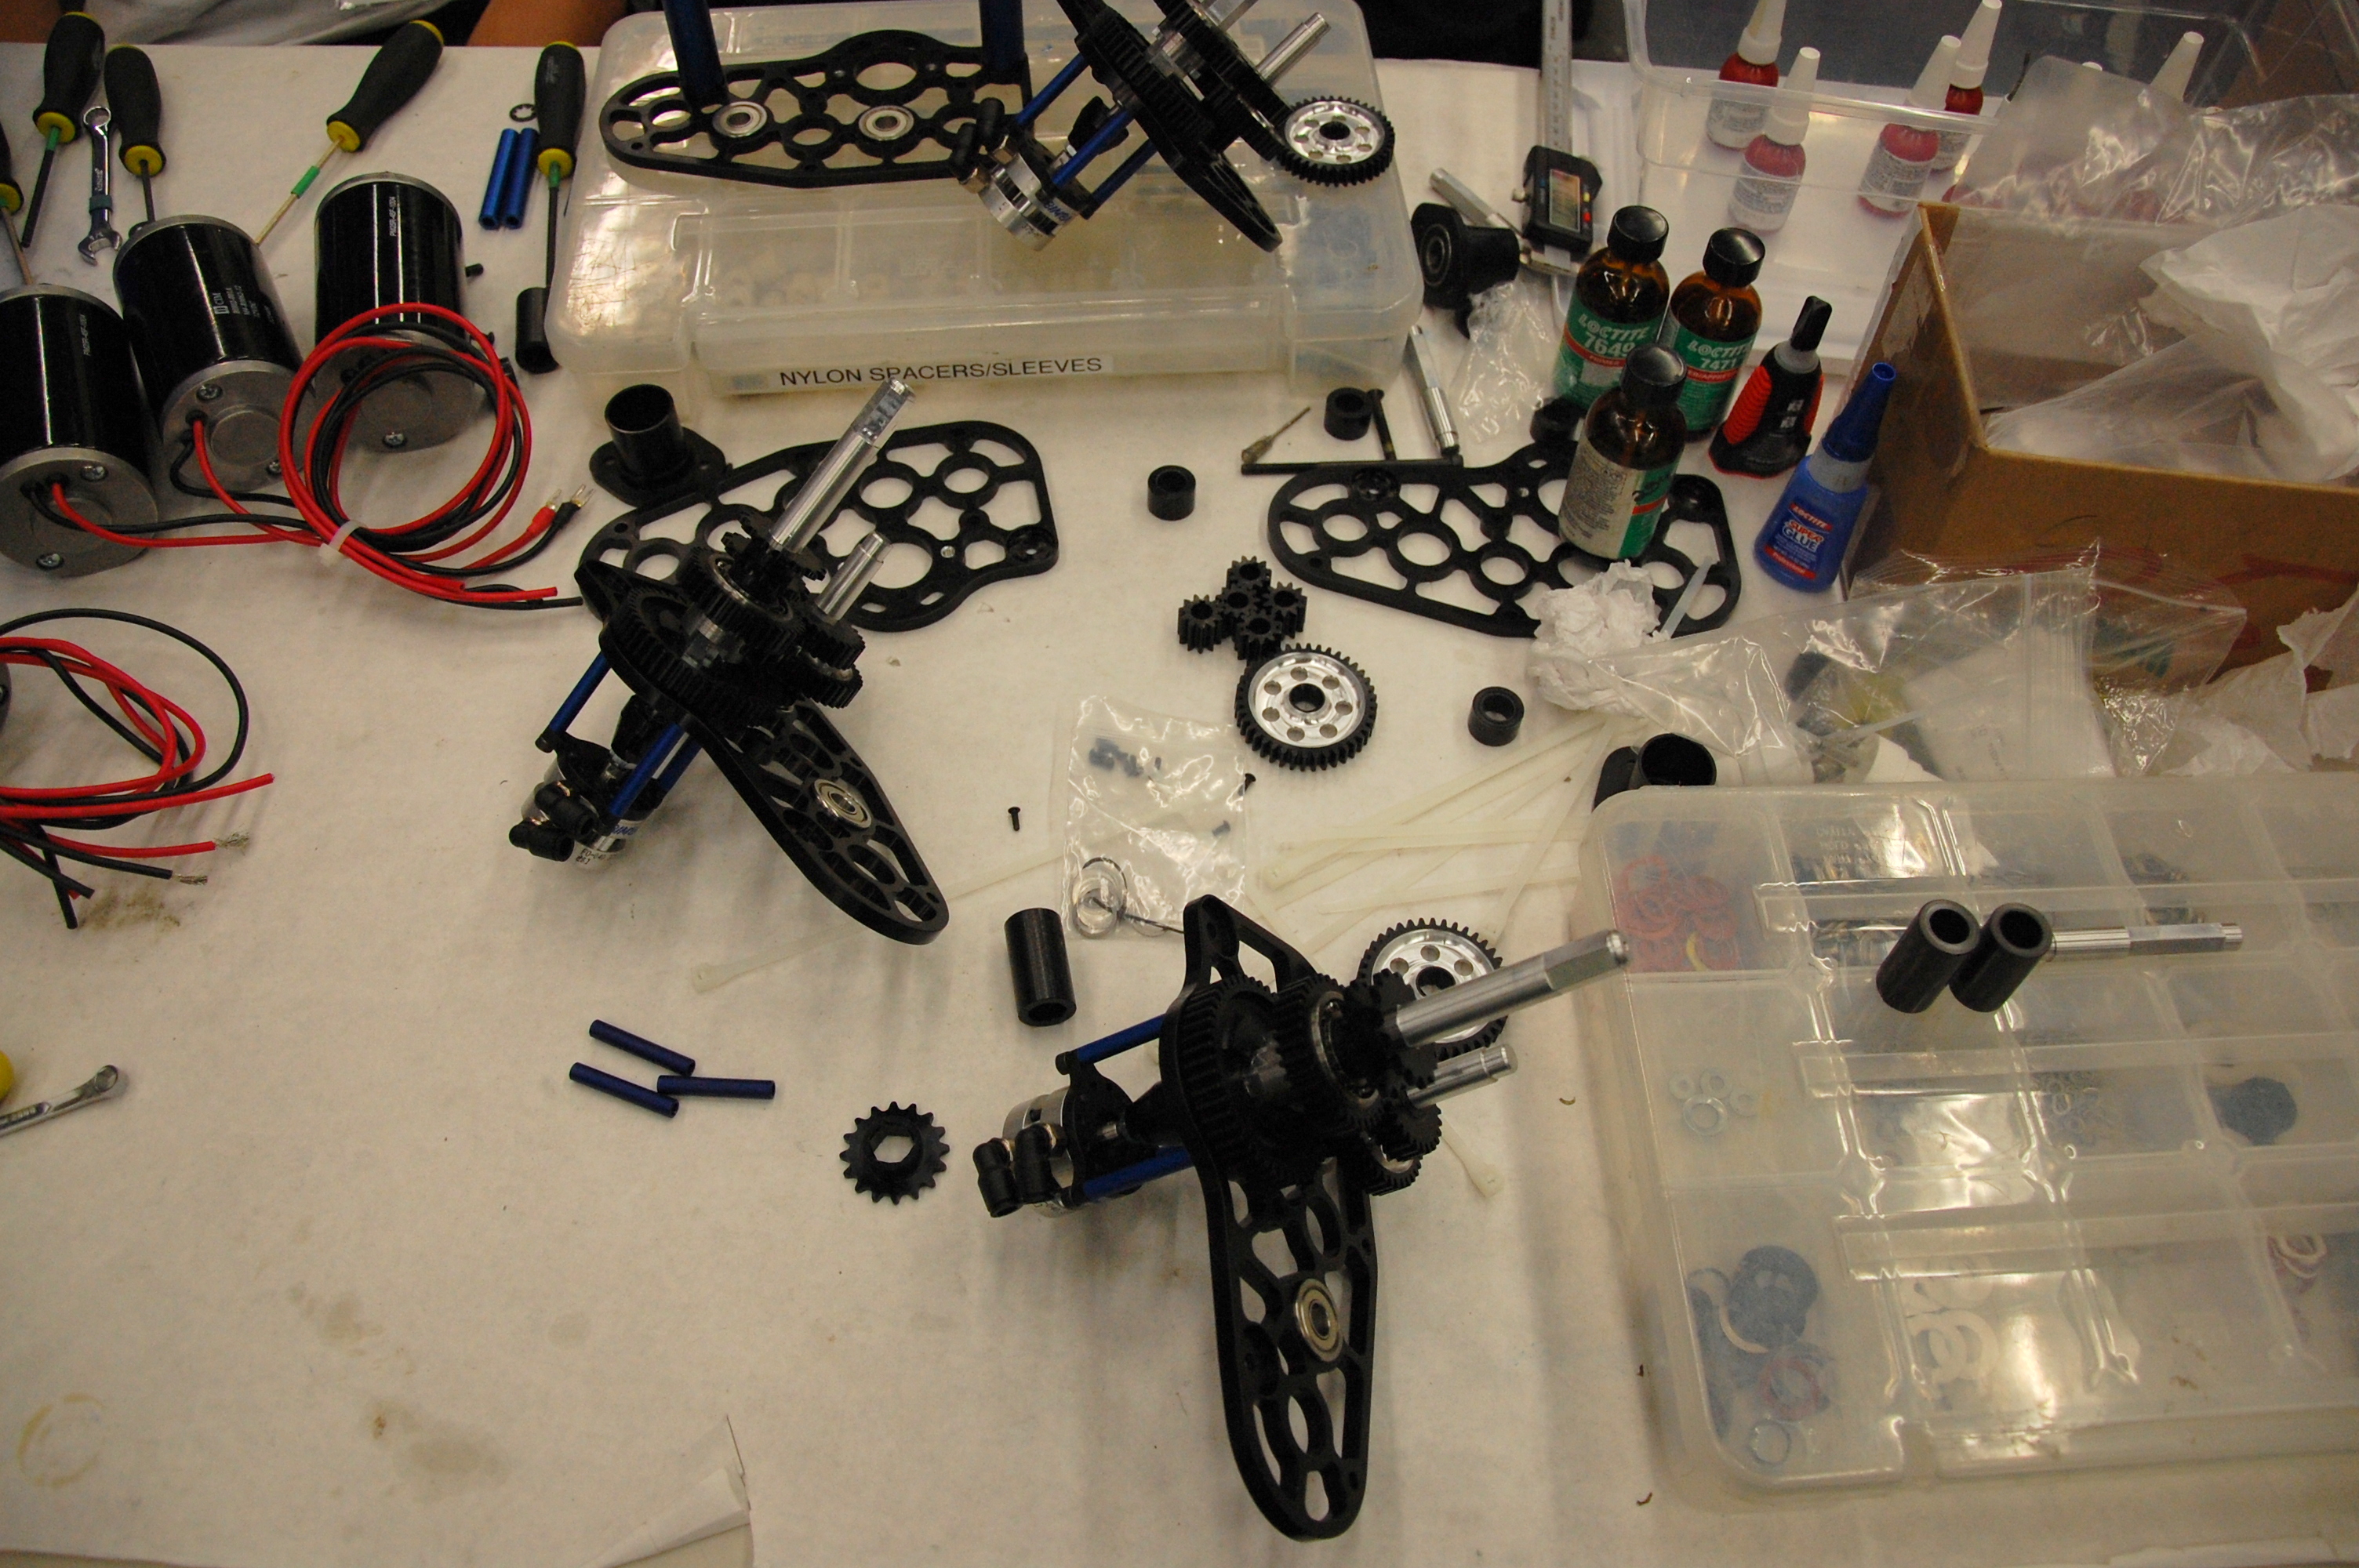
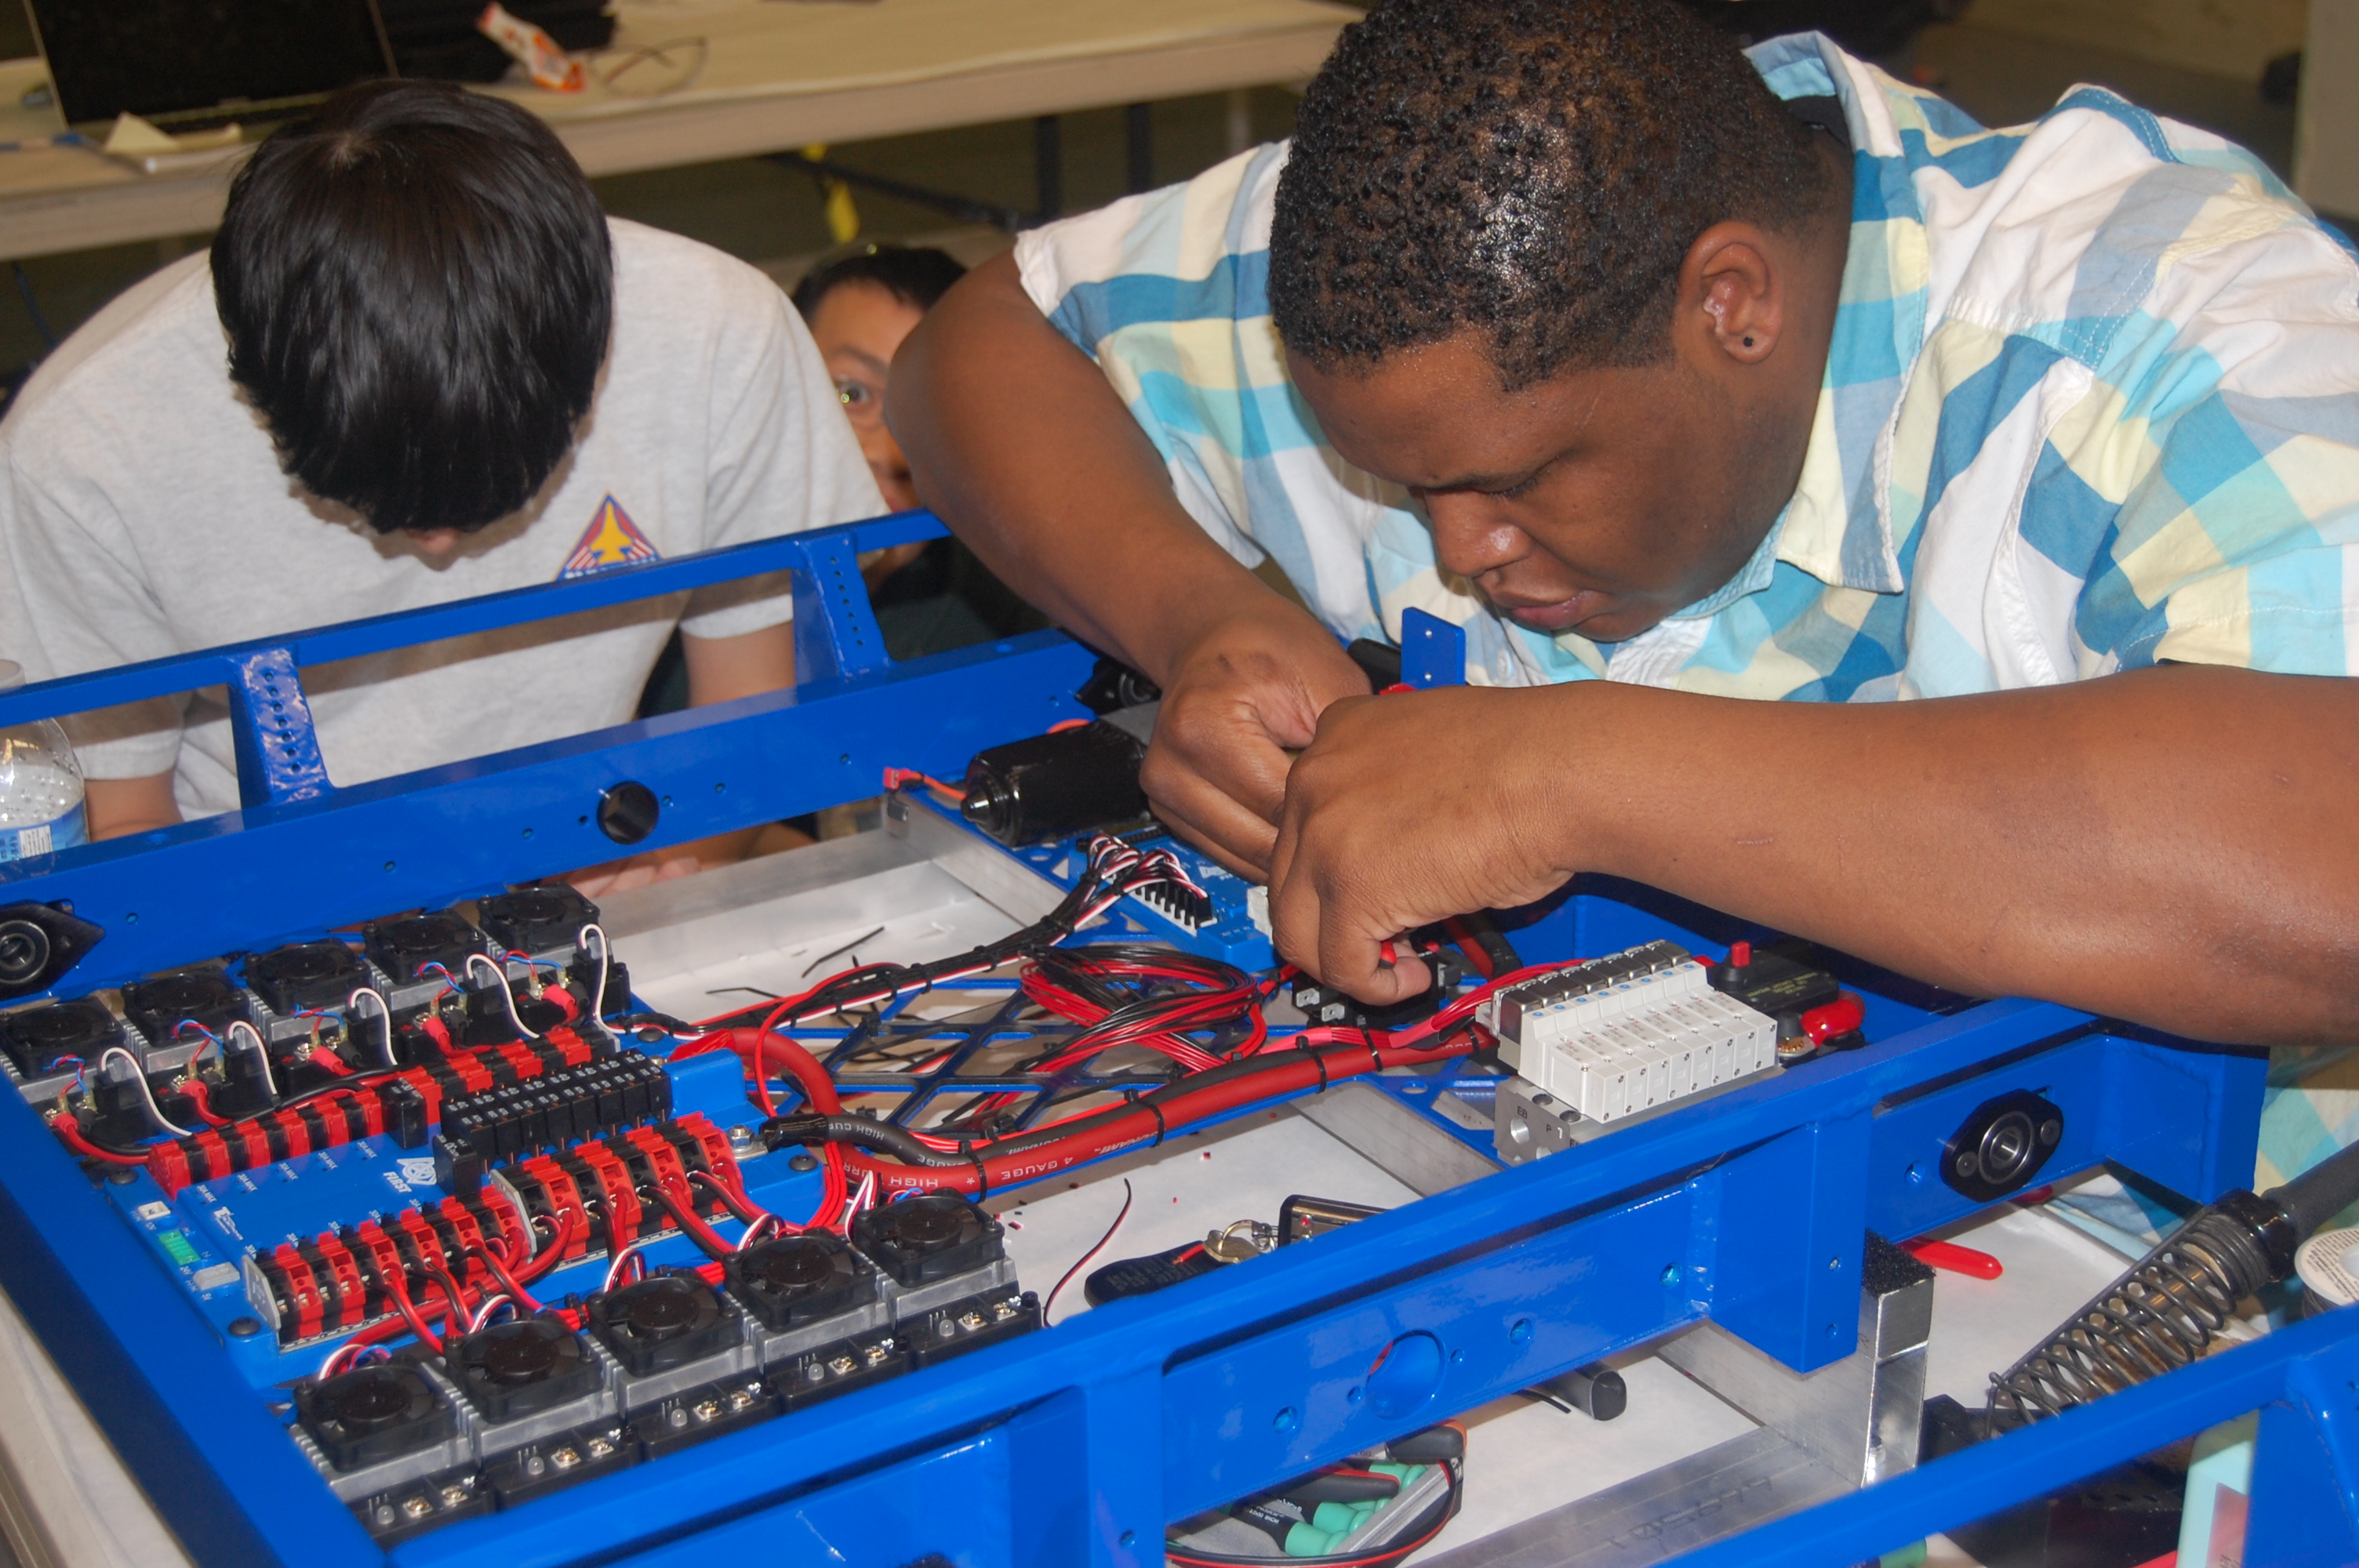
Gearboxes
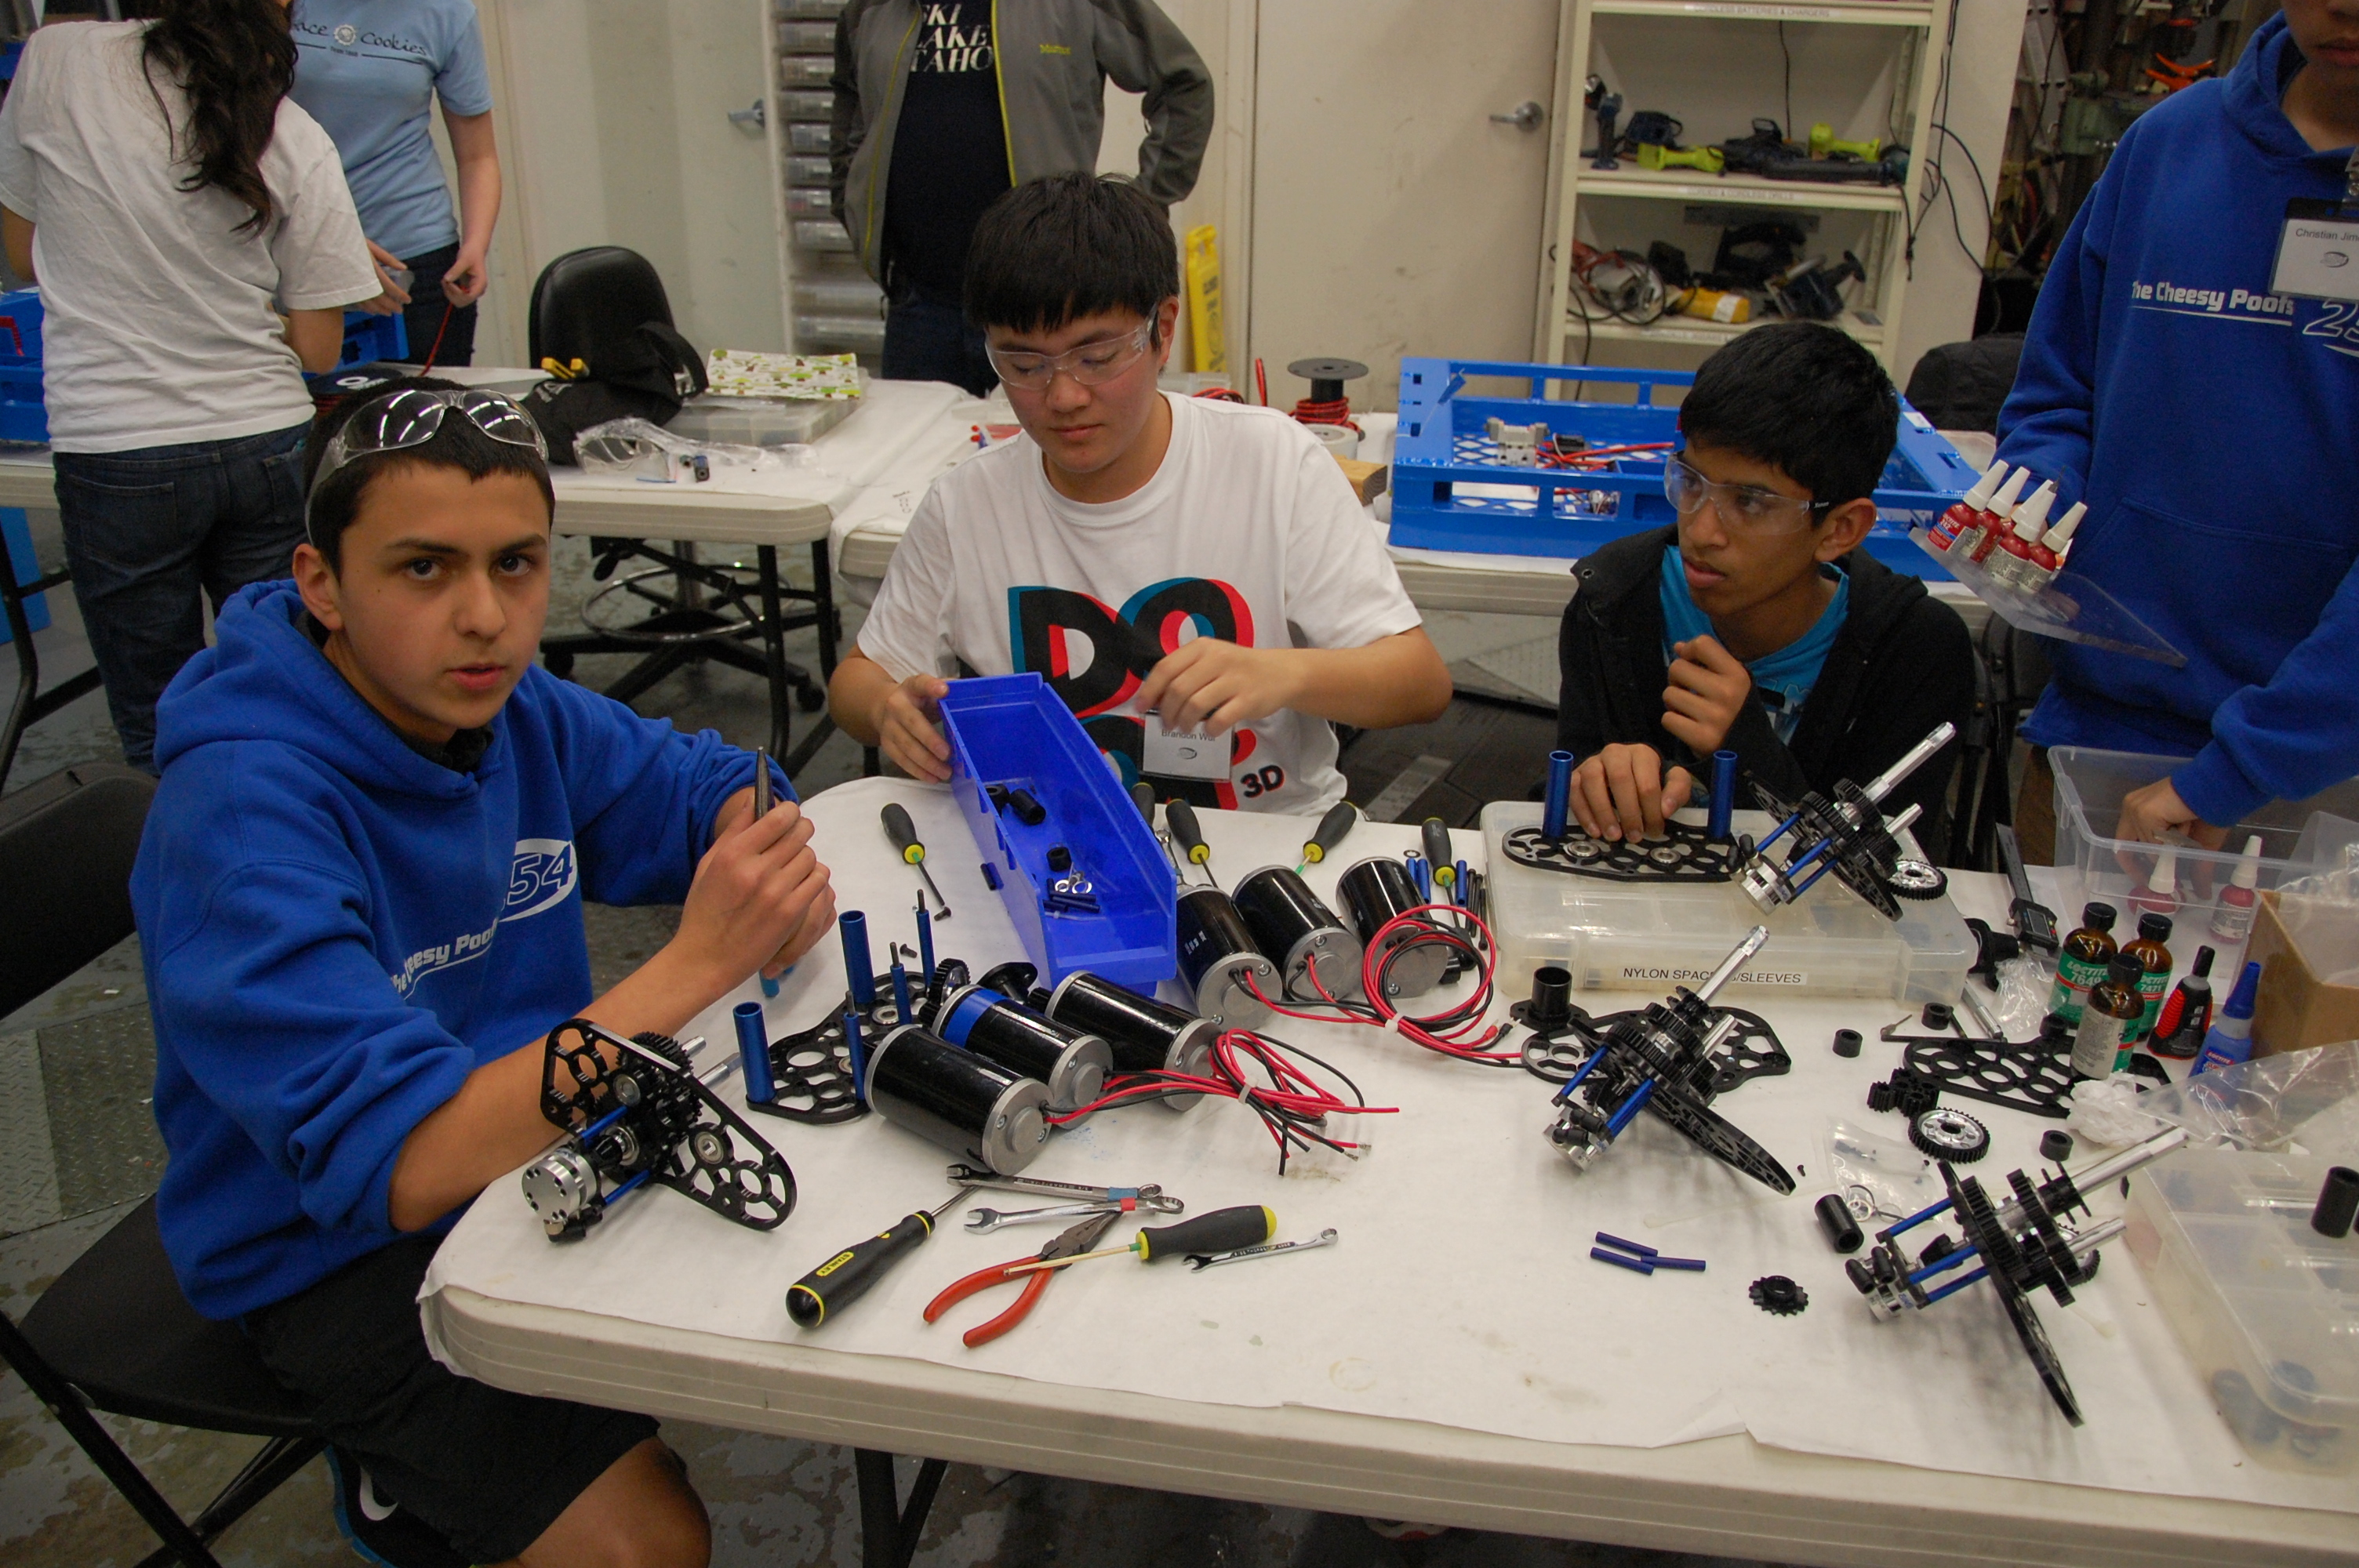
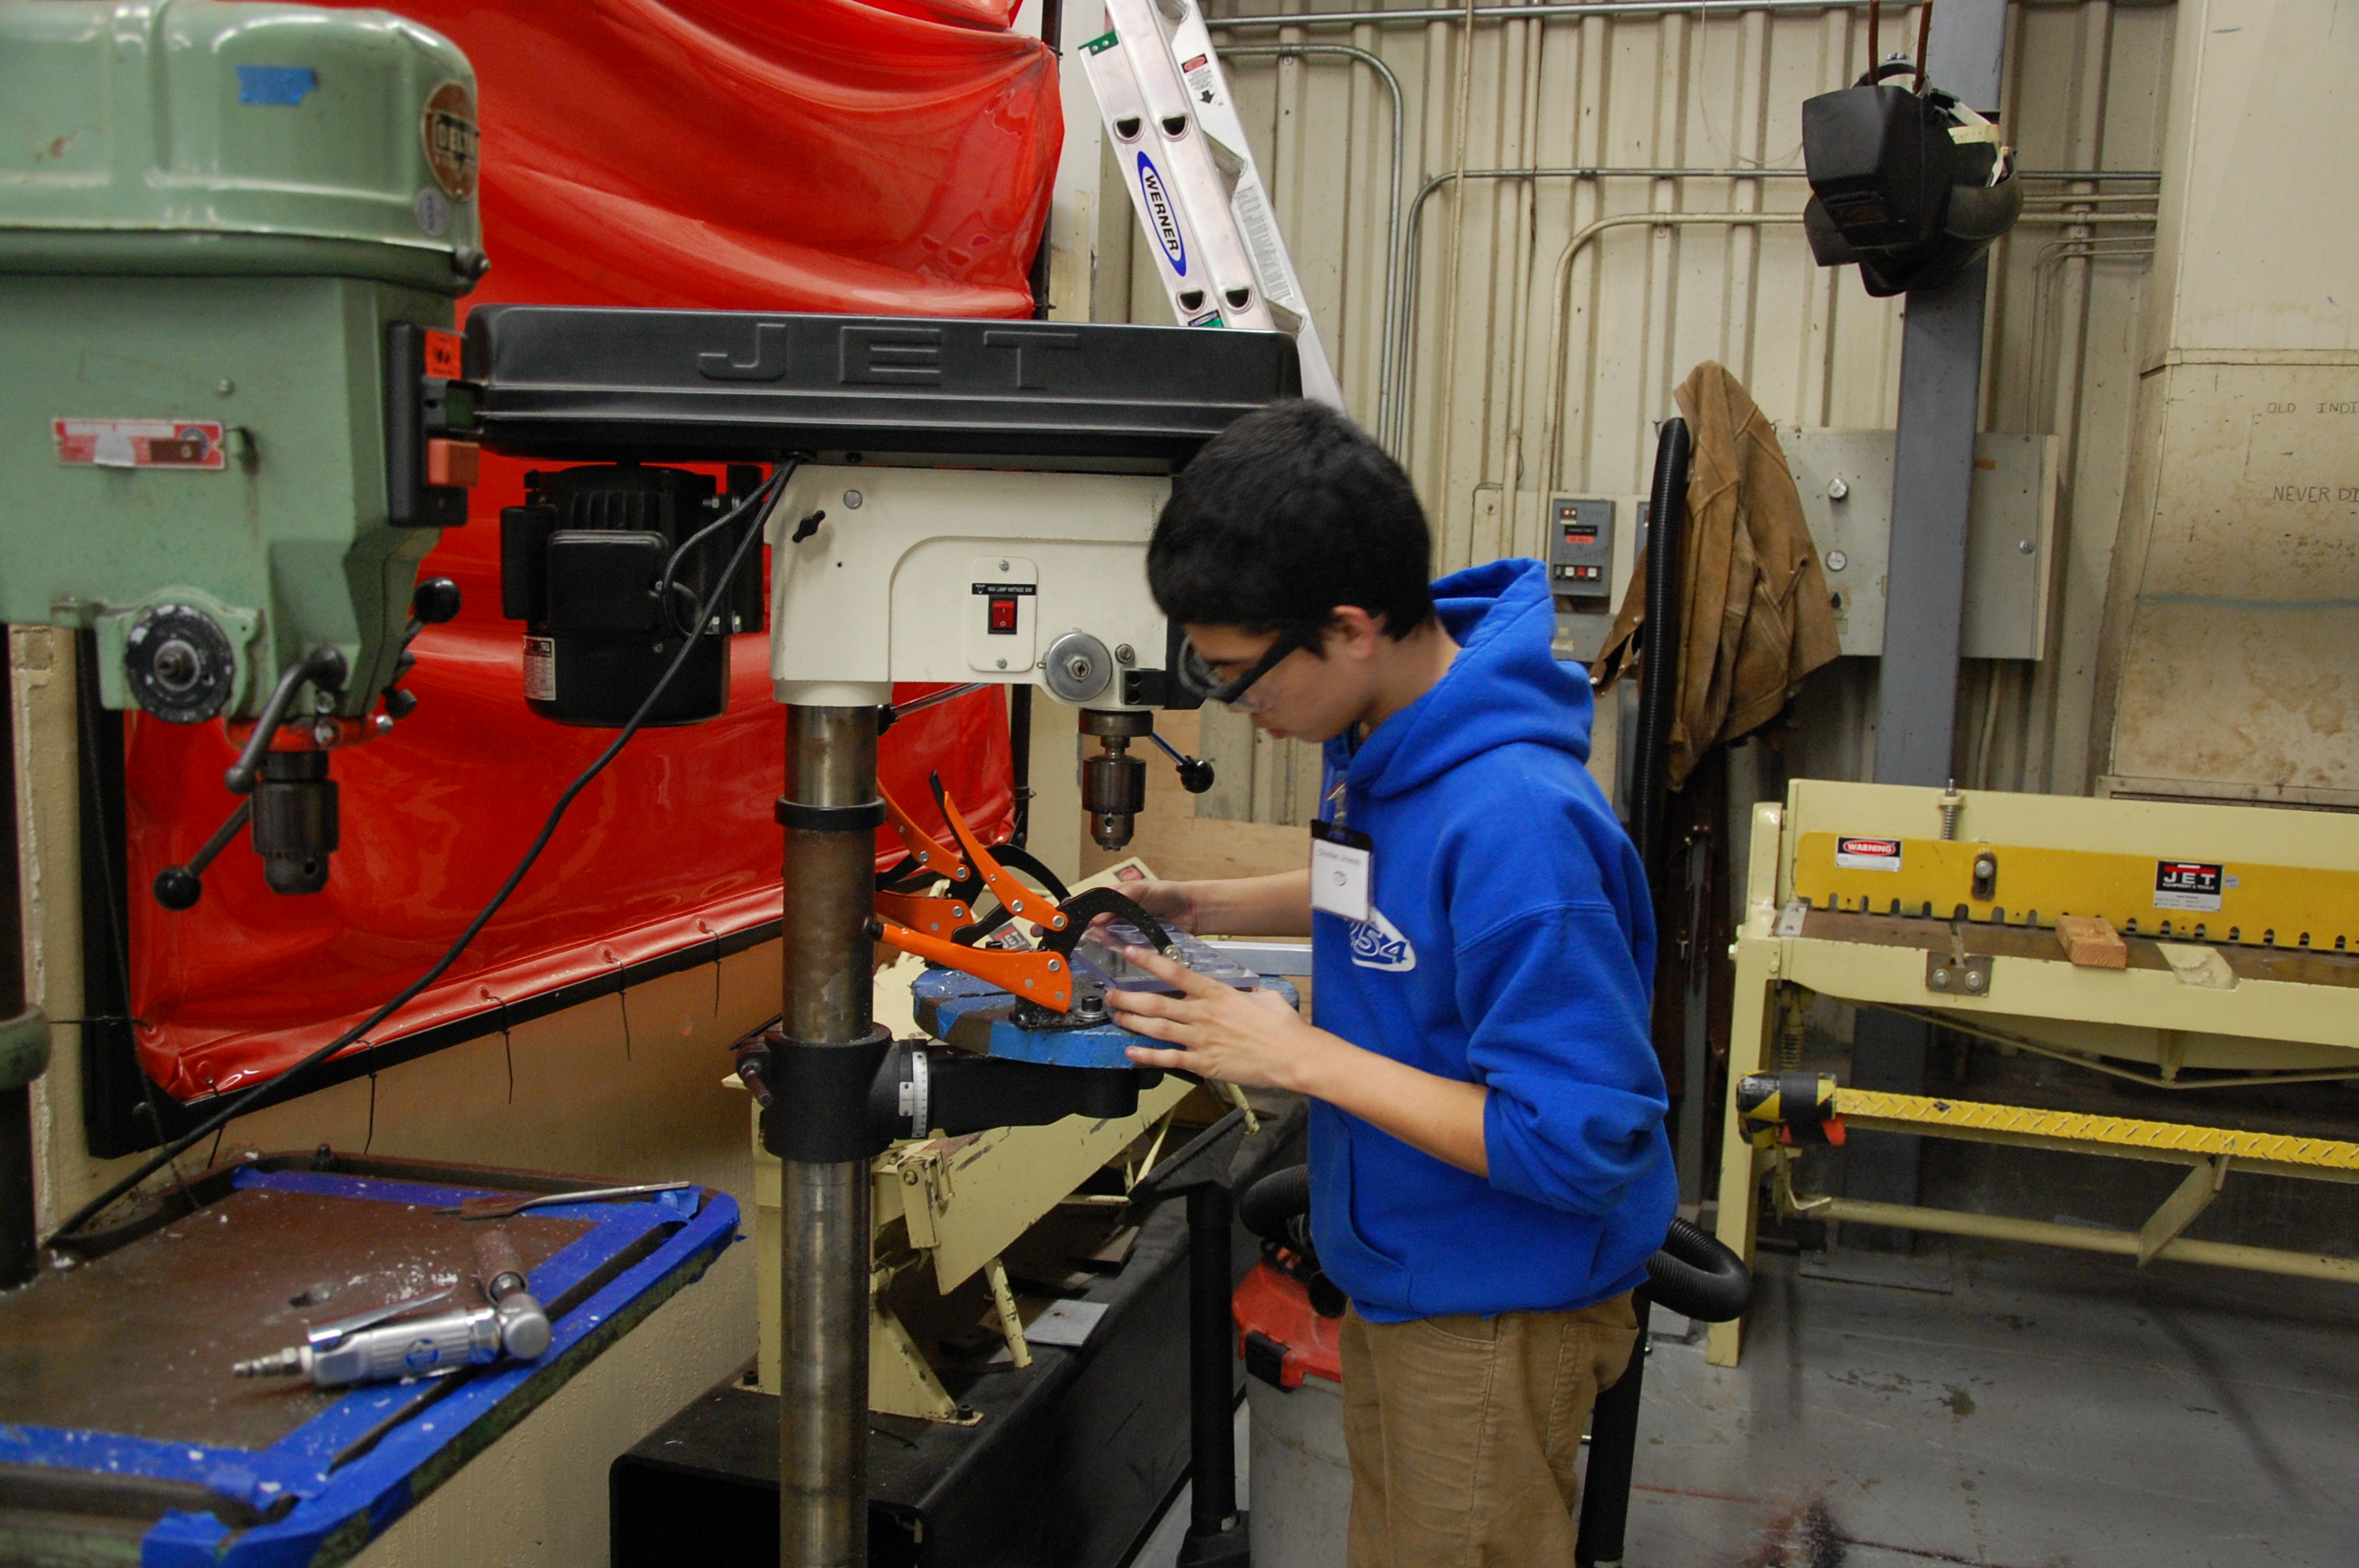
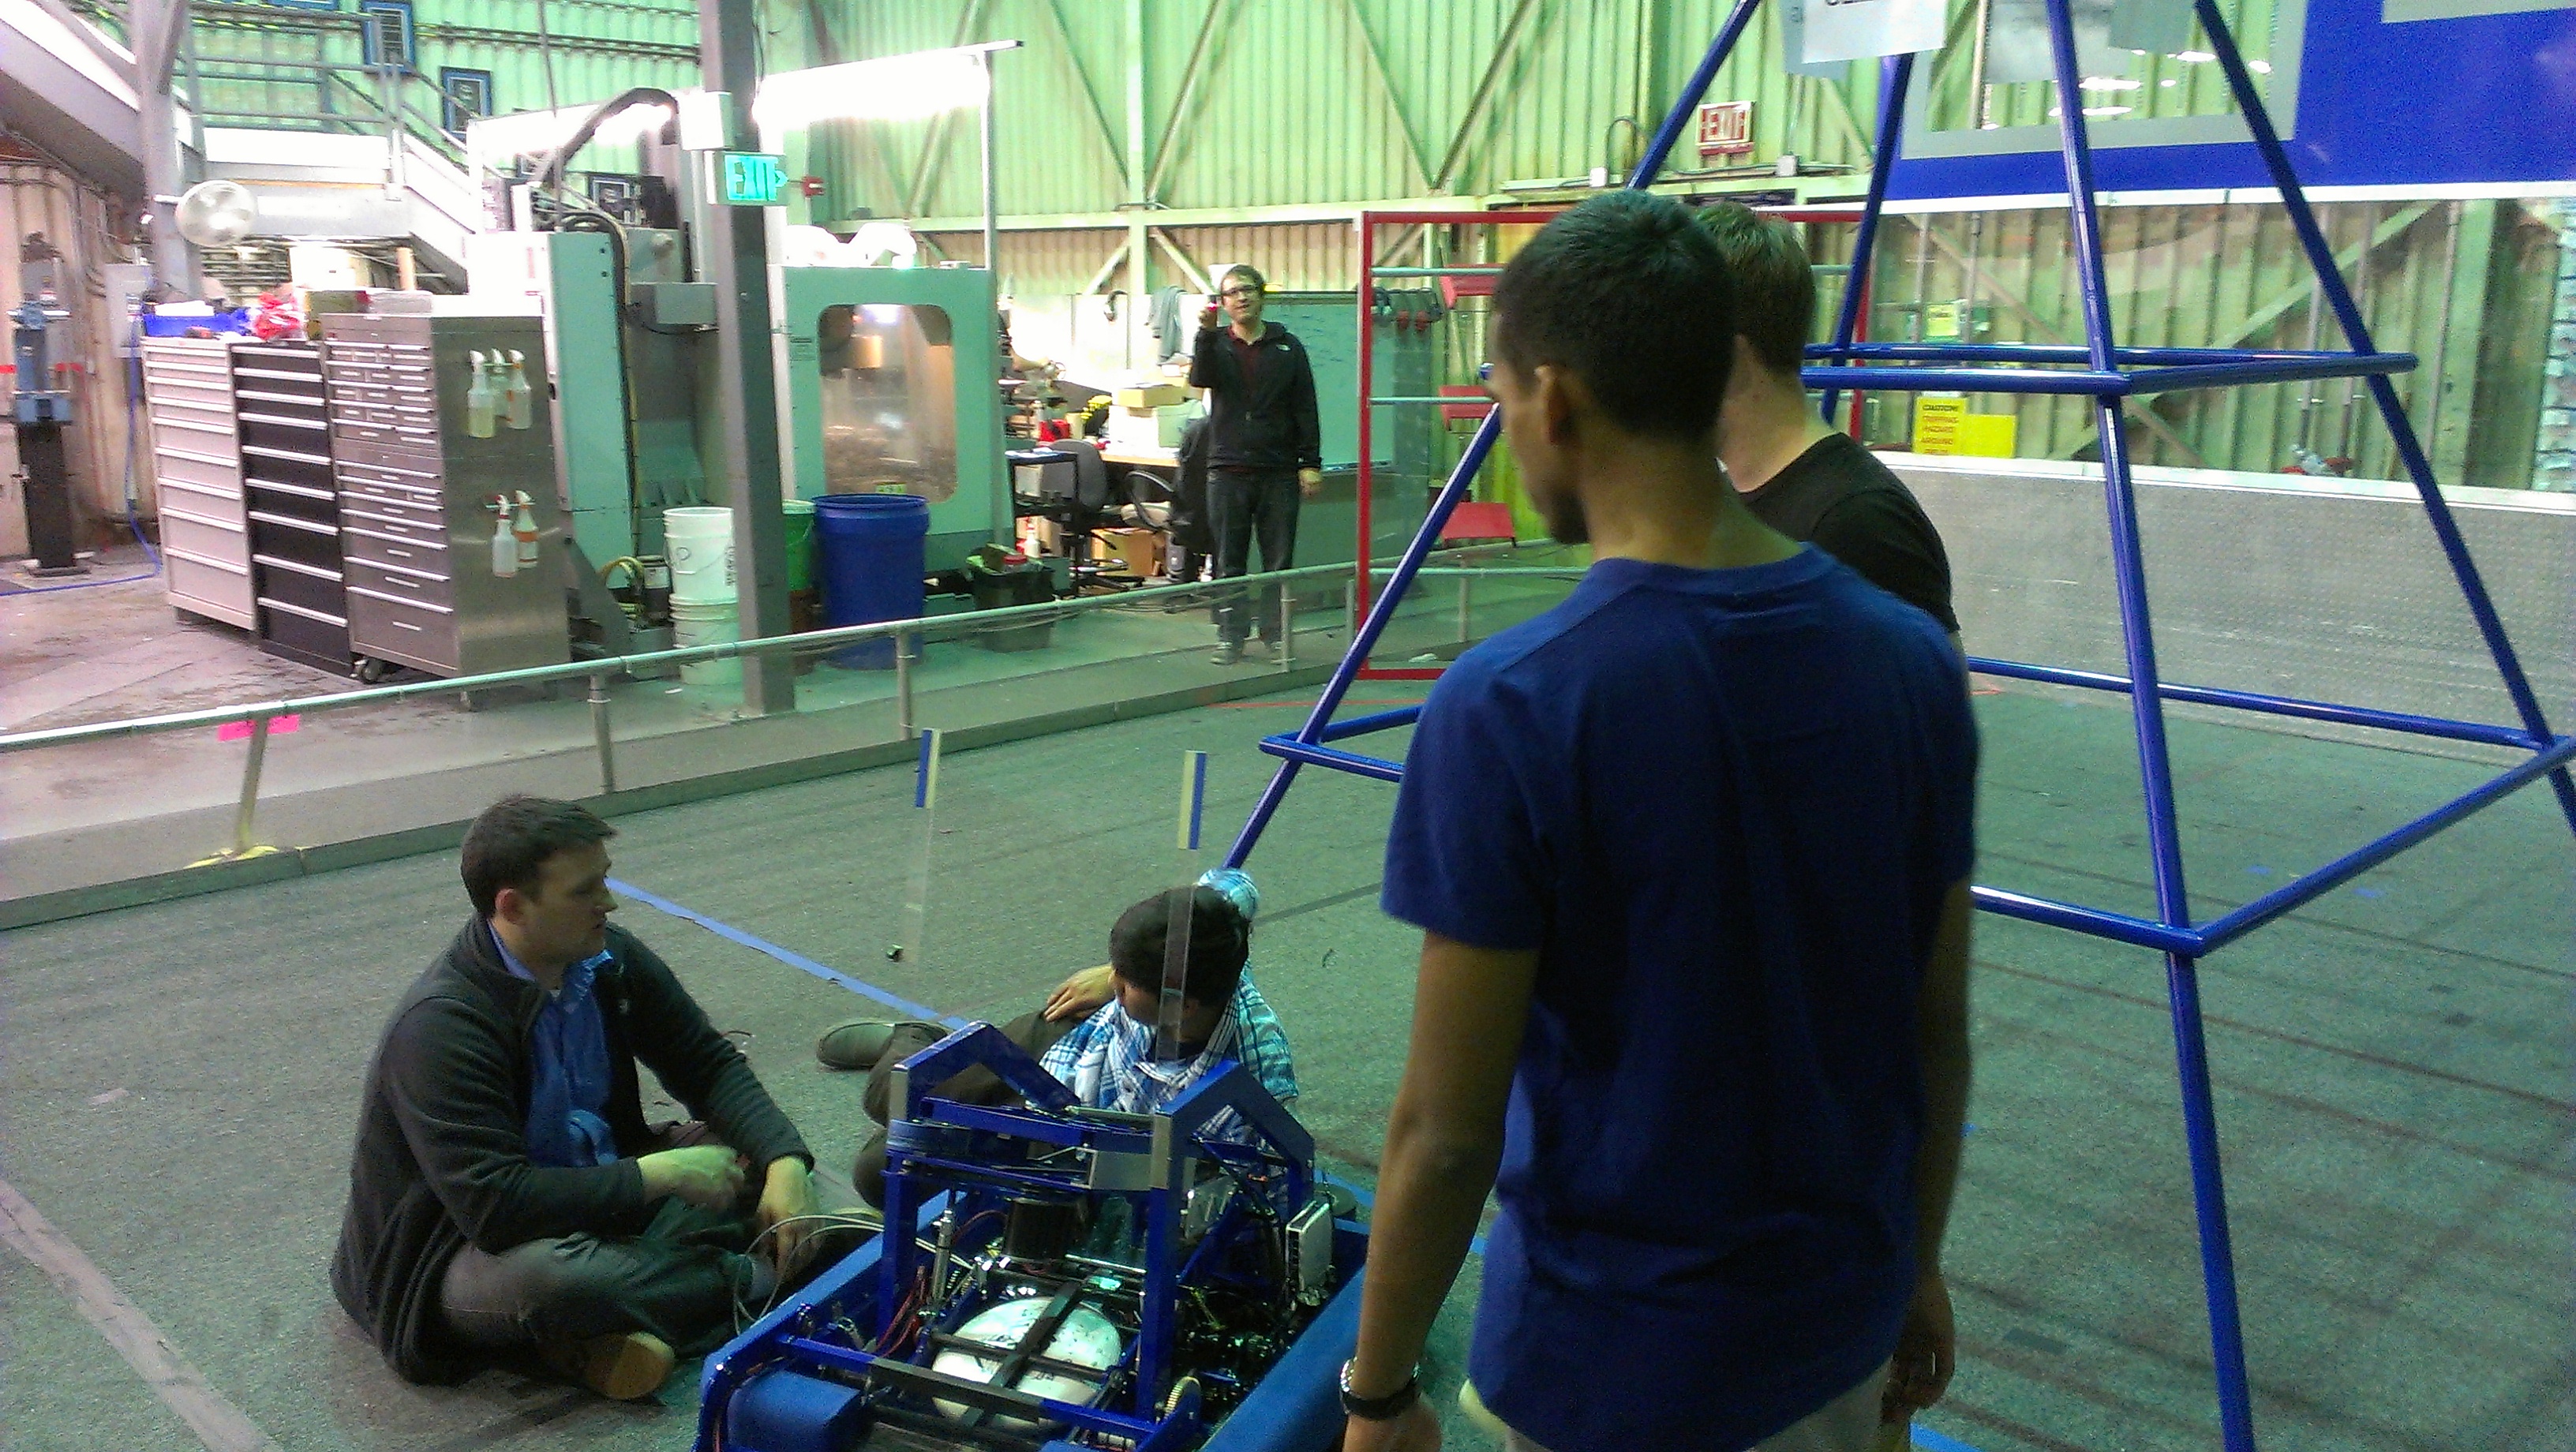
Members also assembled gearboxes, replacing long standoffs with shorter ones. There were some issues after assembling them the first time where bearings didn’t fit properly. These issues were mostly resolved after assembling them again, but more carefully. There may be more issues with spacers that we need to investigate tomorrow. All in all, only 2 of the 6 gearboxes have been assembled \(the ones for the competition bot\).
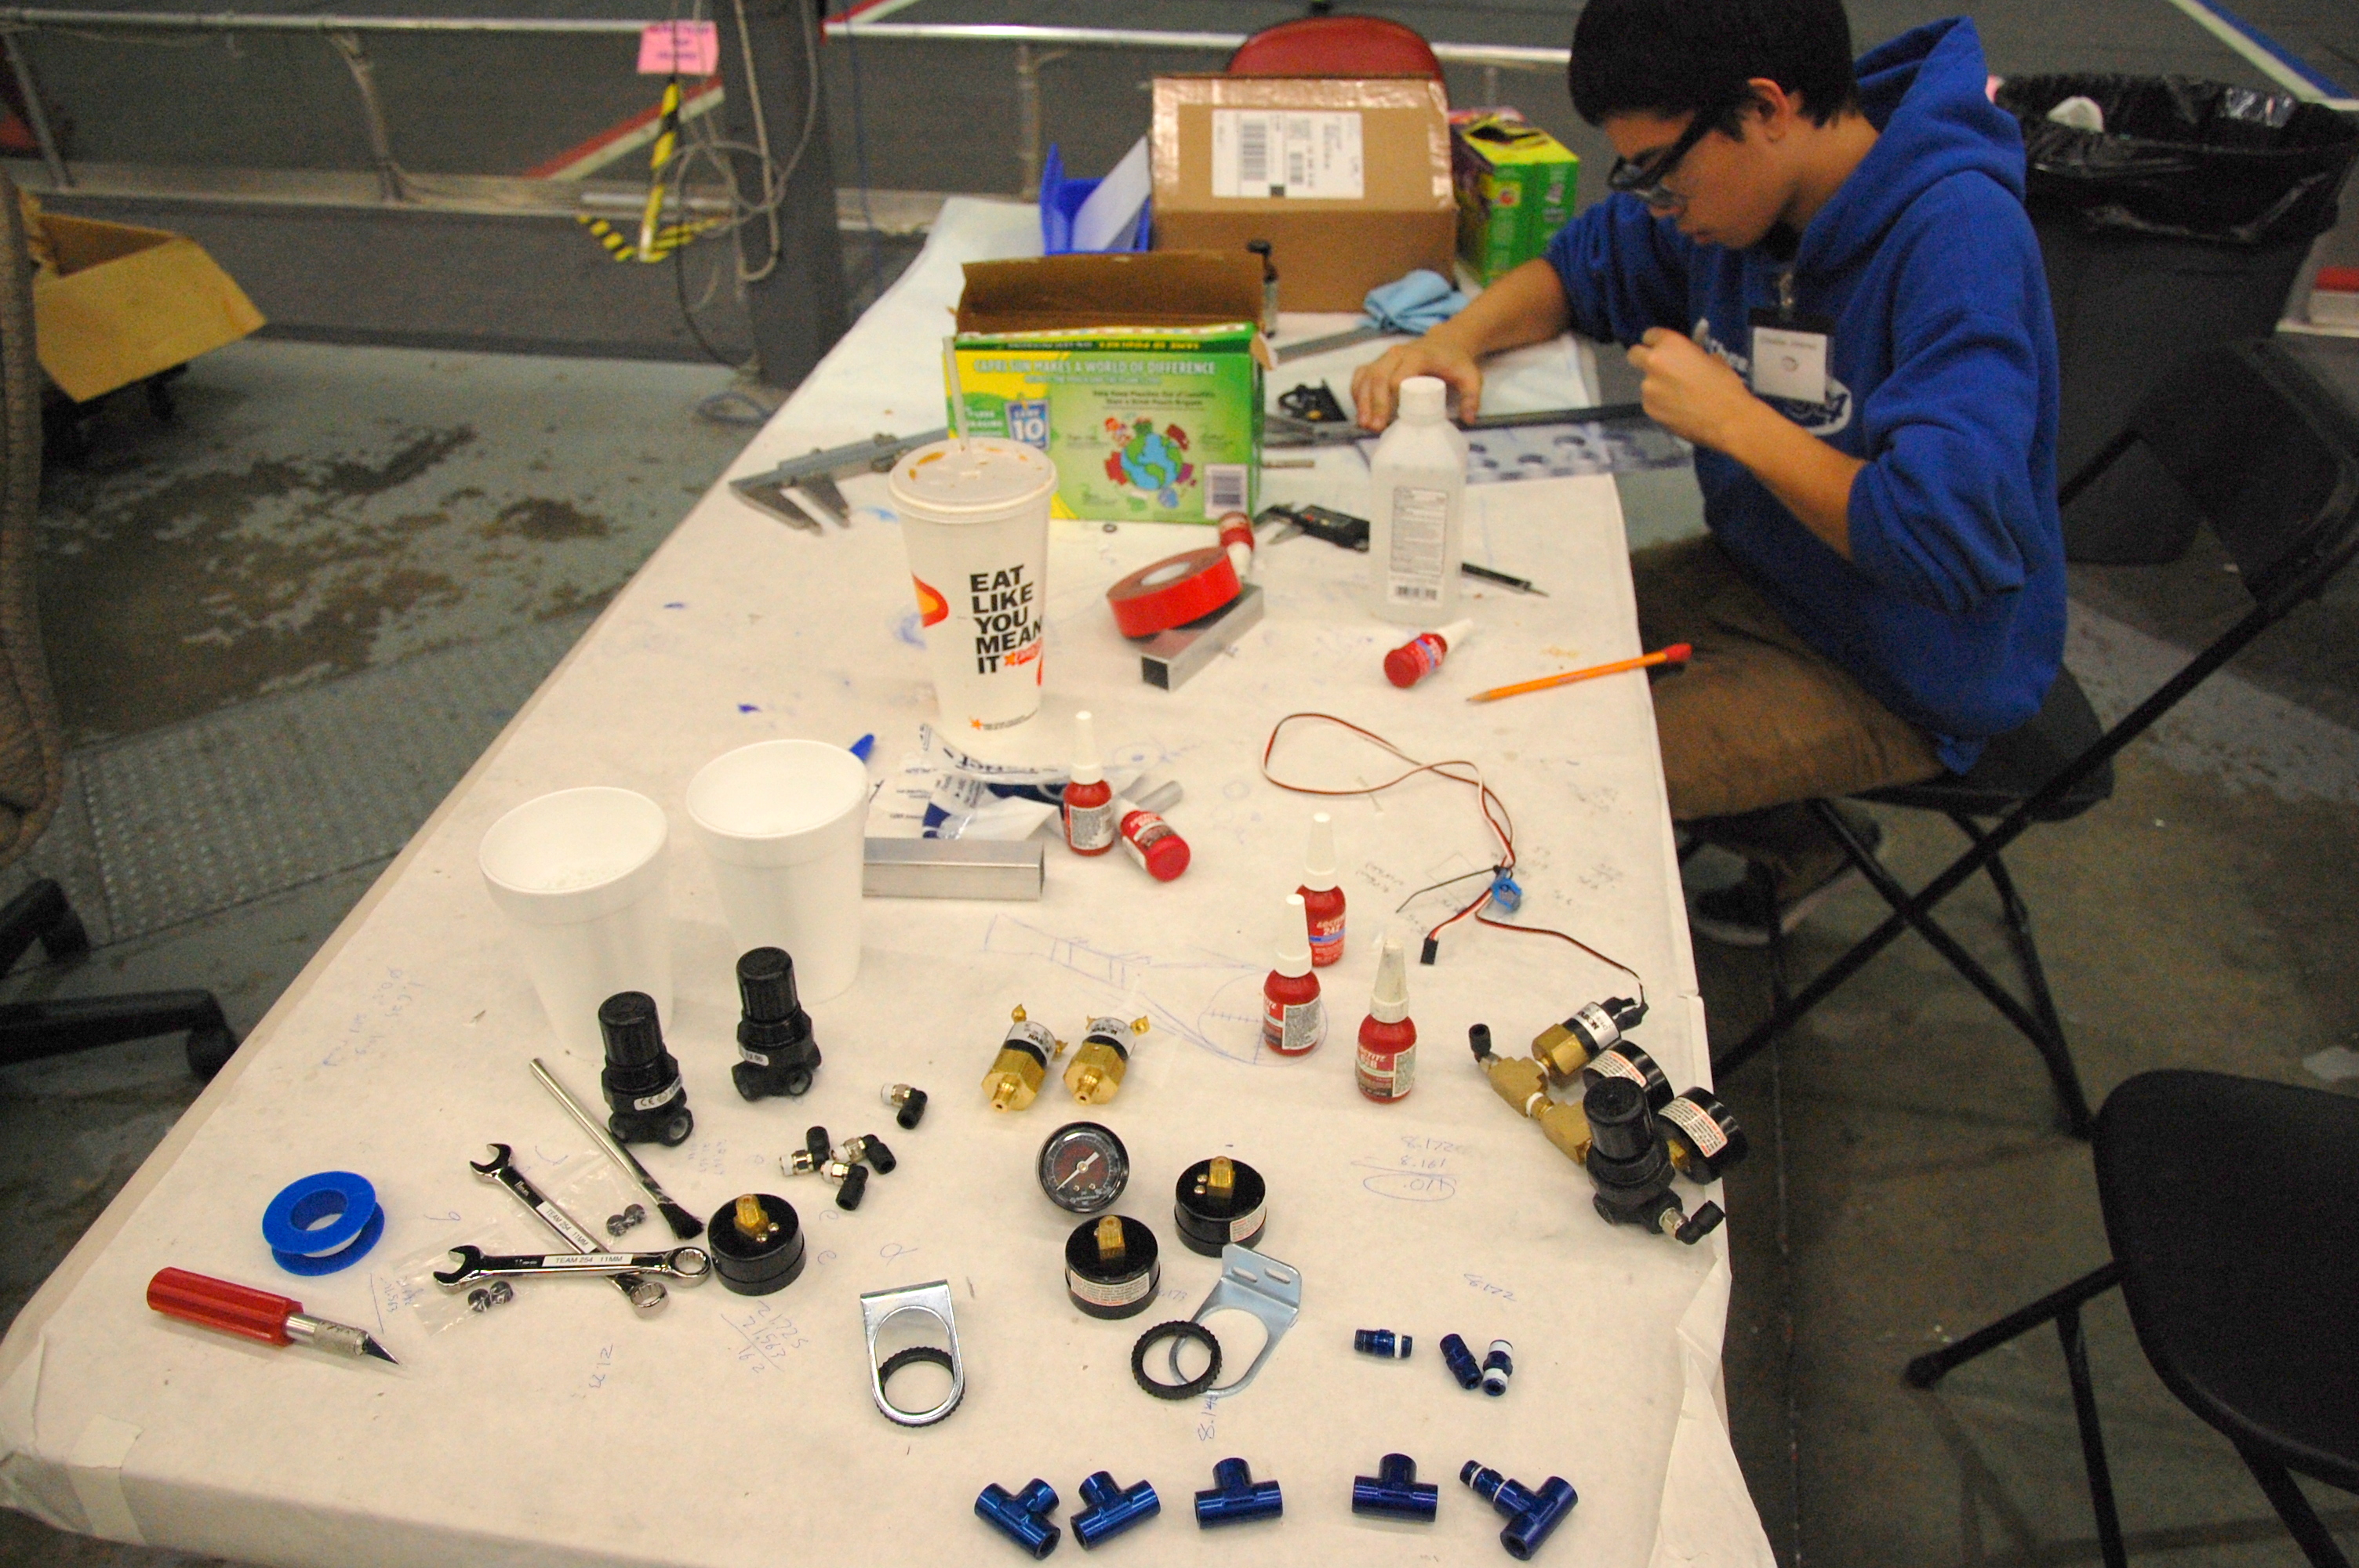
Wiring
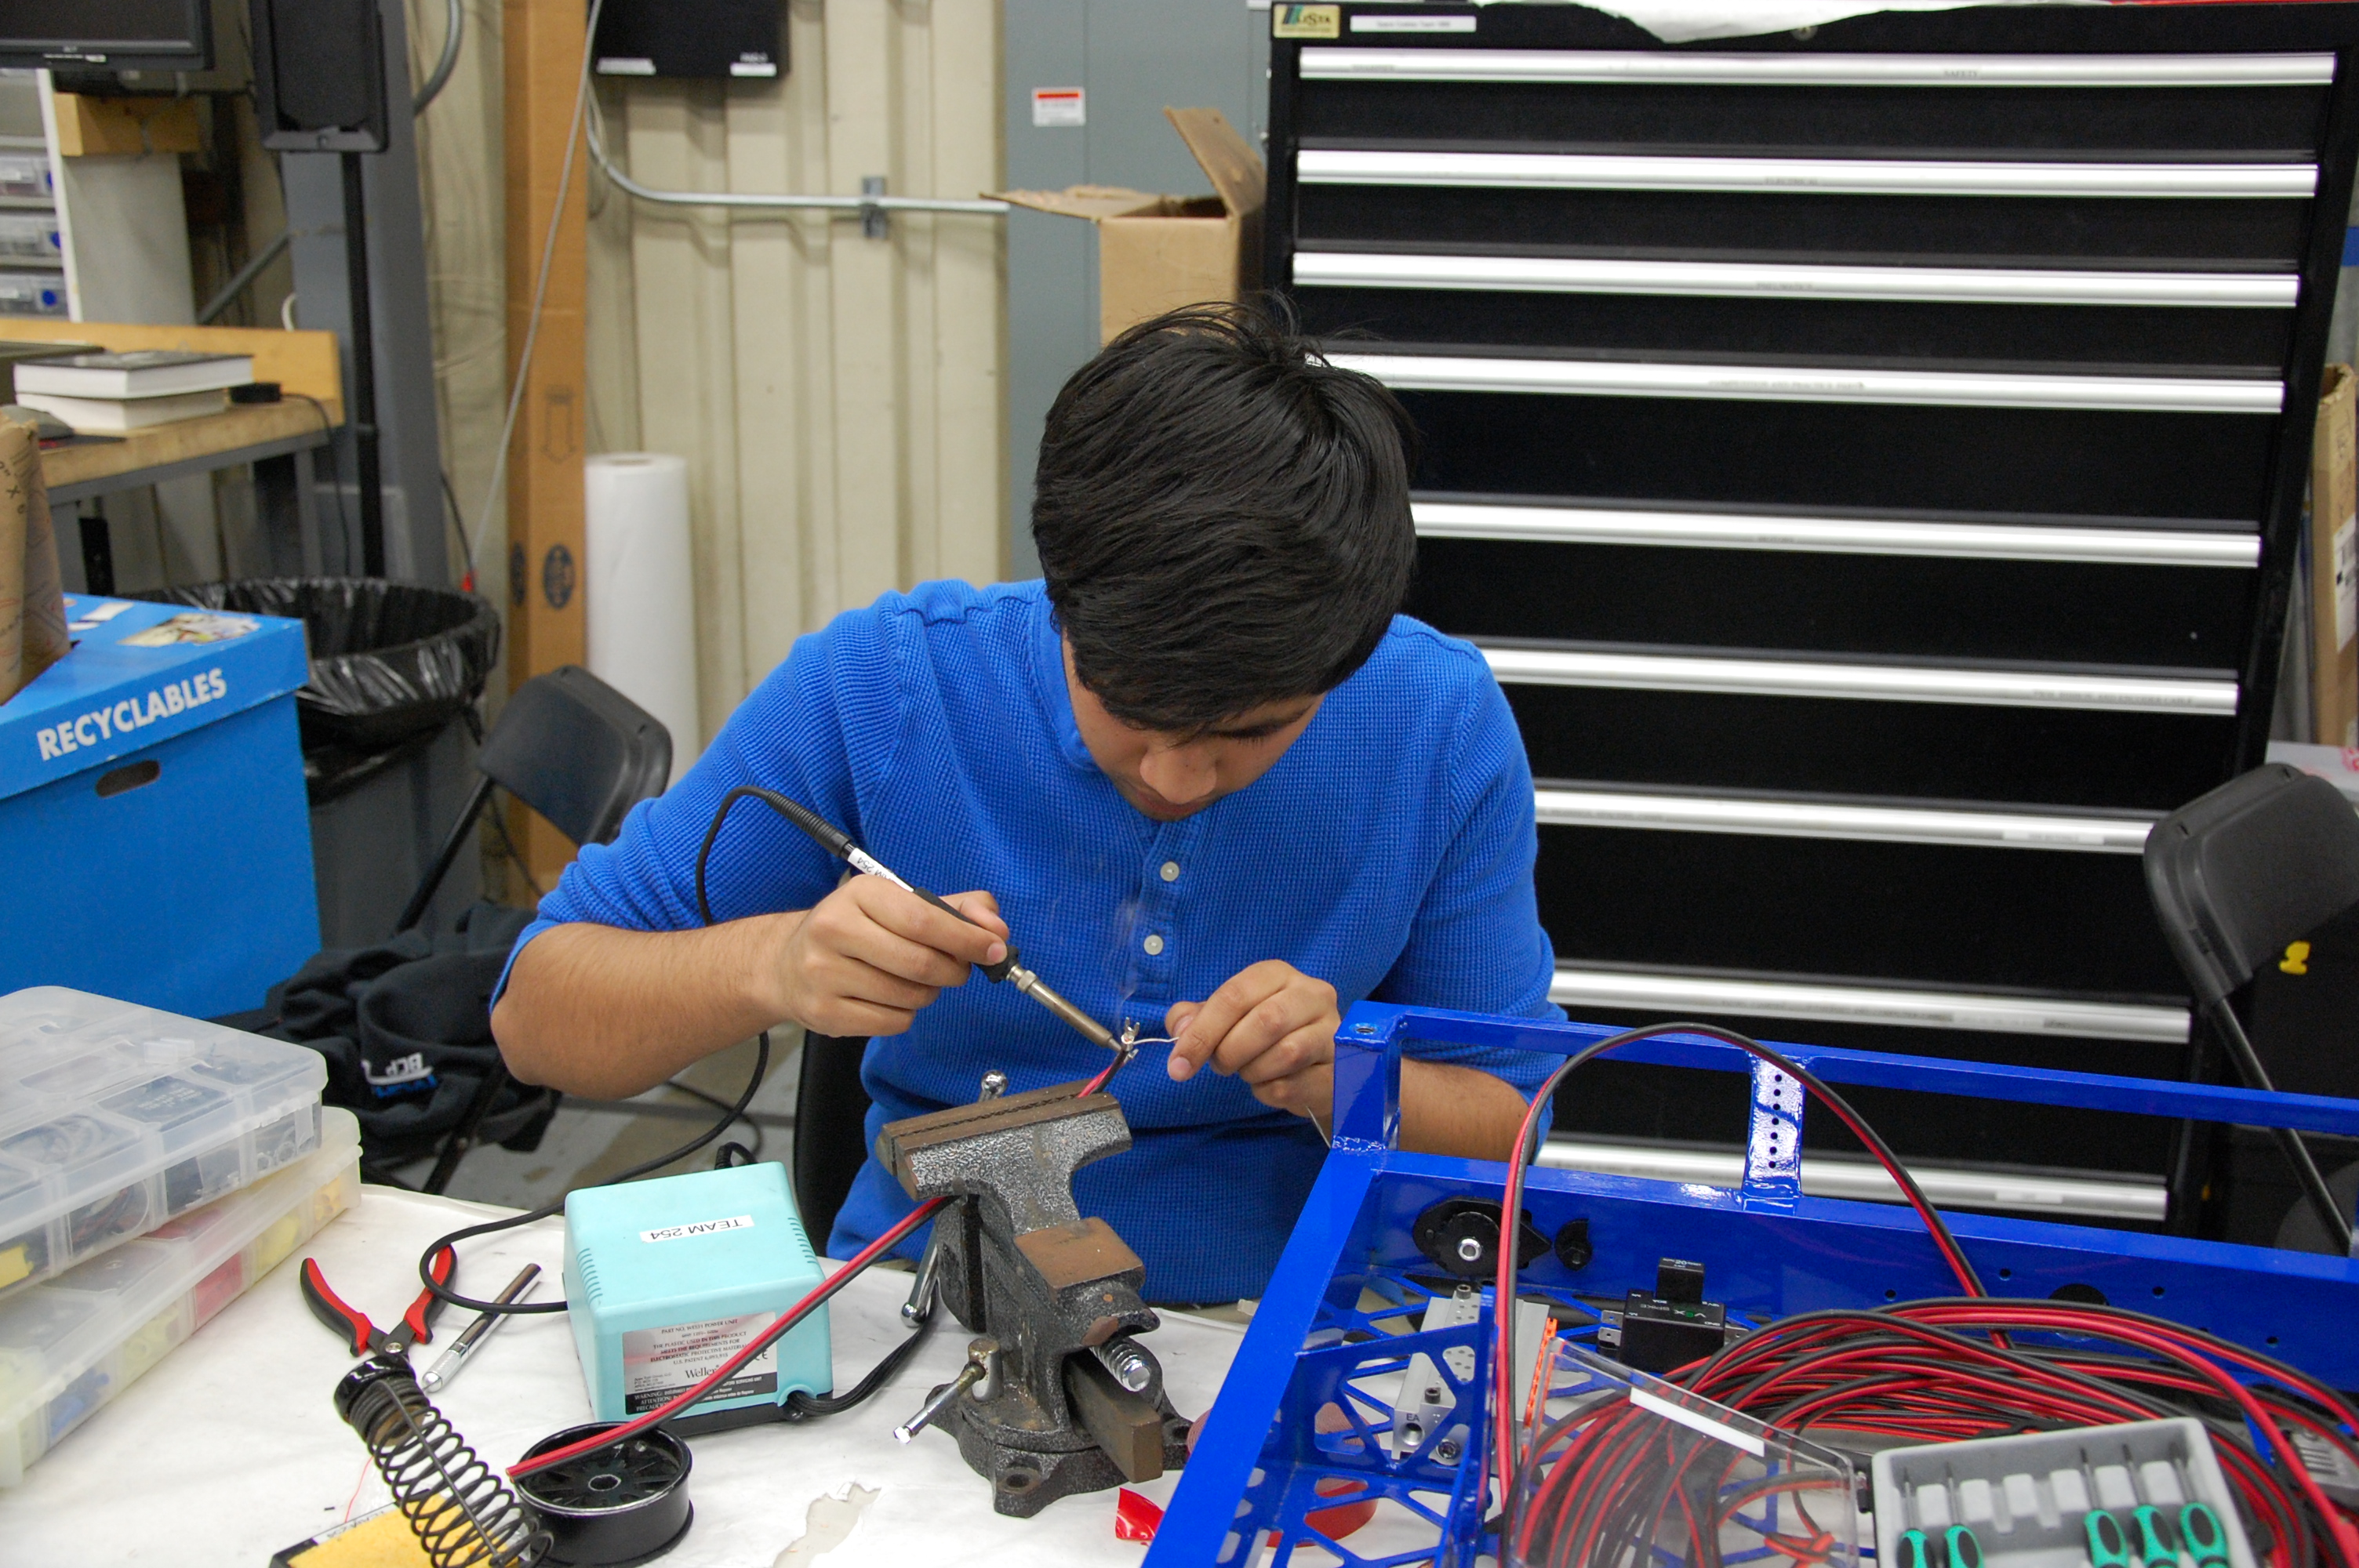
We started wiring late into the night and are being careful to do it accurately. The goal is to have this done very soon so we can continue driving.
CAD
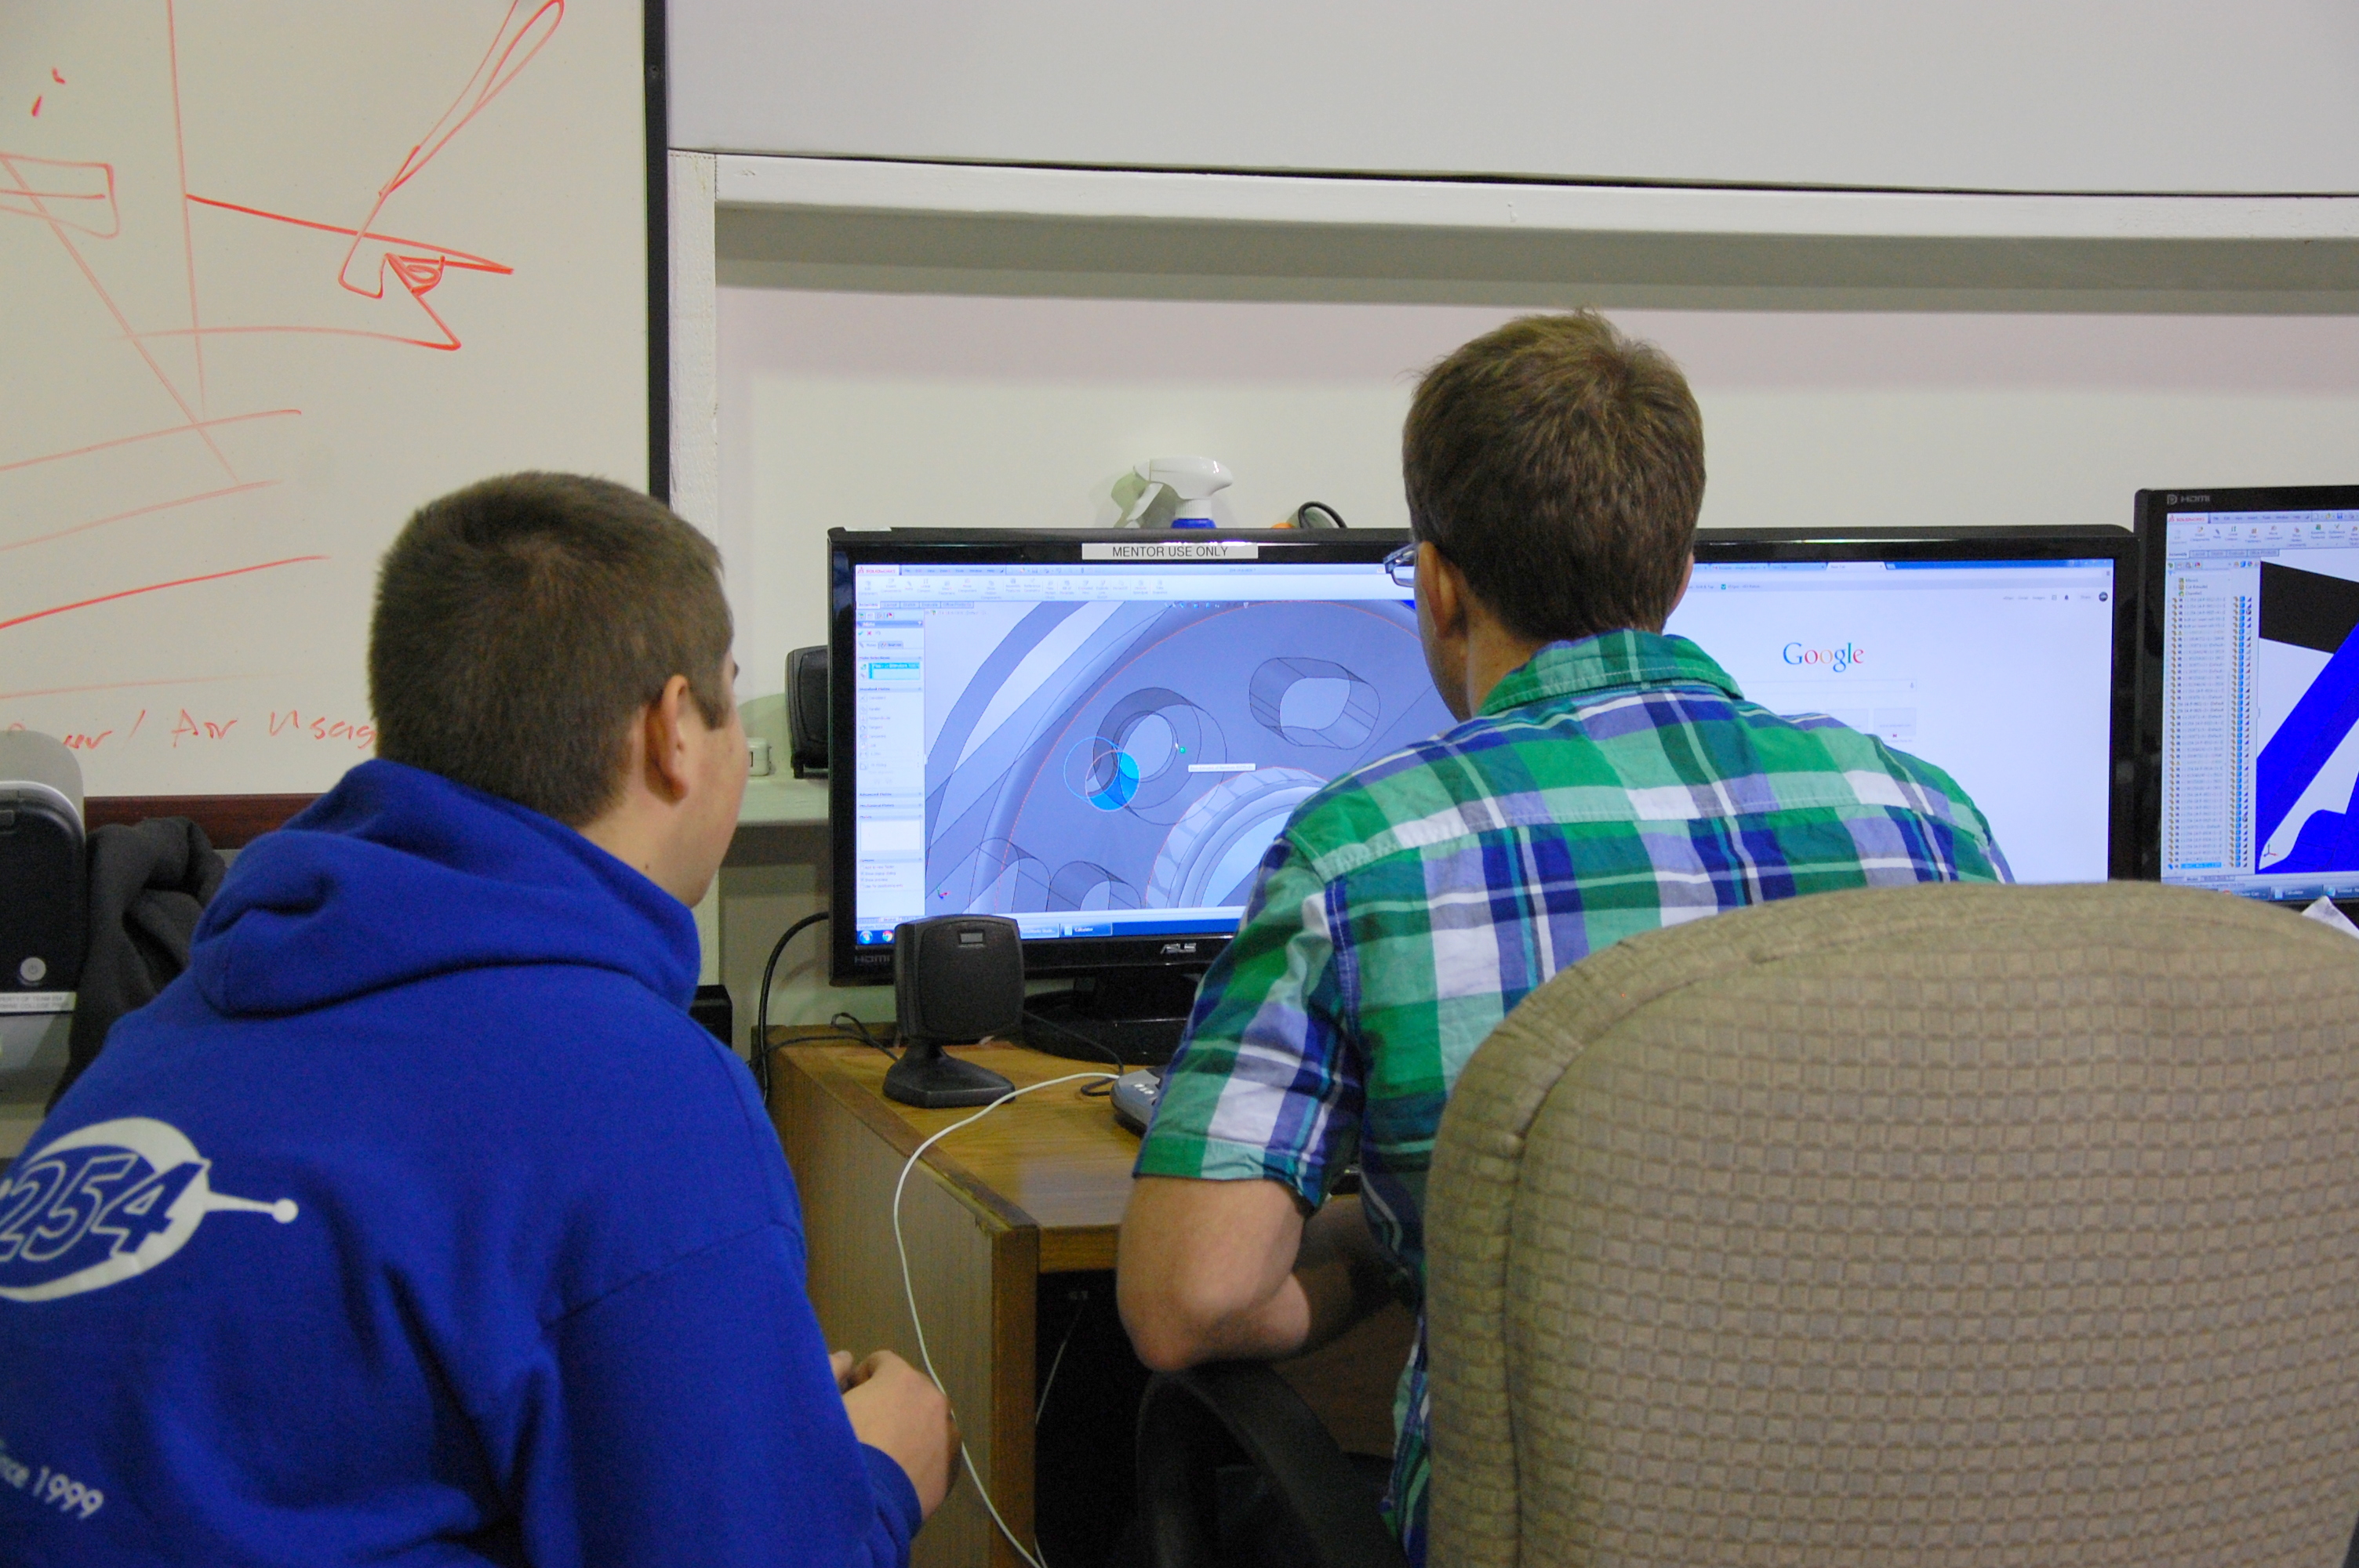
After successful testing the v\-shaped popper, the team decided to go with the prototype, and are currently designing it in SolidWorks.
There was significant work done on the shooter and hood CAD. Members added more detail, as well as some shafts, spacers, and screws.
Programming
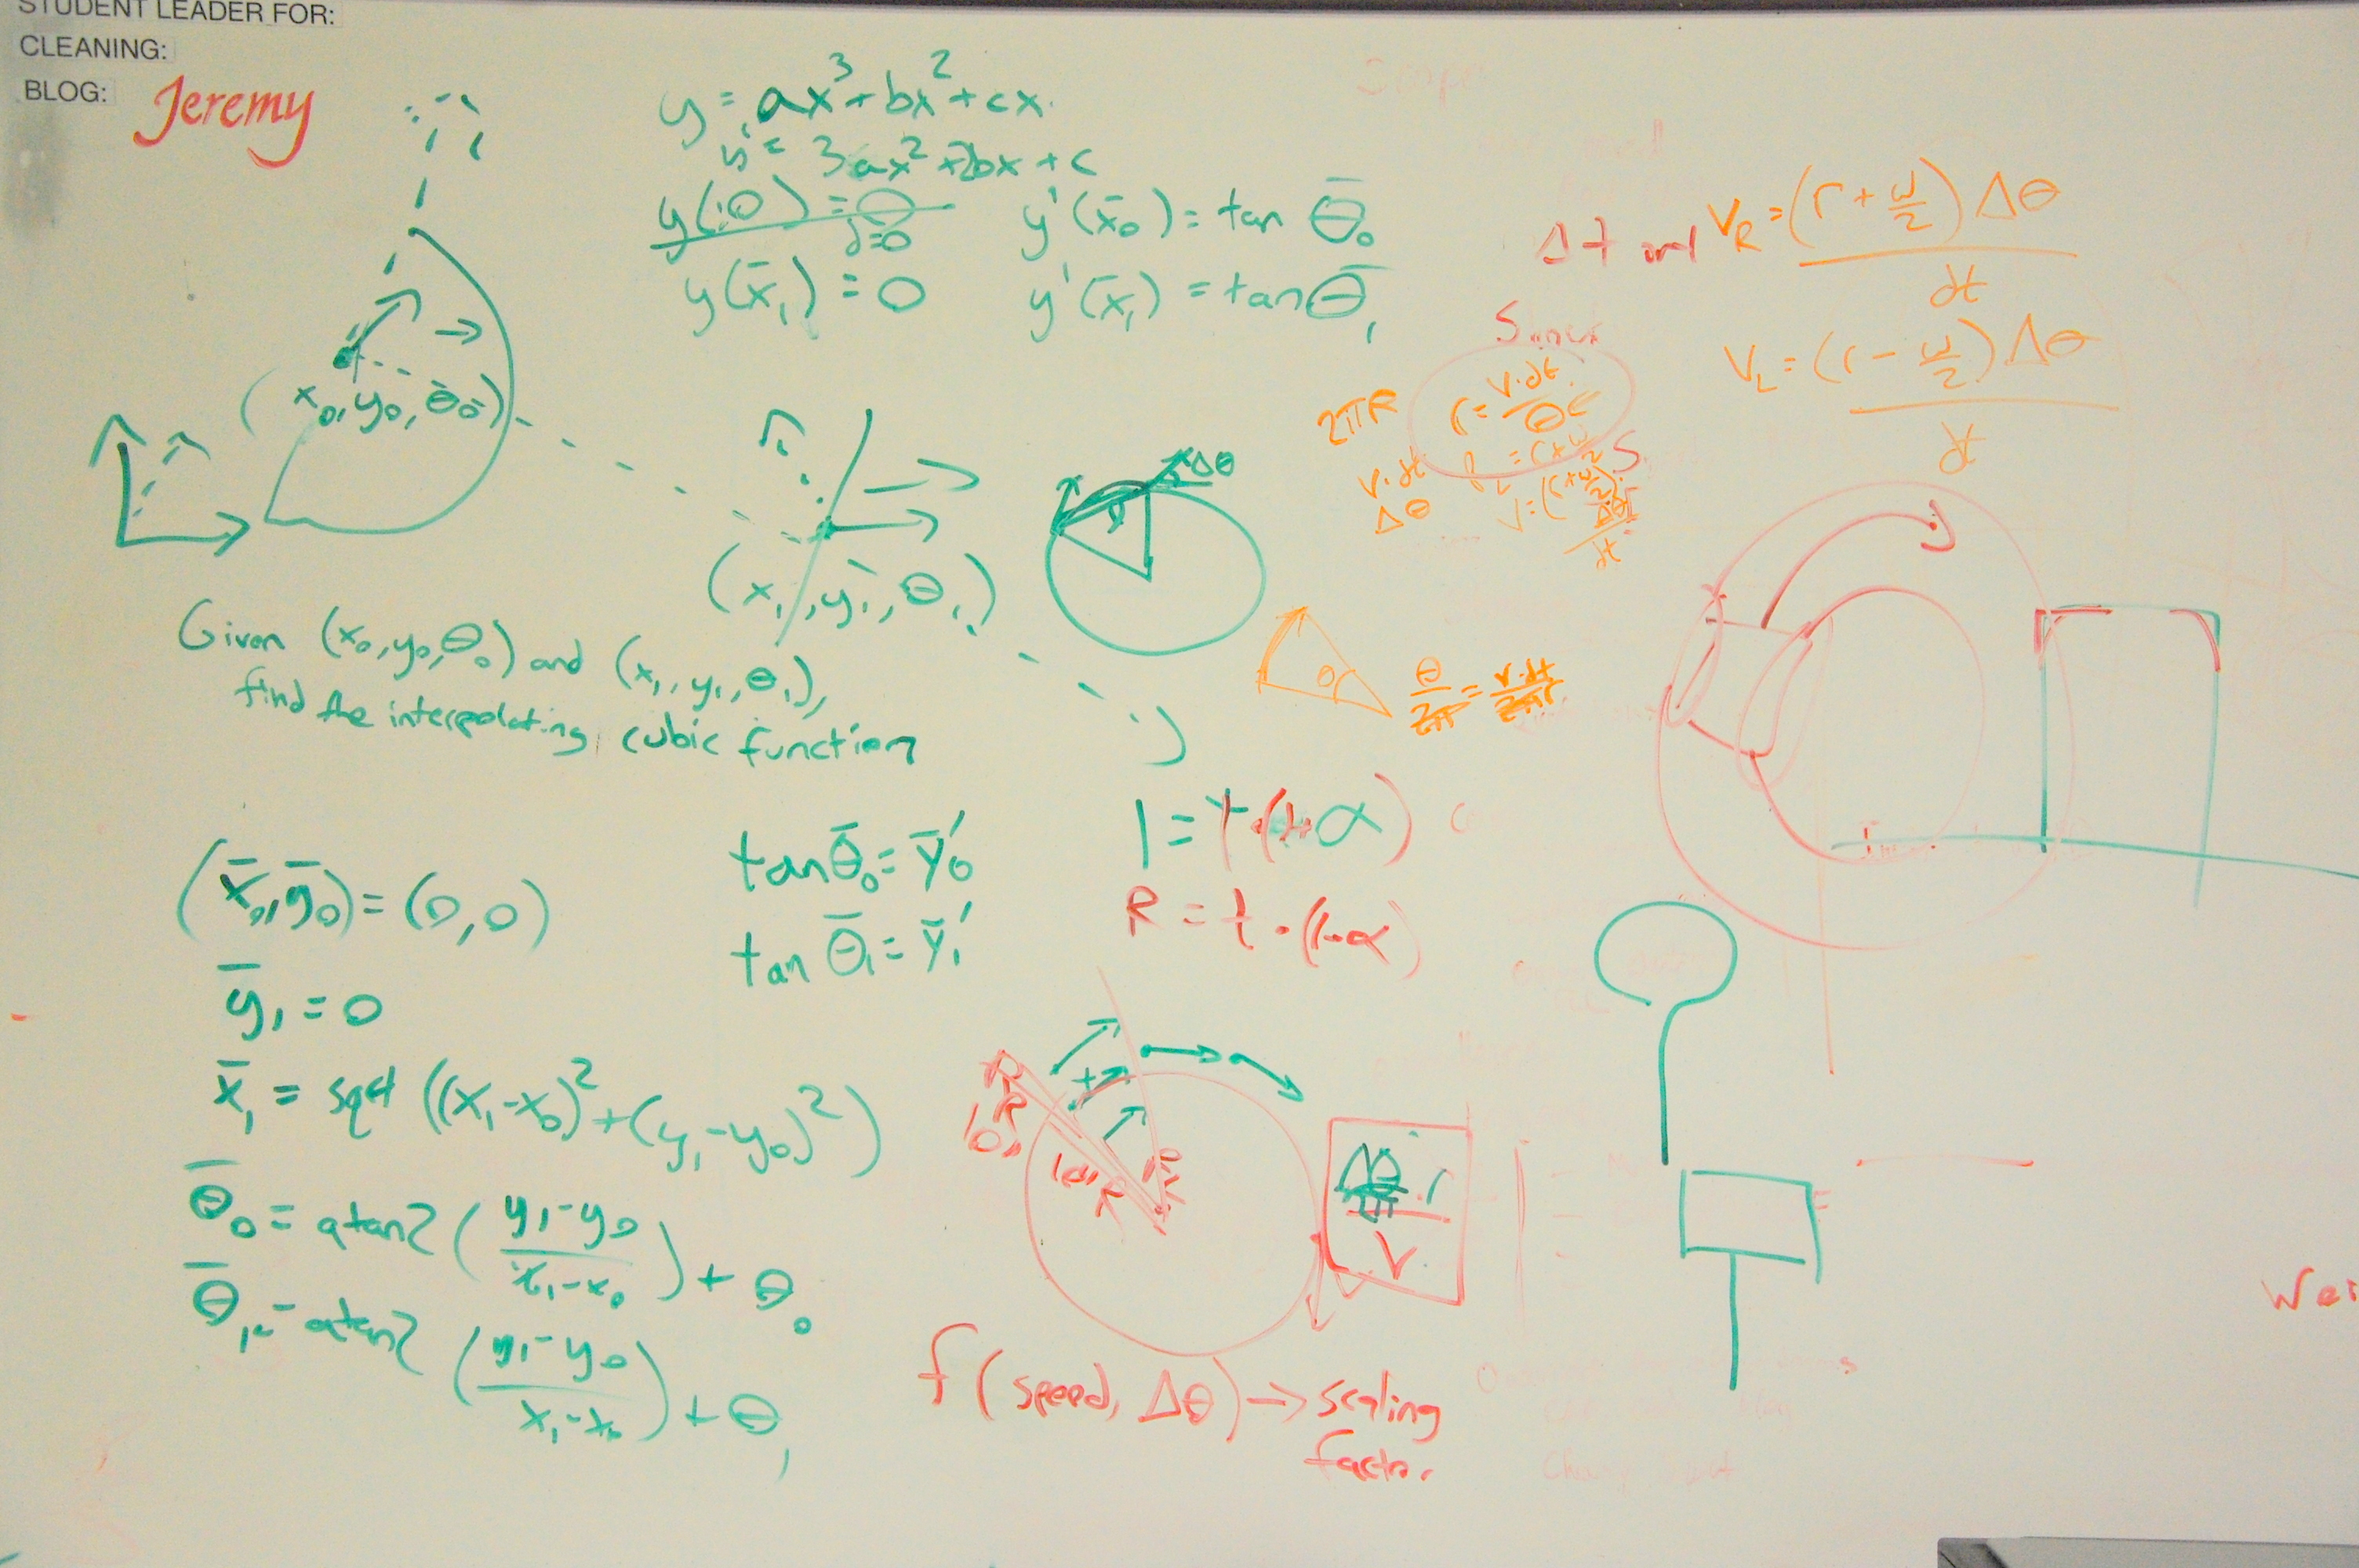
Today, the programmers worked extensively on cubic spline interpolation and trigonometric calculations. The purpose is to be able to turn smoothly and accurately. They implemented the calculations in a new Java project called TrajectoryLib, complete with unit testing. By the end of the day, they ironed out most of the bugs, and have not yet tested the code on the robot.
Moving forward, they’re looking to create a live position\-tracking page for the robot.
Graphic Design
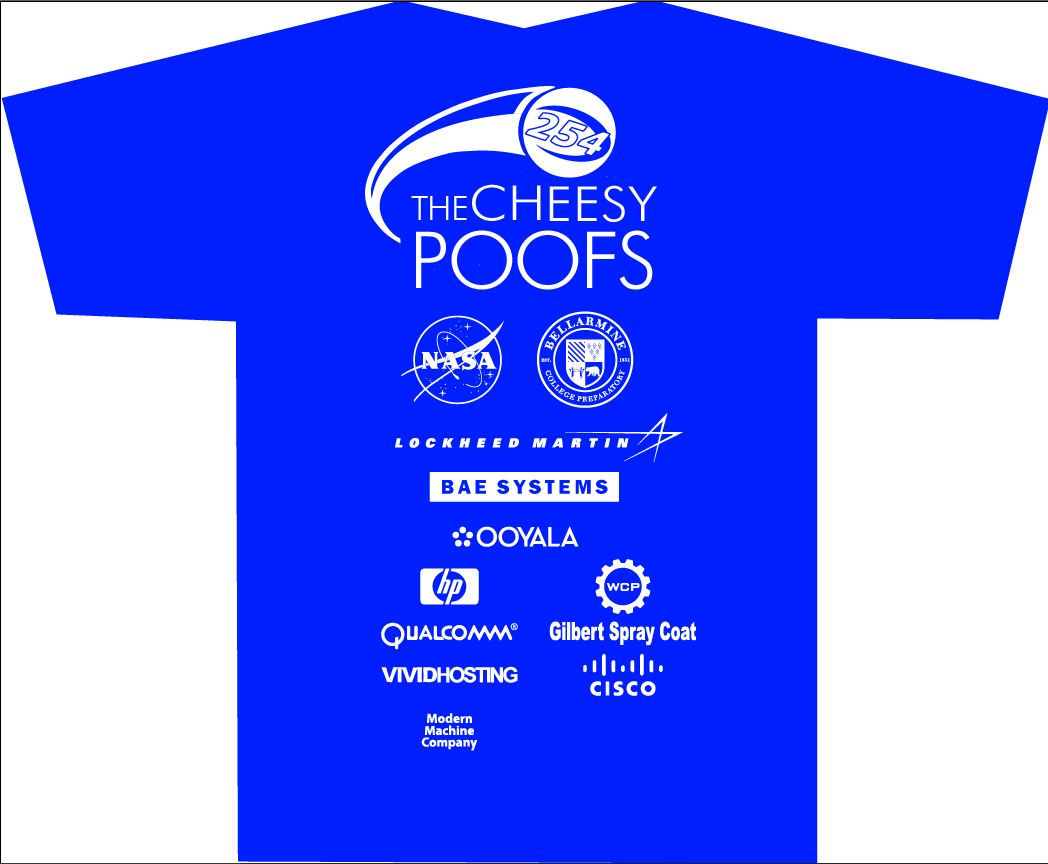
Today, some students made progress on the official team shirt for this season by trying a new design based on the Aerial Assist logo. They also incorporated the logos of our current sponsors.
Game Elements
The team assembled a homemade truss \(instead of purchasing the official game element or buying actual trussing, which would take more than a week to ship\). Unfortunately, it is not completely sturdy and bows in the middle. It has not been hung up across the field yet.
Action Items
- Check Trello!Wiring drivebases
- Continue designing hood
- Debug and test turning code
Pre-STL Day 6: Packing
 Today, students built a pallet to ship large items to St. Louis. They packed some very crucial items needed for Championship, including the robot cart, pit shelving, batteries, and lights for the trussing.
Lastly, programmers debugged some issues with the pit lights. The color effects no longer spawn new processes and overlap each other. Although pit lights are not a priority at the moment, students are making strong effort to make these functional to give the best appearance at the Championship event.
Pre-SVR Day 10:
Indexer
The polycarb flap that indexes the frisbee was modified to be thicker. The indexer superstructure was changed and we reverted to old butcher knife plates to lower compression on the disc. The default state of the indexer was also changed from the bottom to the top. The team is making these modifications to increase the rate at which the robot shoots discs.
Wheels
Team members took apart old wheels, cleaned them up and removed old rivets and tread. The wheels were not re-treaded.
Sensors
Members started wiring the photoelectric sensors for the shooting and indexing sequence. This would optimize and speed up rapid firing as well as autonomous mode.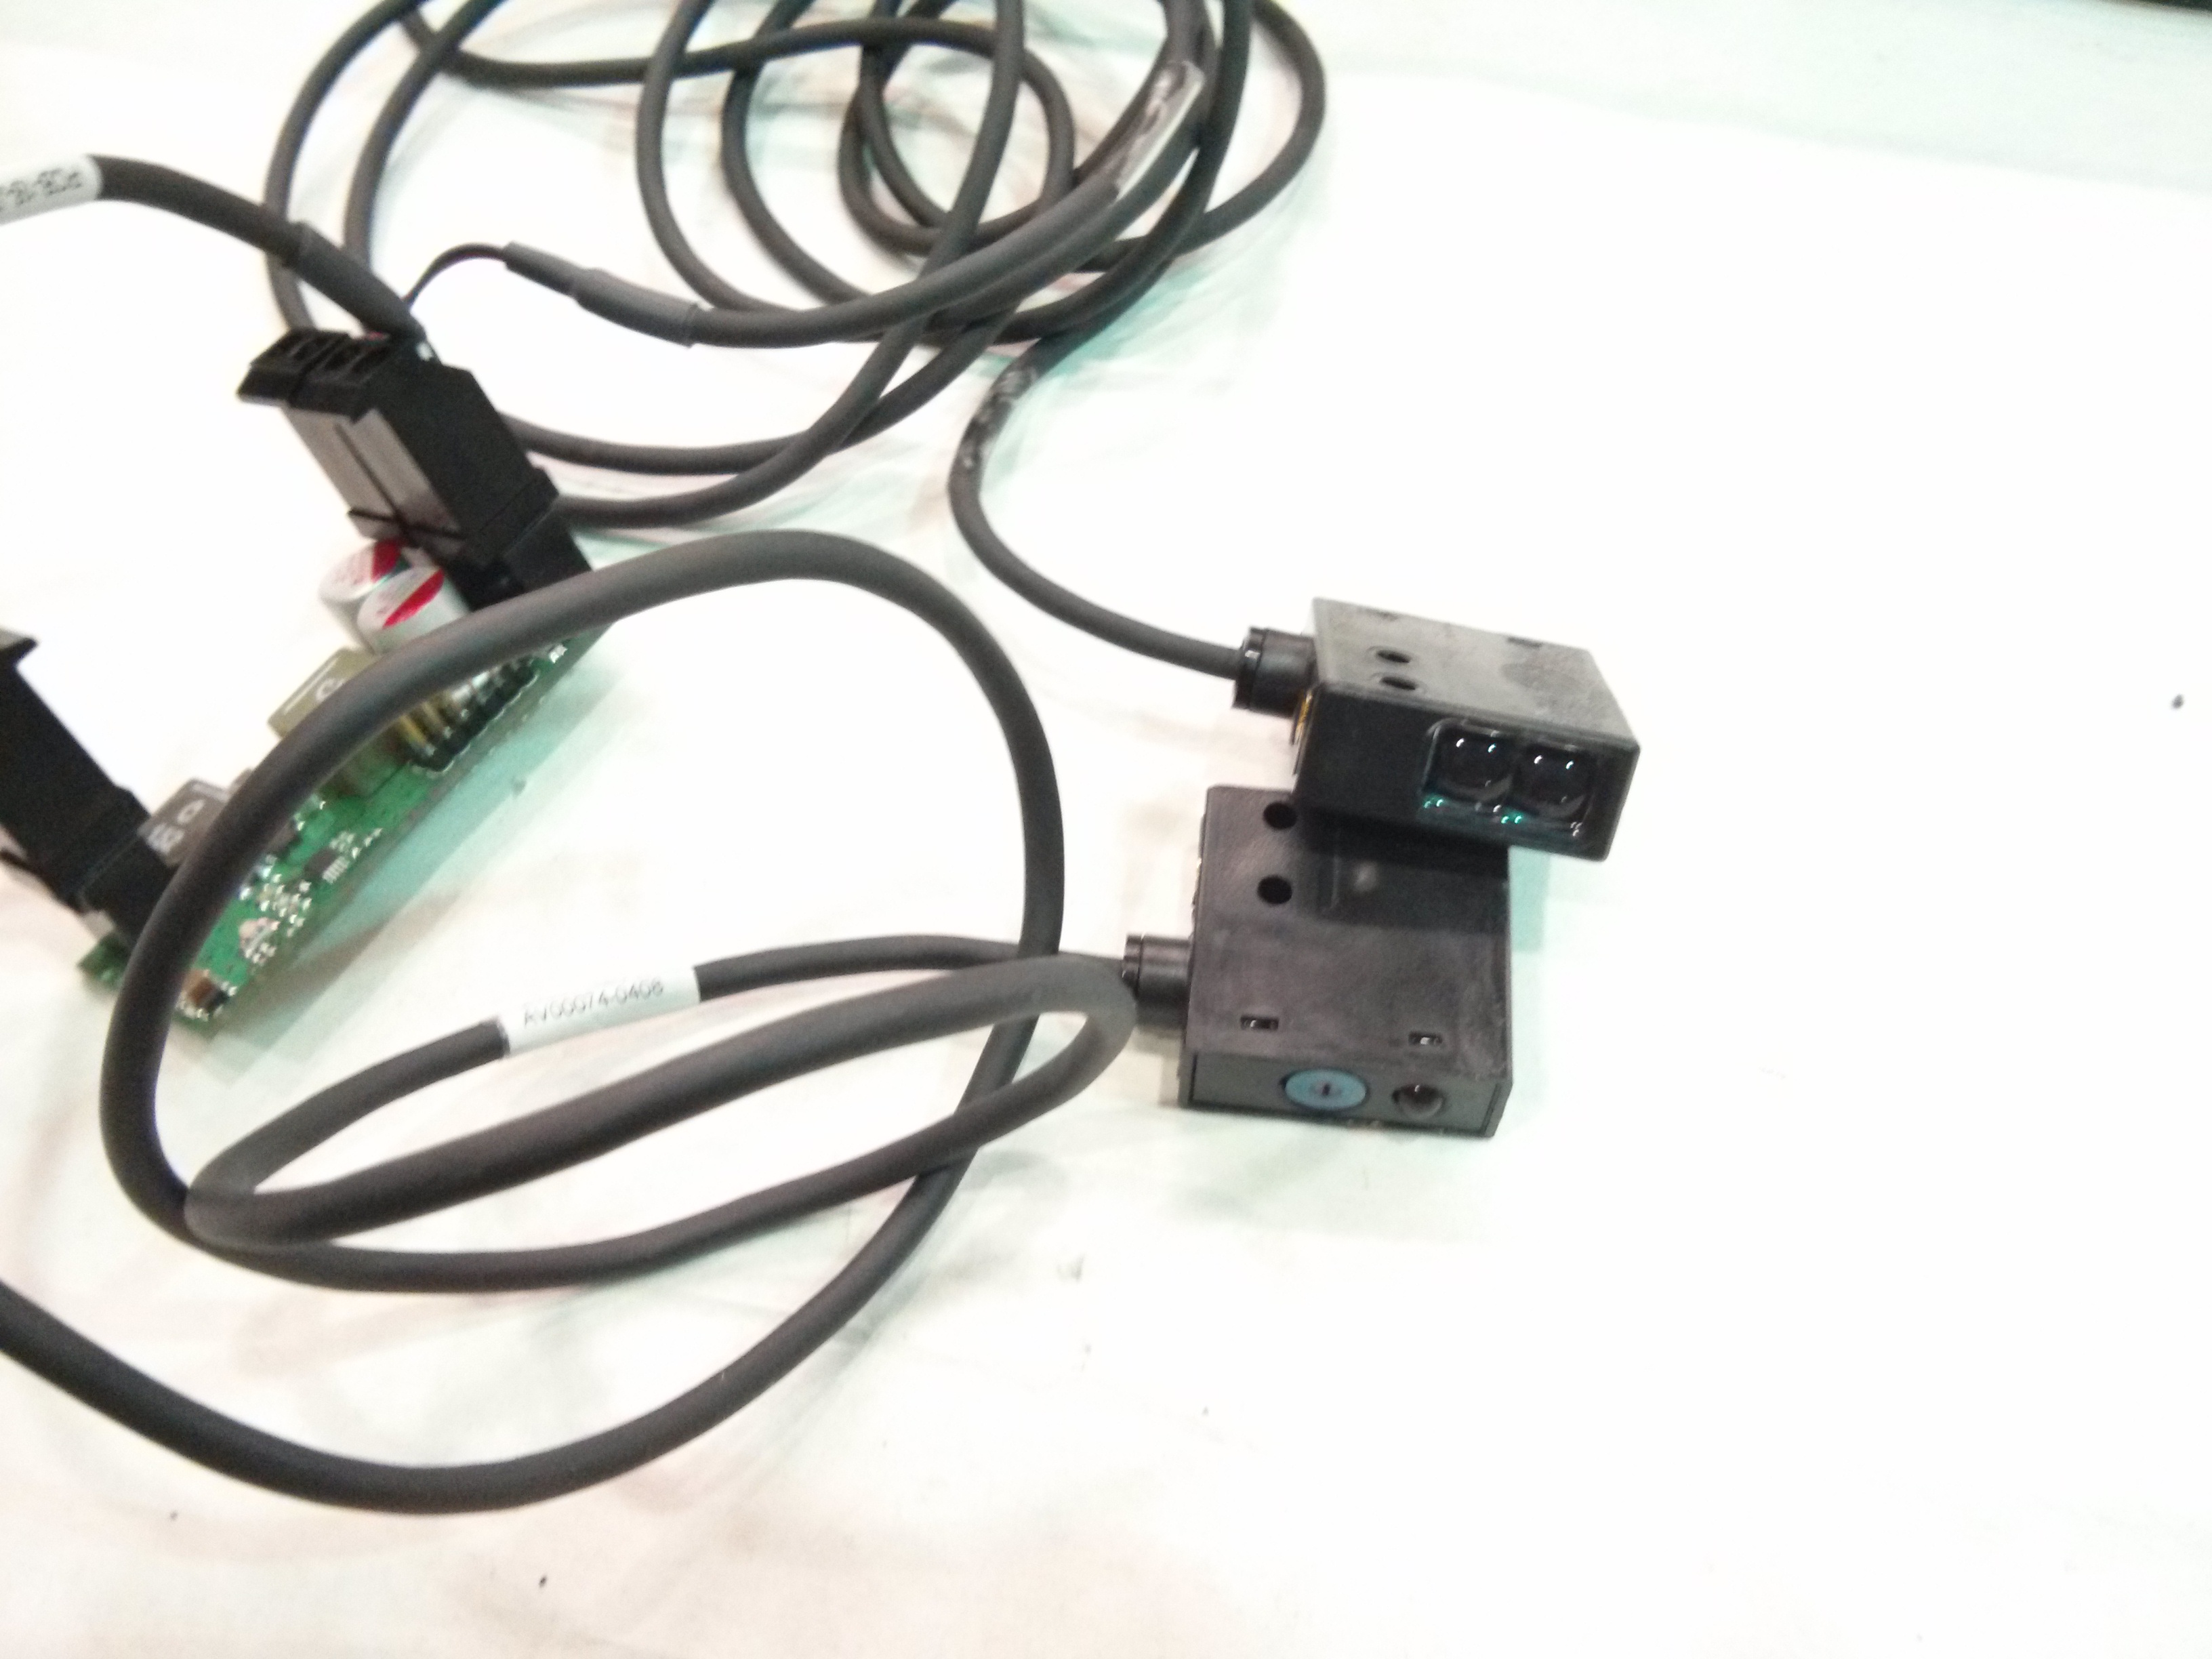
Media Technology and Innovation Award Submitted
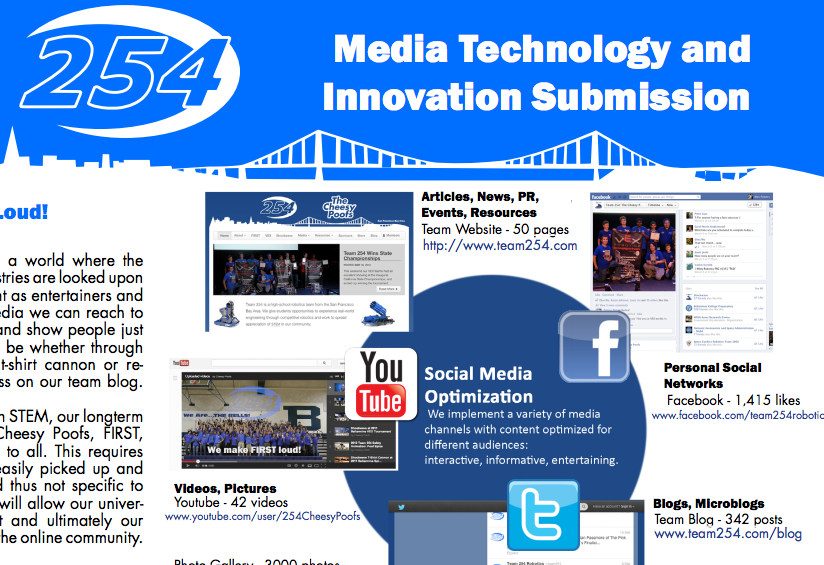 Thanks to the collaborative effort of many students and mentors, Team 254 finished and uploaded our submission for the Media Technology and Innovation Award. The new award, essentially replacing the website one, focuses on social media presence and the team's plan for approaching social networking.
It was submitted as a 2 page PDF, which we found to be an interesting constraint. In the end, we found that using graphics to communicate our ideas was often more effective than using text, and more engaging for the audience. This also made it difficult to decide which text to cut from the document, and how to balance the types of content effectively.
Thank you to all of the dedicated members who helped put this together, specifically Eric Van Lare, Alex Powers, Avery Strand, Kyle Schnoor, and Chanan Walia under the guidance of Esteban Parker and David Wilson.
Driver Practice, Competition Preparation, and Debugging
 Robot
Robot
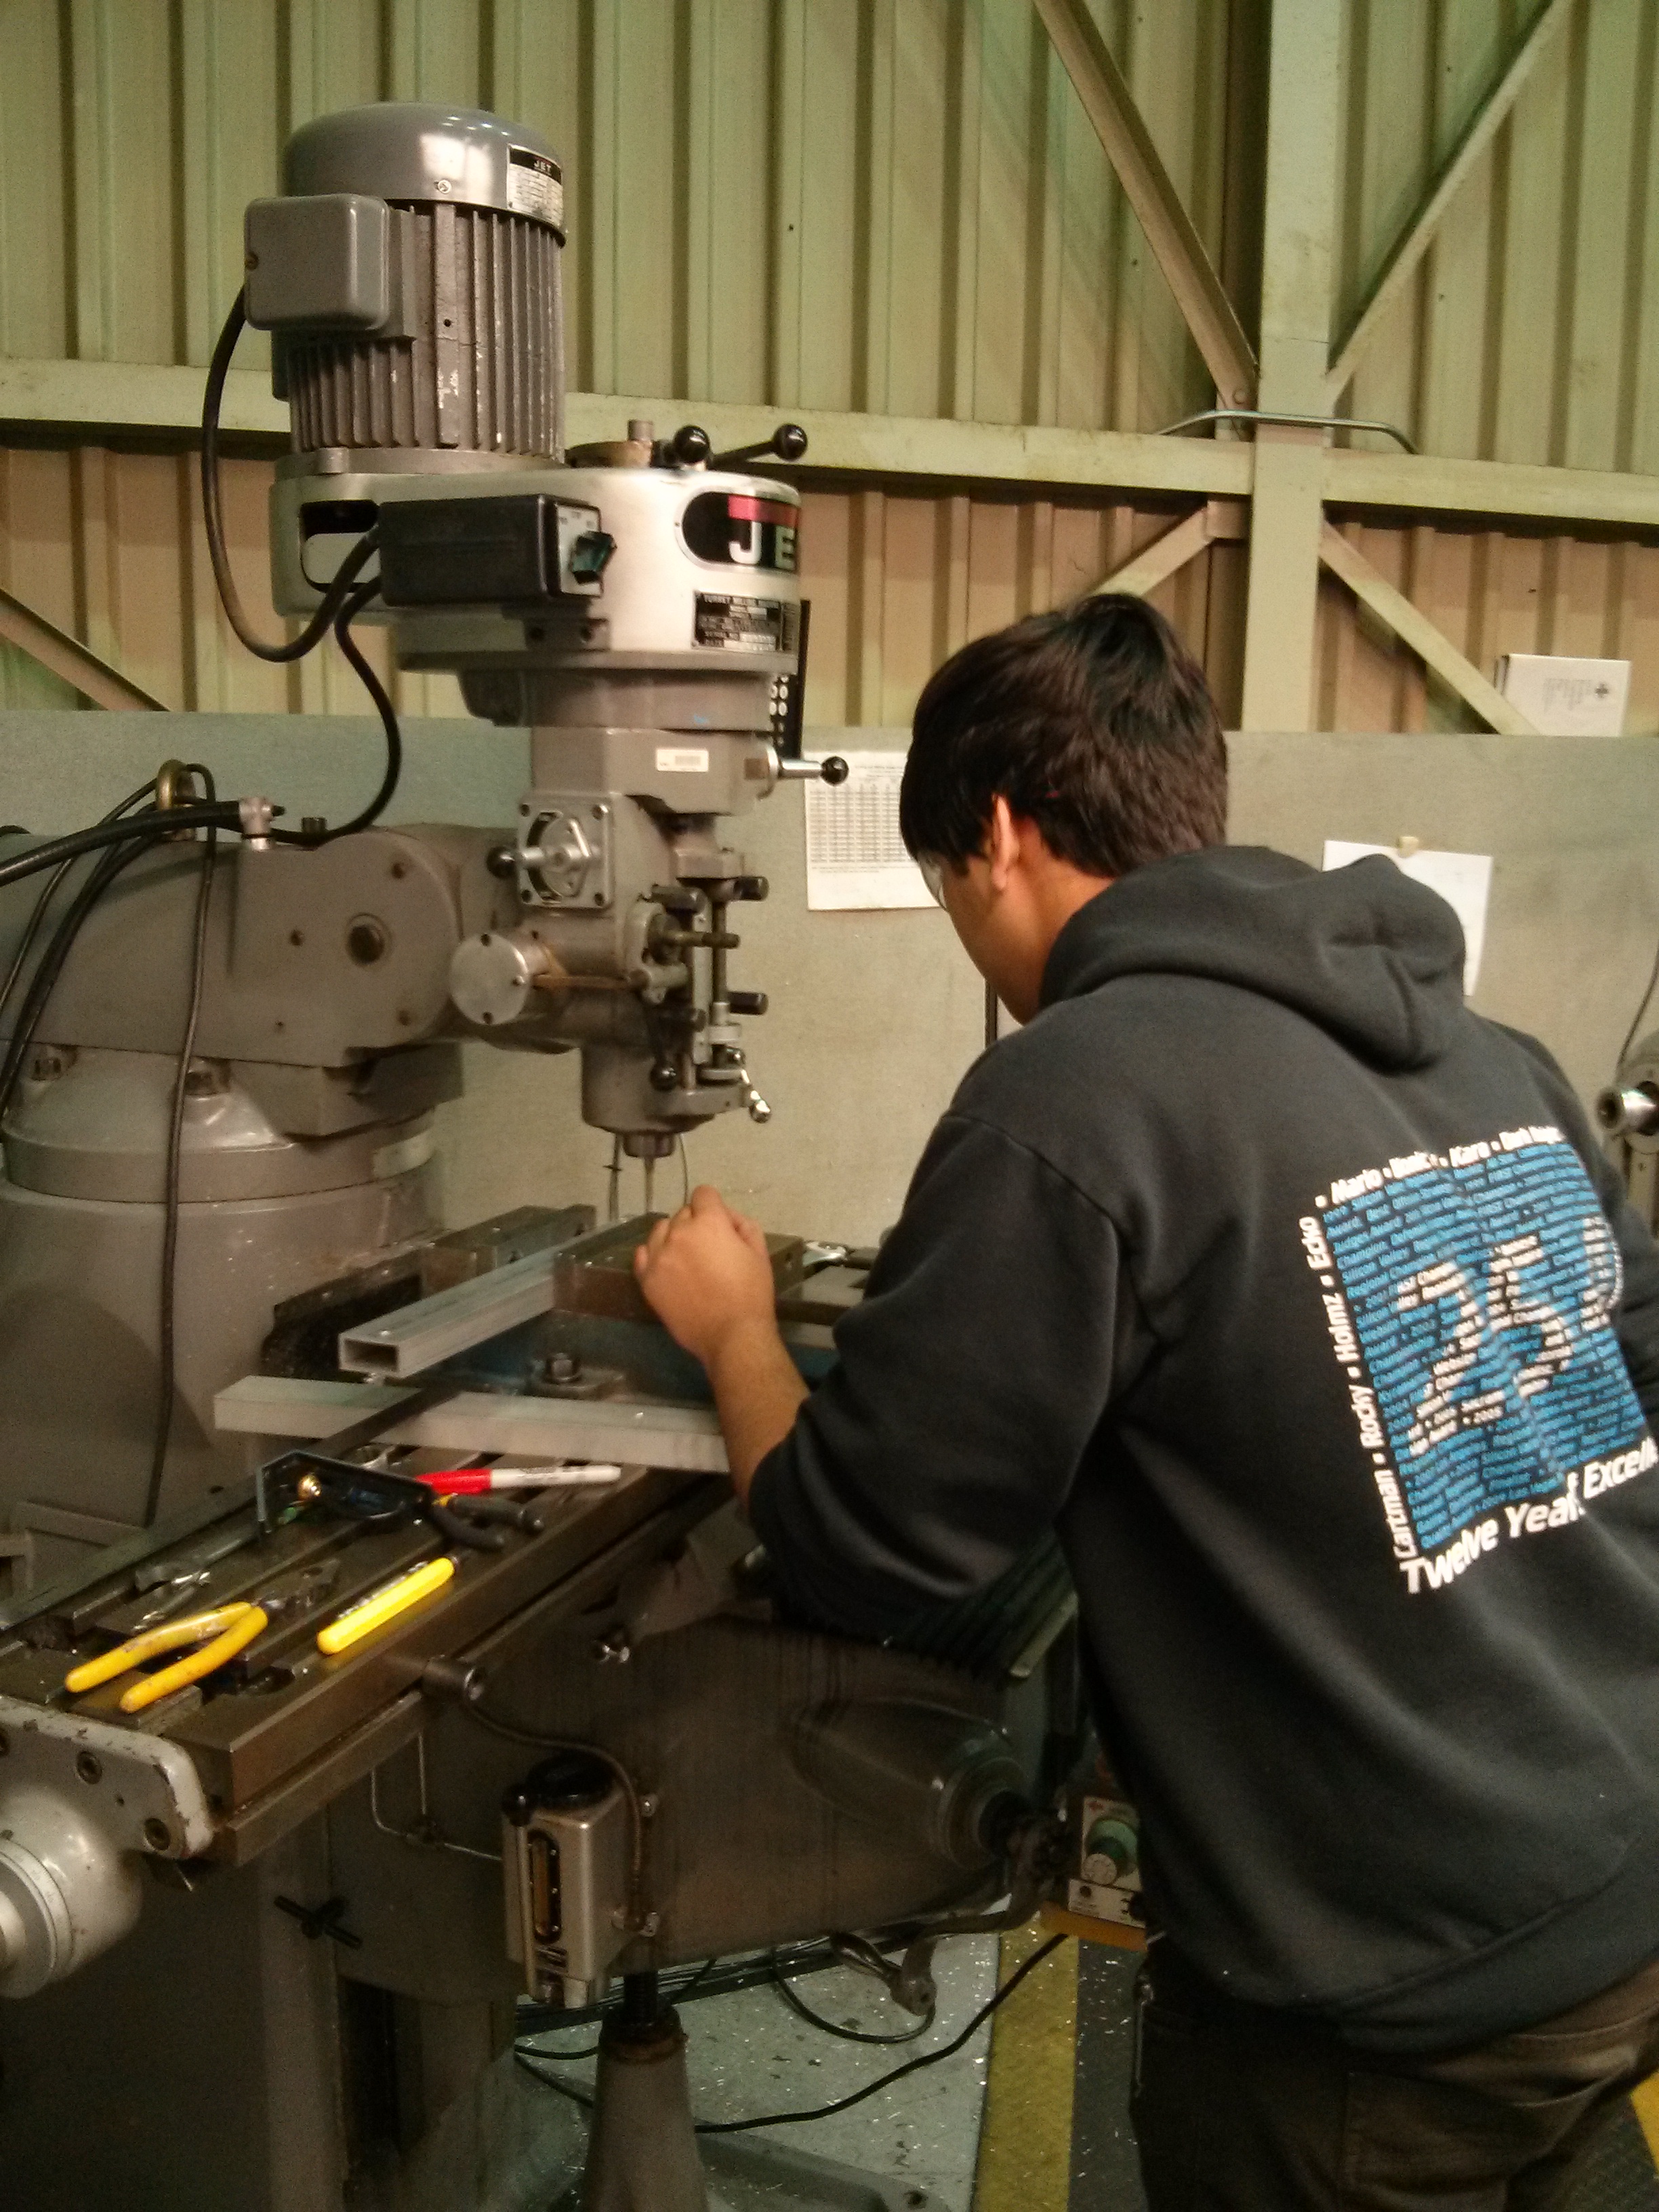
The robot wheels got partially machined today. They are currently still being worked on. Drivers practiced driving around and other students continued debugging the shooter. This was a result of the fact that the shooter kept jamming, because it would intake one frisbee on top of another. Some of the robot parts were turned on the lathe.
Programming
The programmers rewrote a fair amount of logic for the robot’s subsystems, specifically, the intake and the shooter. The shooter’s two S5 encoders were removed due to space constraints on the robot, so the shooter wheel speeds will operate on an open loop controller. Instead of the old shooter state controller logic, individual commands will call specific functions. In addition, the intake raising and lowering was given an open loop as well.
The programmers also continued working on autonomous mode functions. Below is video of a five-frisbee autonomous sequence.
Competition Prep
The competition tool chest was inventoried and organized, so that we will be ready to take it to San Diego next week. One of the robot stands was also completed, the other is still in progress, and will likely be finished tonight.
Day #28: Auto Scripting and Bumpers
Bumper fabric
A few members measured fabric for the bumpers and measured where to properly place the team logo on them. They were careful with measurements because the ideal bumpers are more compressed than actual ones that will be.
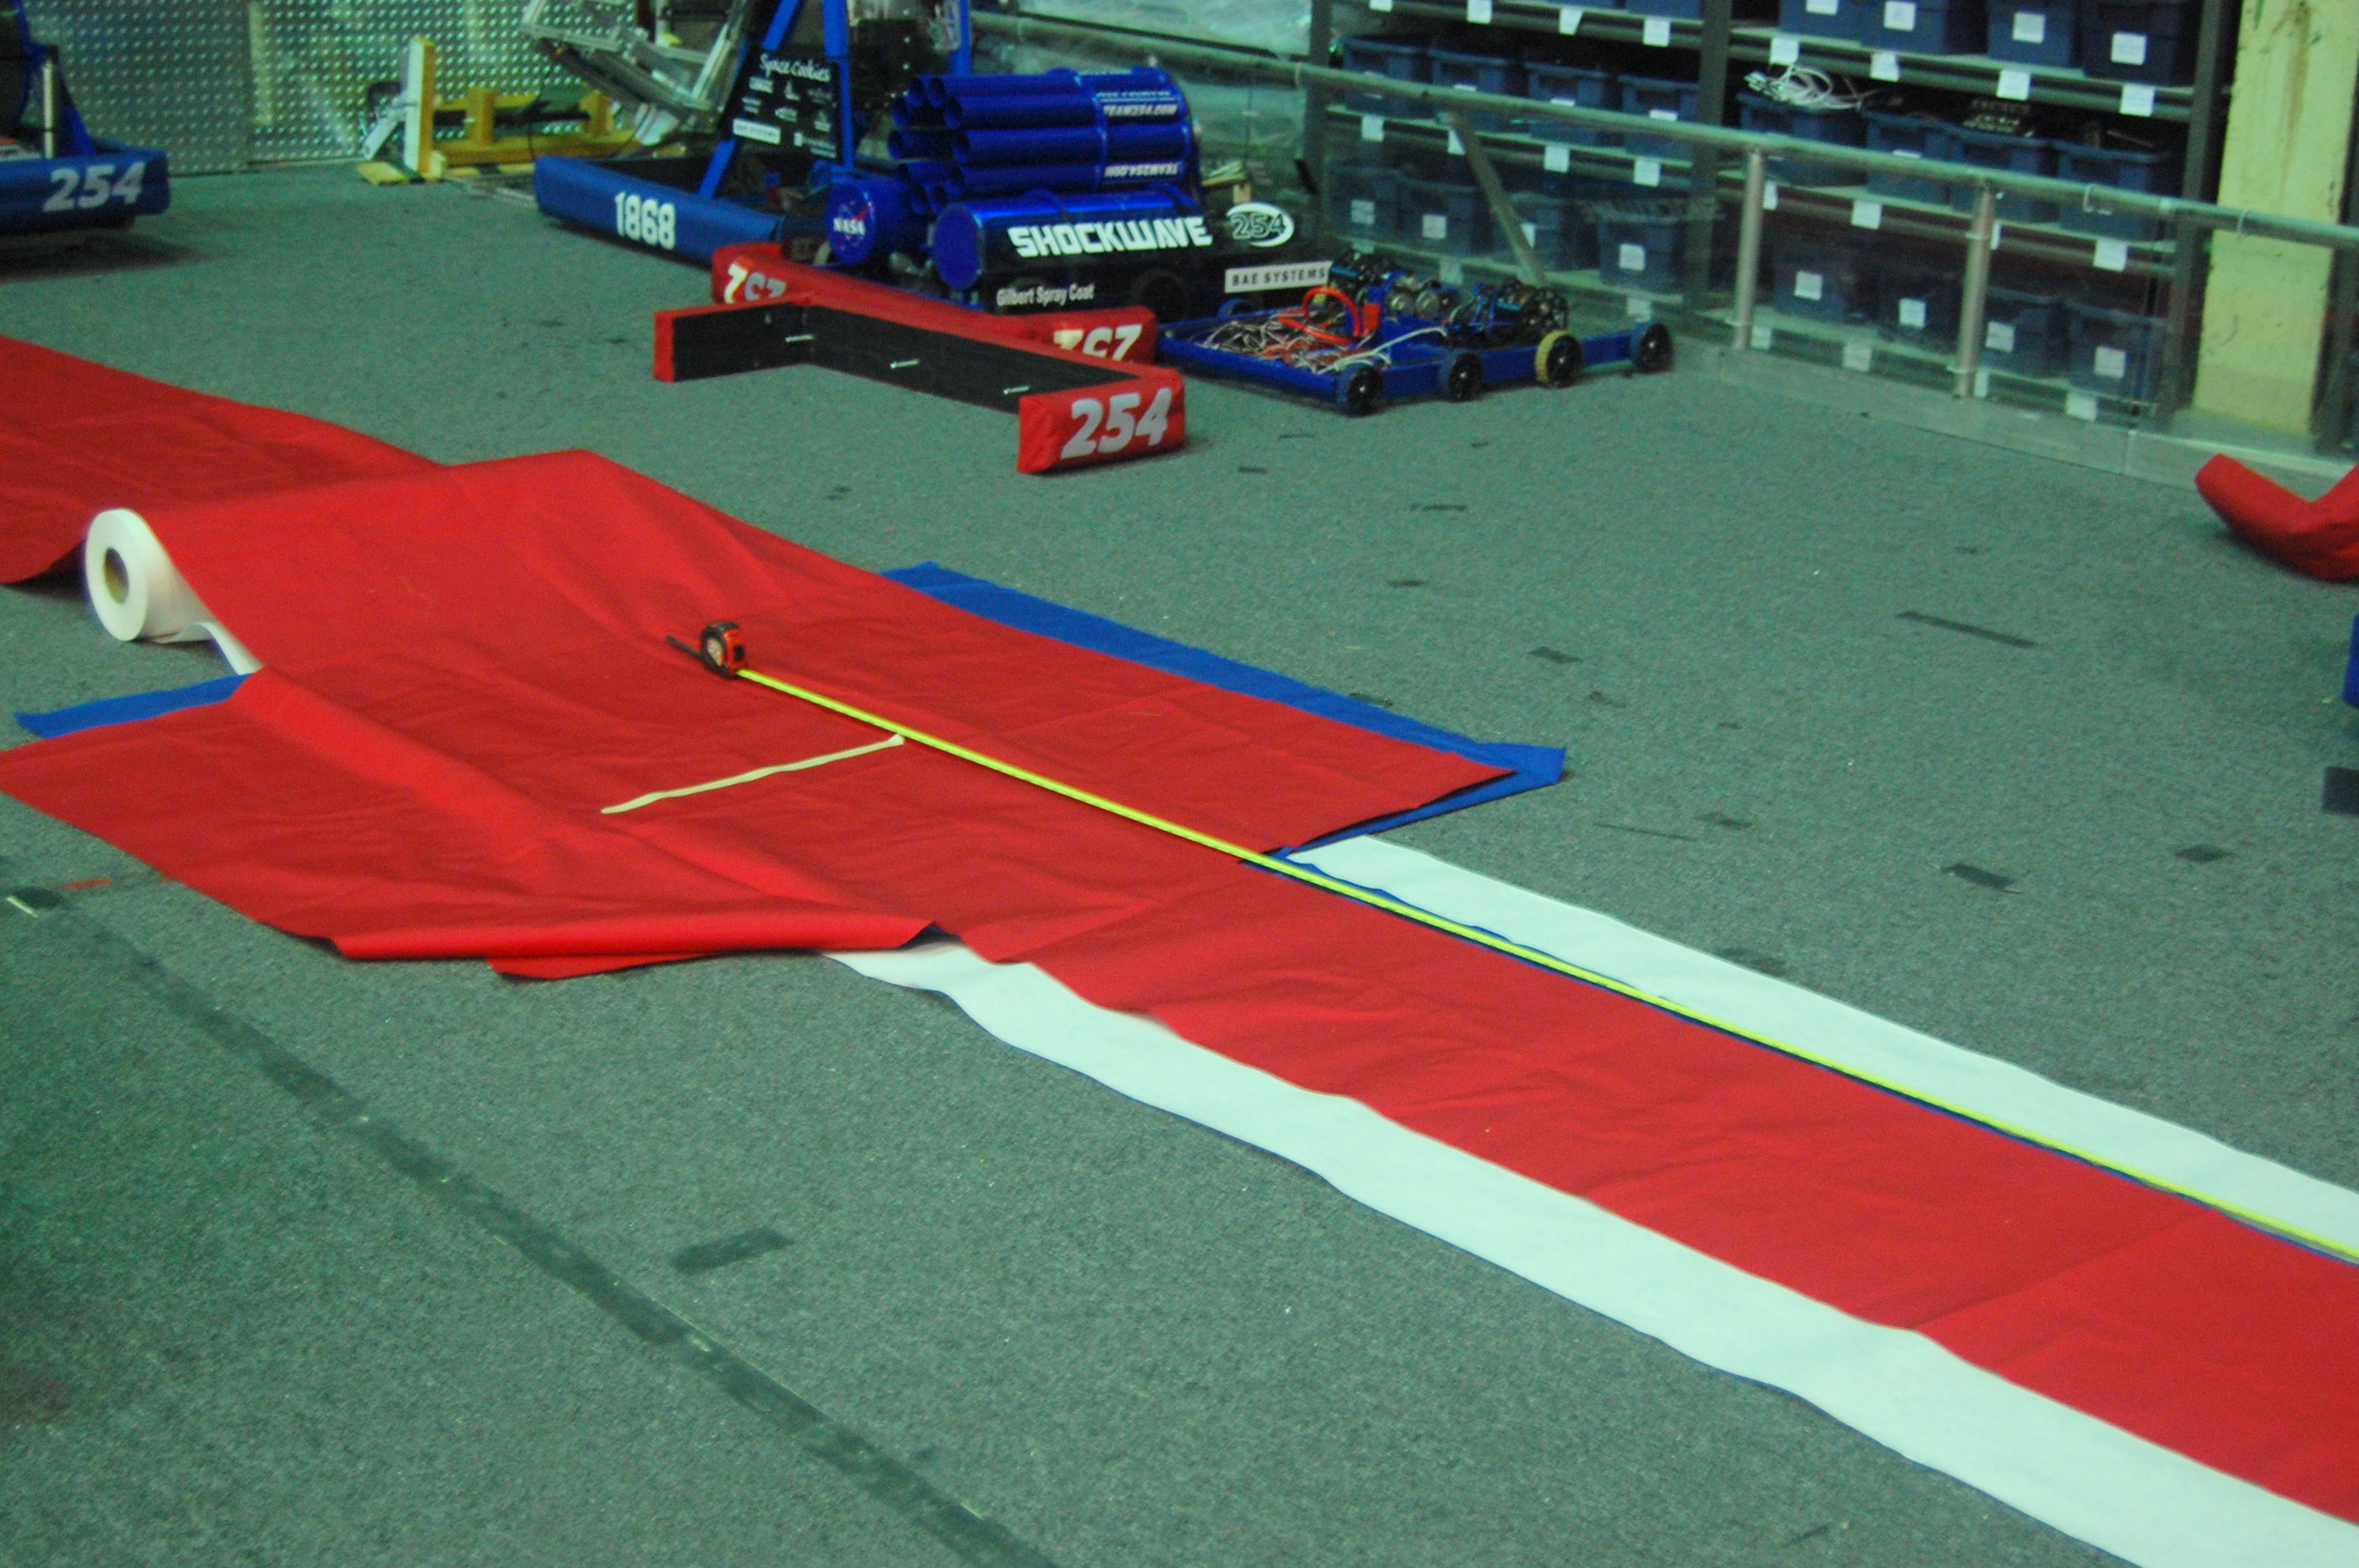
Measuring the cordura
Wiring
Members starting wiring the cRIO on the competition robot. They also started wiring the encoders on the practice robot.
CAD
Members and mentors looked through all parts in the CAD and placed the rest of the part orders.
Parts
The team received the welded intake mounts and crossbars from sponsor Central Concrete. The welding left some rough edges, so some members and mentors used the pneumatic grinder to smoothen sections on the intake mounts. Overall, the welds turned out great and the assembies seem to be extremely strong. The team was a little disappointed in the welding on the intake mounts. It was very “globby” and had a lot of excess metal that didn’t seem necessary. After a bit of cleanup, it looked better. Hopefully the intake mounts will maintain their structural integrity throughout the competitions.
Crossbars
Intake mounts
Programming
The programmers worked more on the autonomous scripting. They added a feature to the auto command file reader that allows the user to denote whether commands should be executed sequentially or in parallel.
They also began work on a testing system that cycles through and briefly runs each of the six drive CIMs of the robot. The purpose of this is to test these motors of the robot and isolate problems before competing, allowing the team to diagnose and act on the problem. For example, the pit crew could activate this to verify that the drive motors function properly before matches.
Action items
- Finish wiring the competition robot
- Finish wiring encoders on the practice robot
- Cut bumper fabric
- Document auto script file format
- Finish code to cycle through subsystems
Day #23: Wiring and Prototyping
Wiring
Wiring the main robot chassis was continued today, as students and mentors mounted and wired 8 port solenoids. As well, the spike was wired and progress was made in the decision on how to mount the compressor. With majority of the base wiring complete, the team is currently waiting on new cRIO modules to arrive so that they can be mounted and wired as well.
Wiring the solenoids
Prototyping
Prototyping was divided into multiple subgroups today, with students working on the loading mechanism, the conveyor, as well as mounting a mini CIM motor to power the intake prototype.
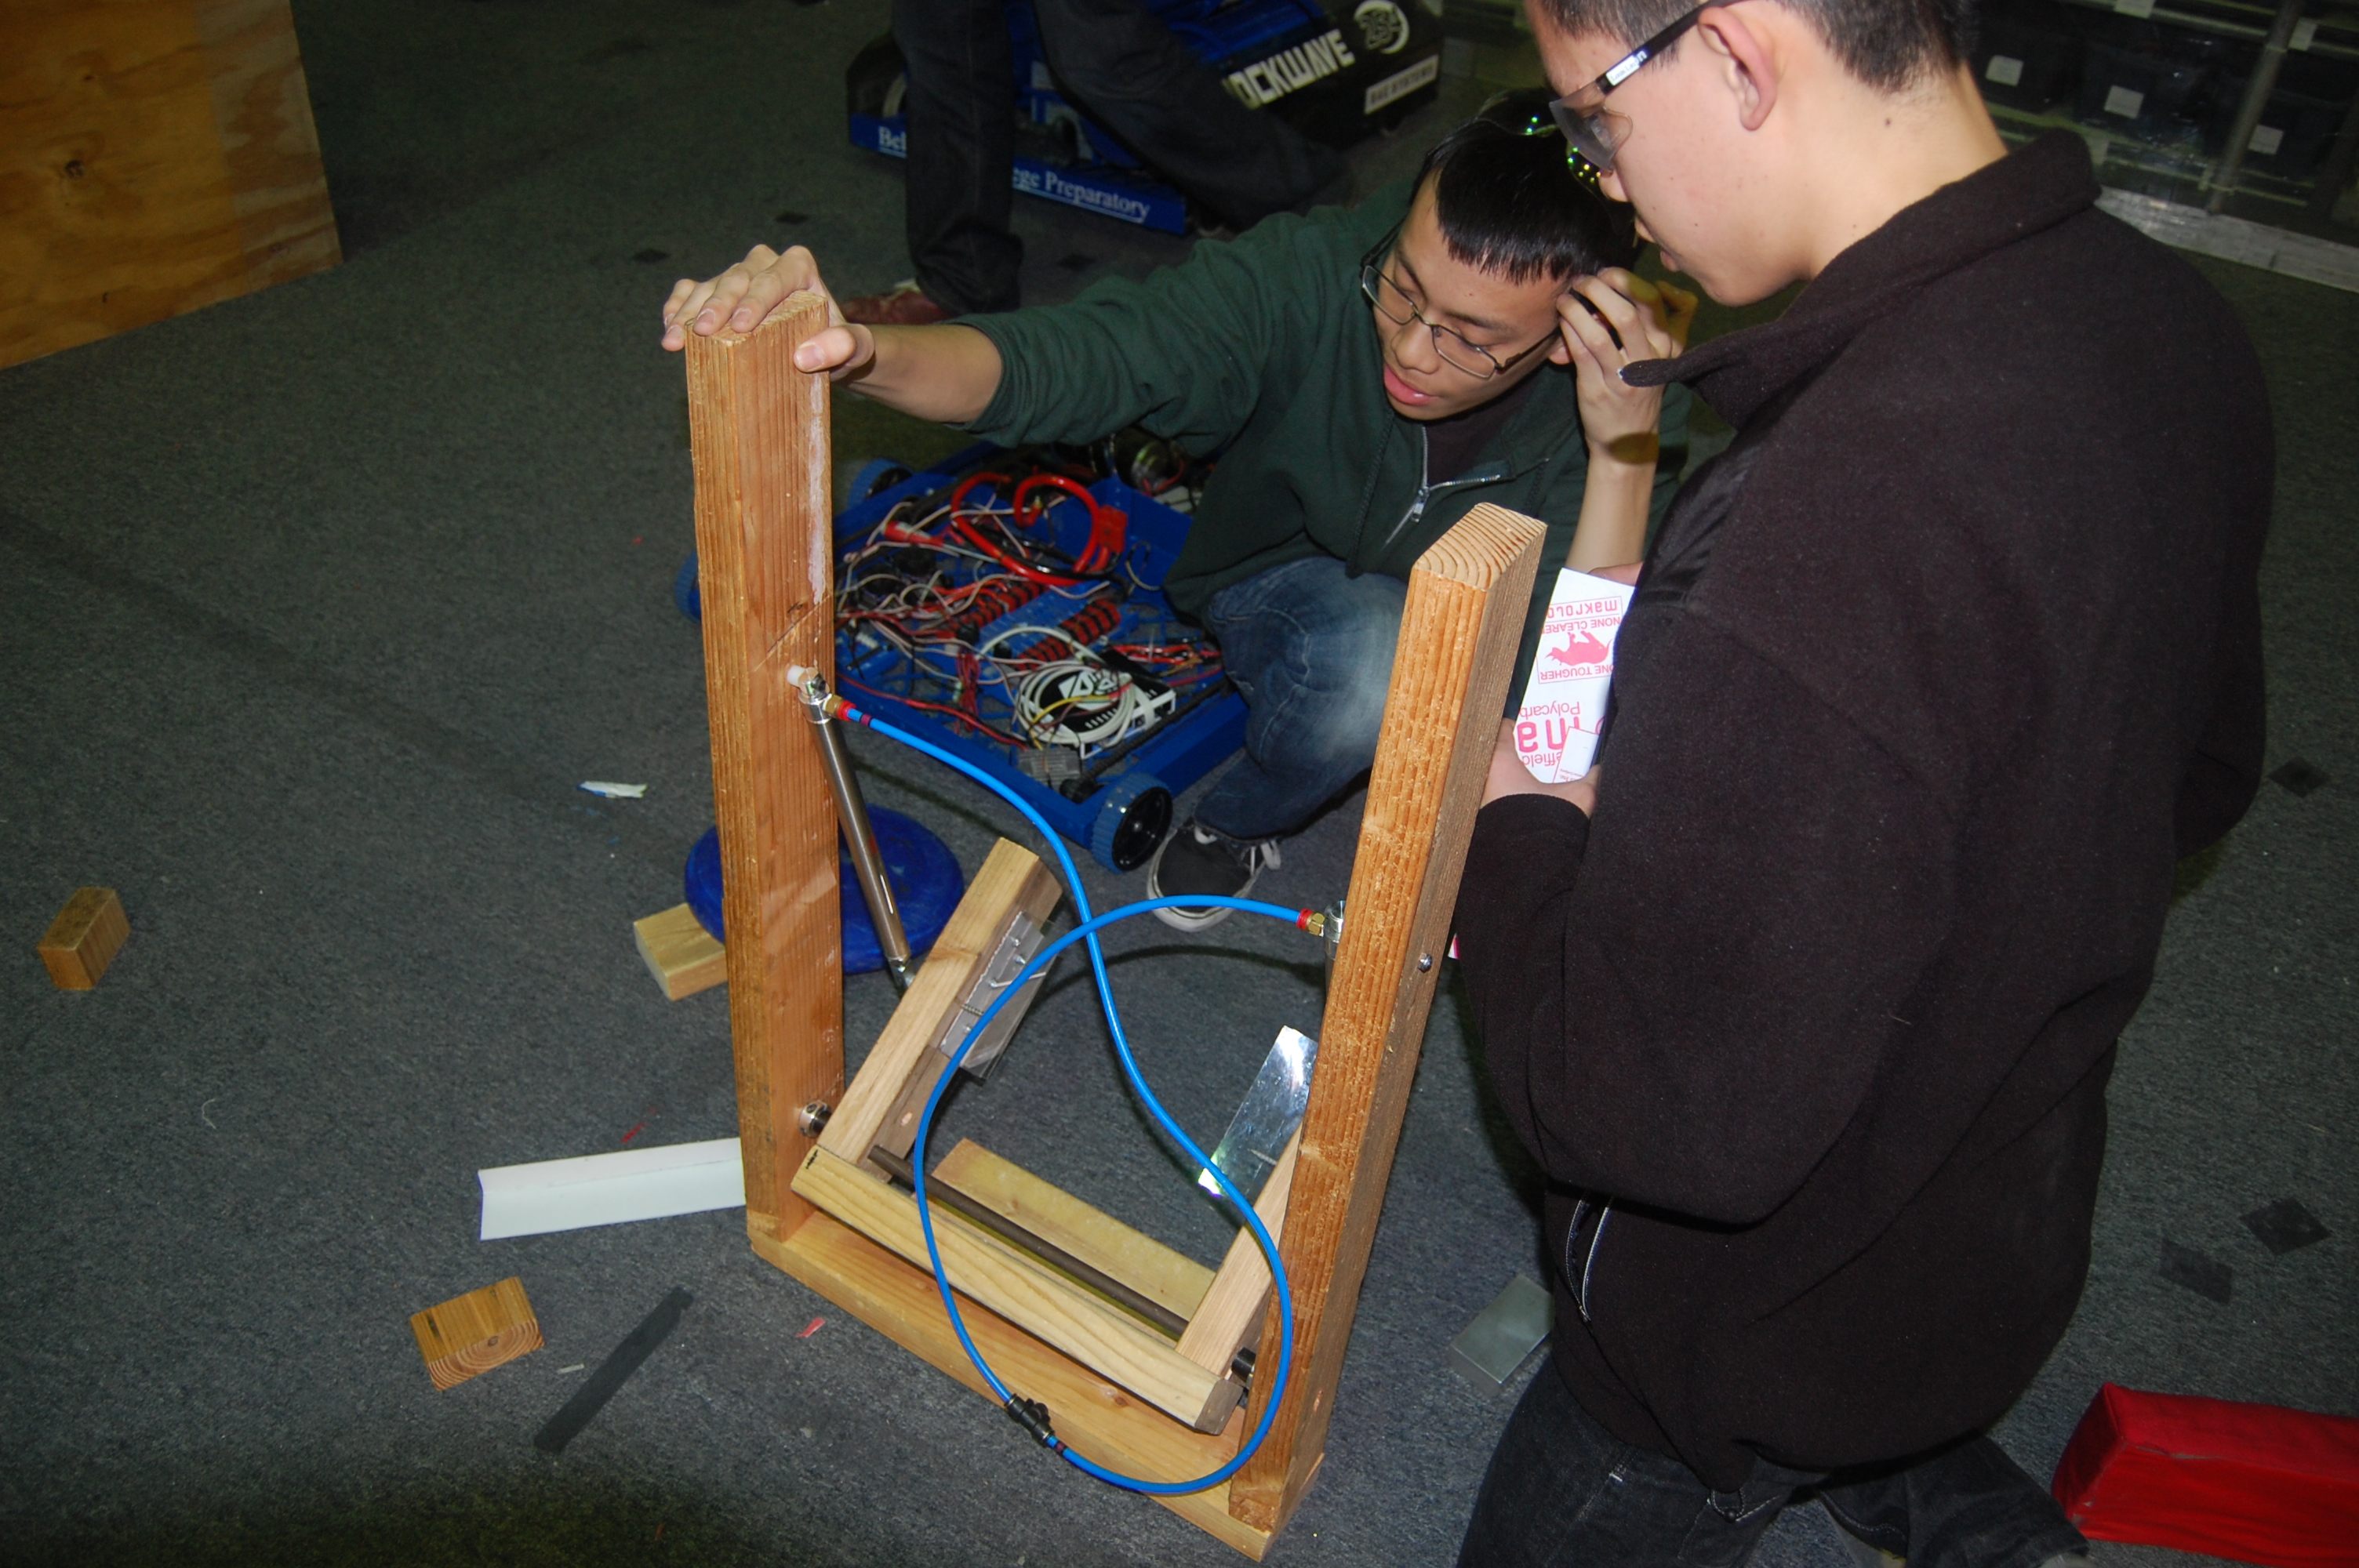
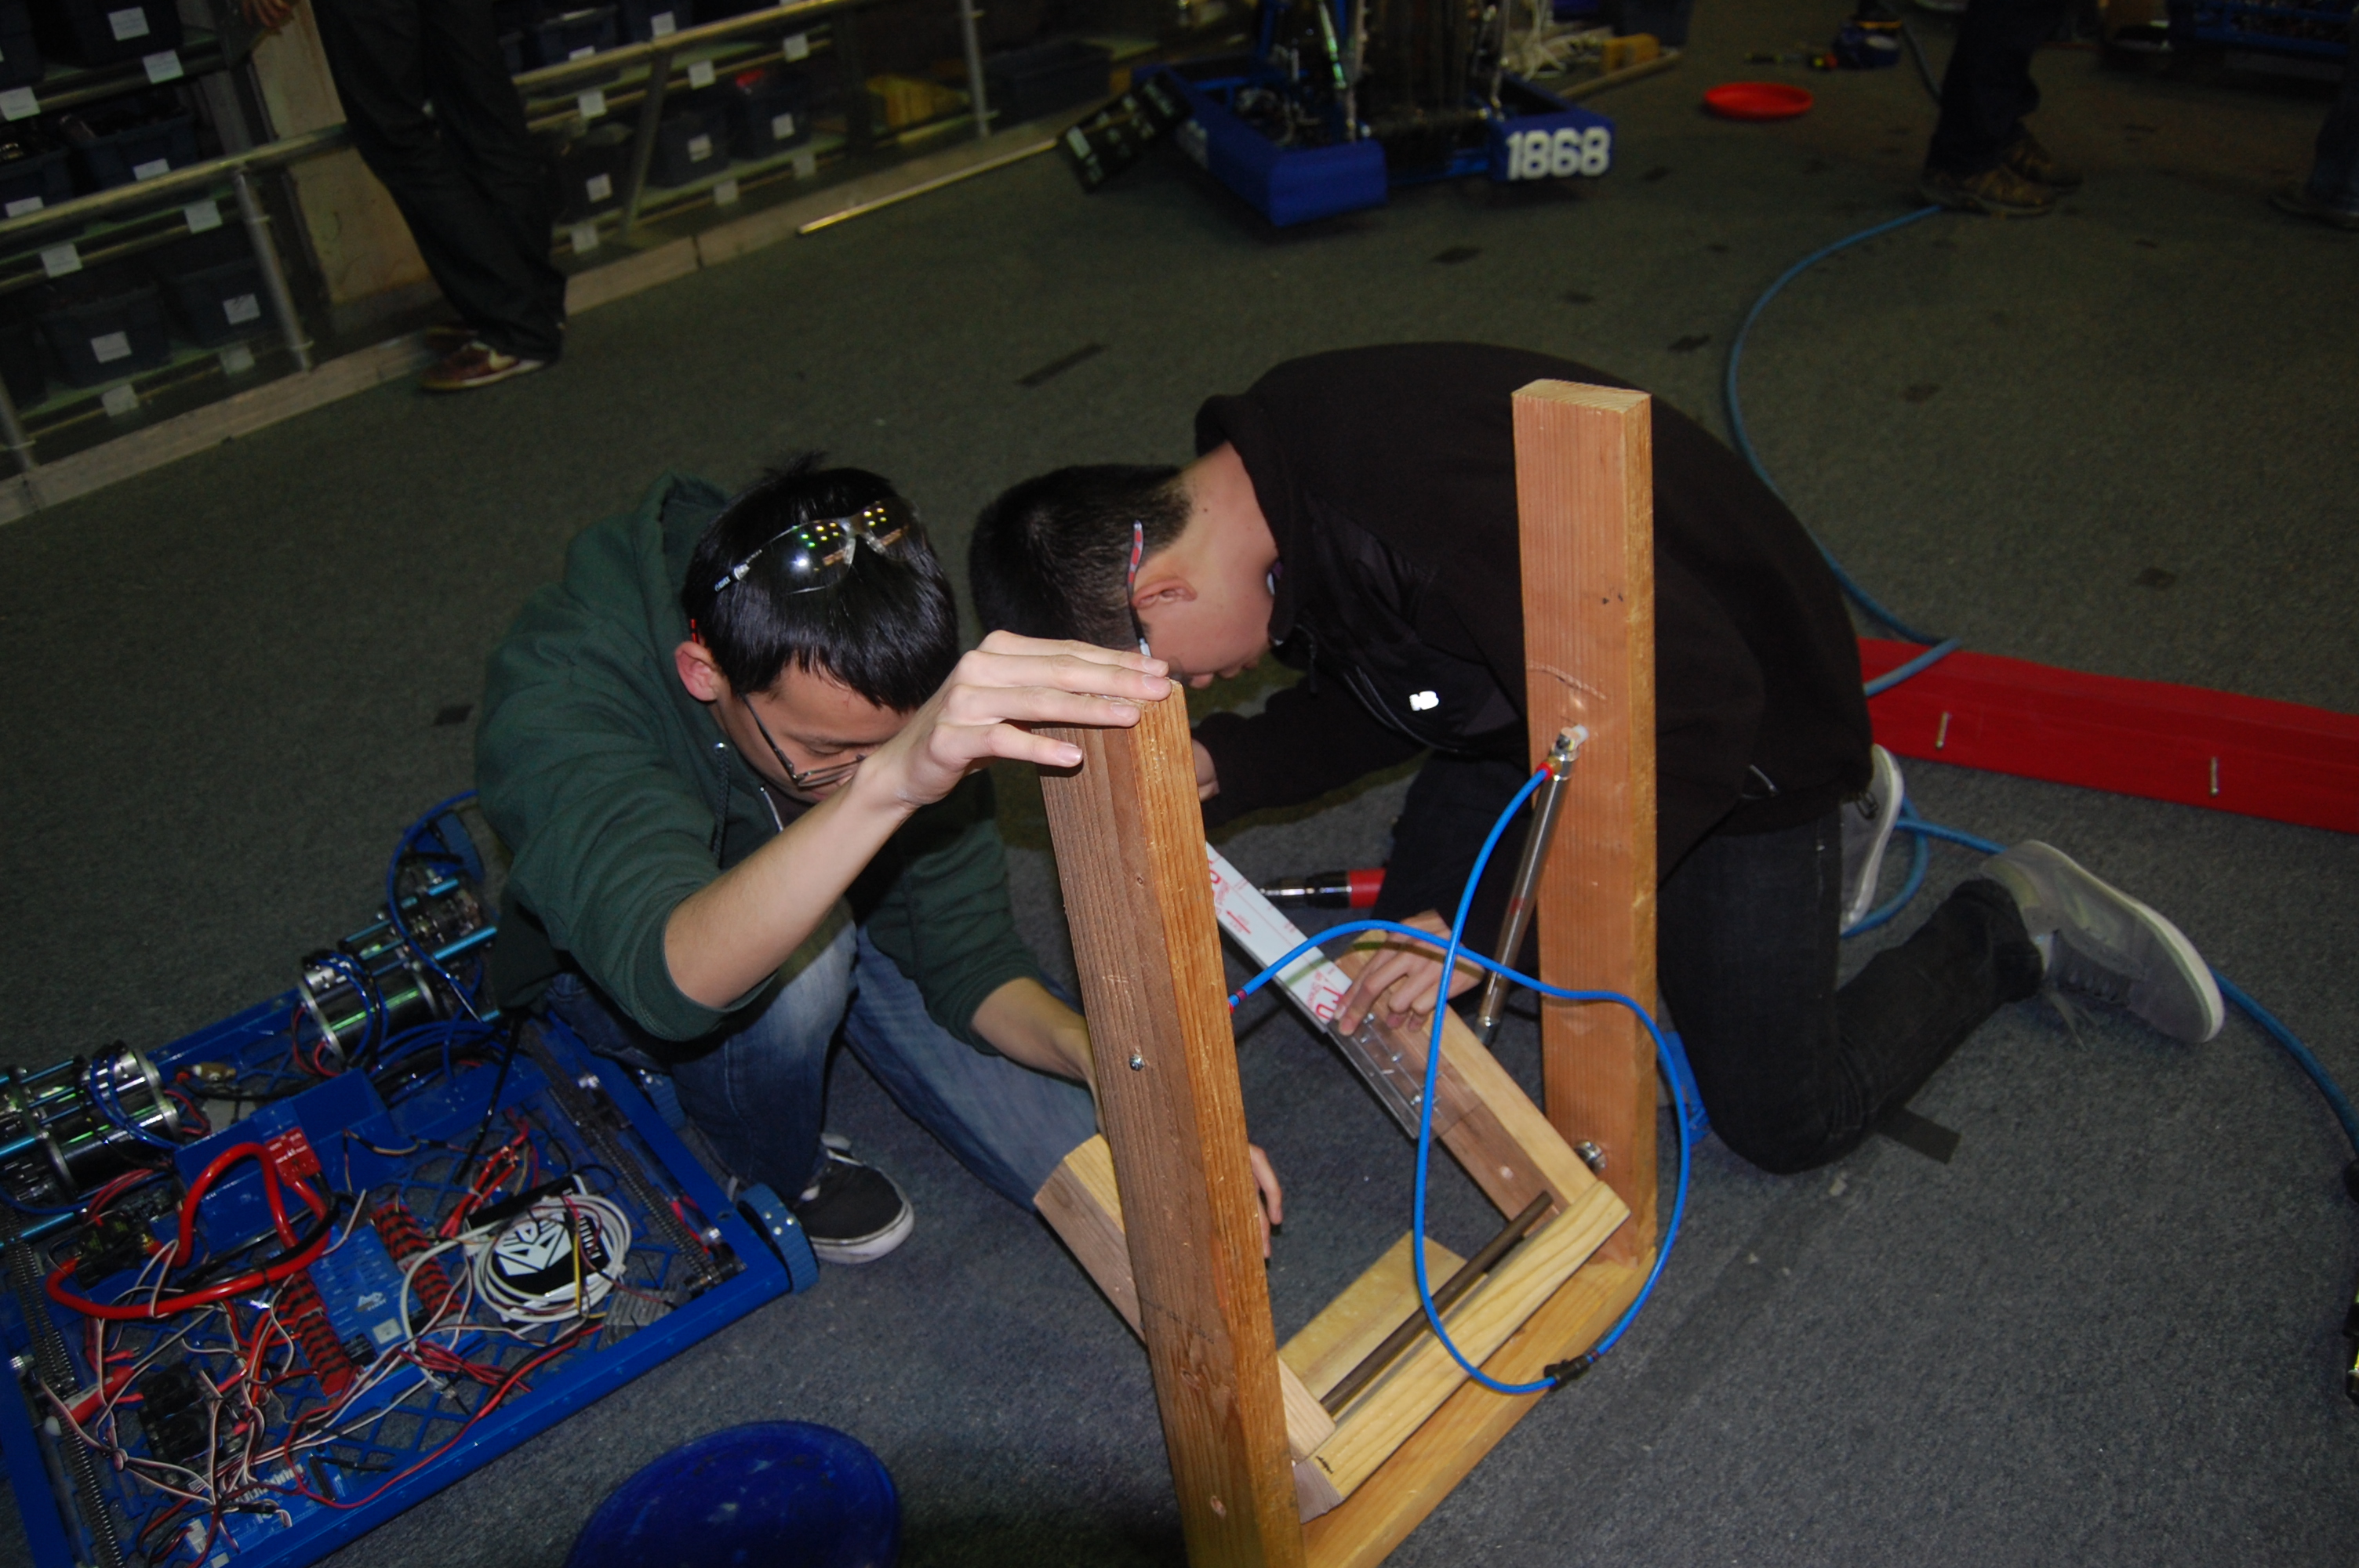
Loading Mechanism
A select group of students decided to prototype the loading mechanism which transfers the frisbee from the conveyor to the shooter. Using polycarb, wood, and pistons, they were able to manufacture a working prototype to serve as a successful proof-of-concept reinforcing designs already implemented into CAD.
Conveyor
Students worked to make a conveyor out of wood to use as a proof-of-concept with using 3/8″ hex shafts versus the previously favoured 1/2″. It is still a work in progress and is currently being assembled.
Intake
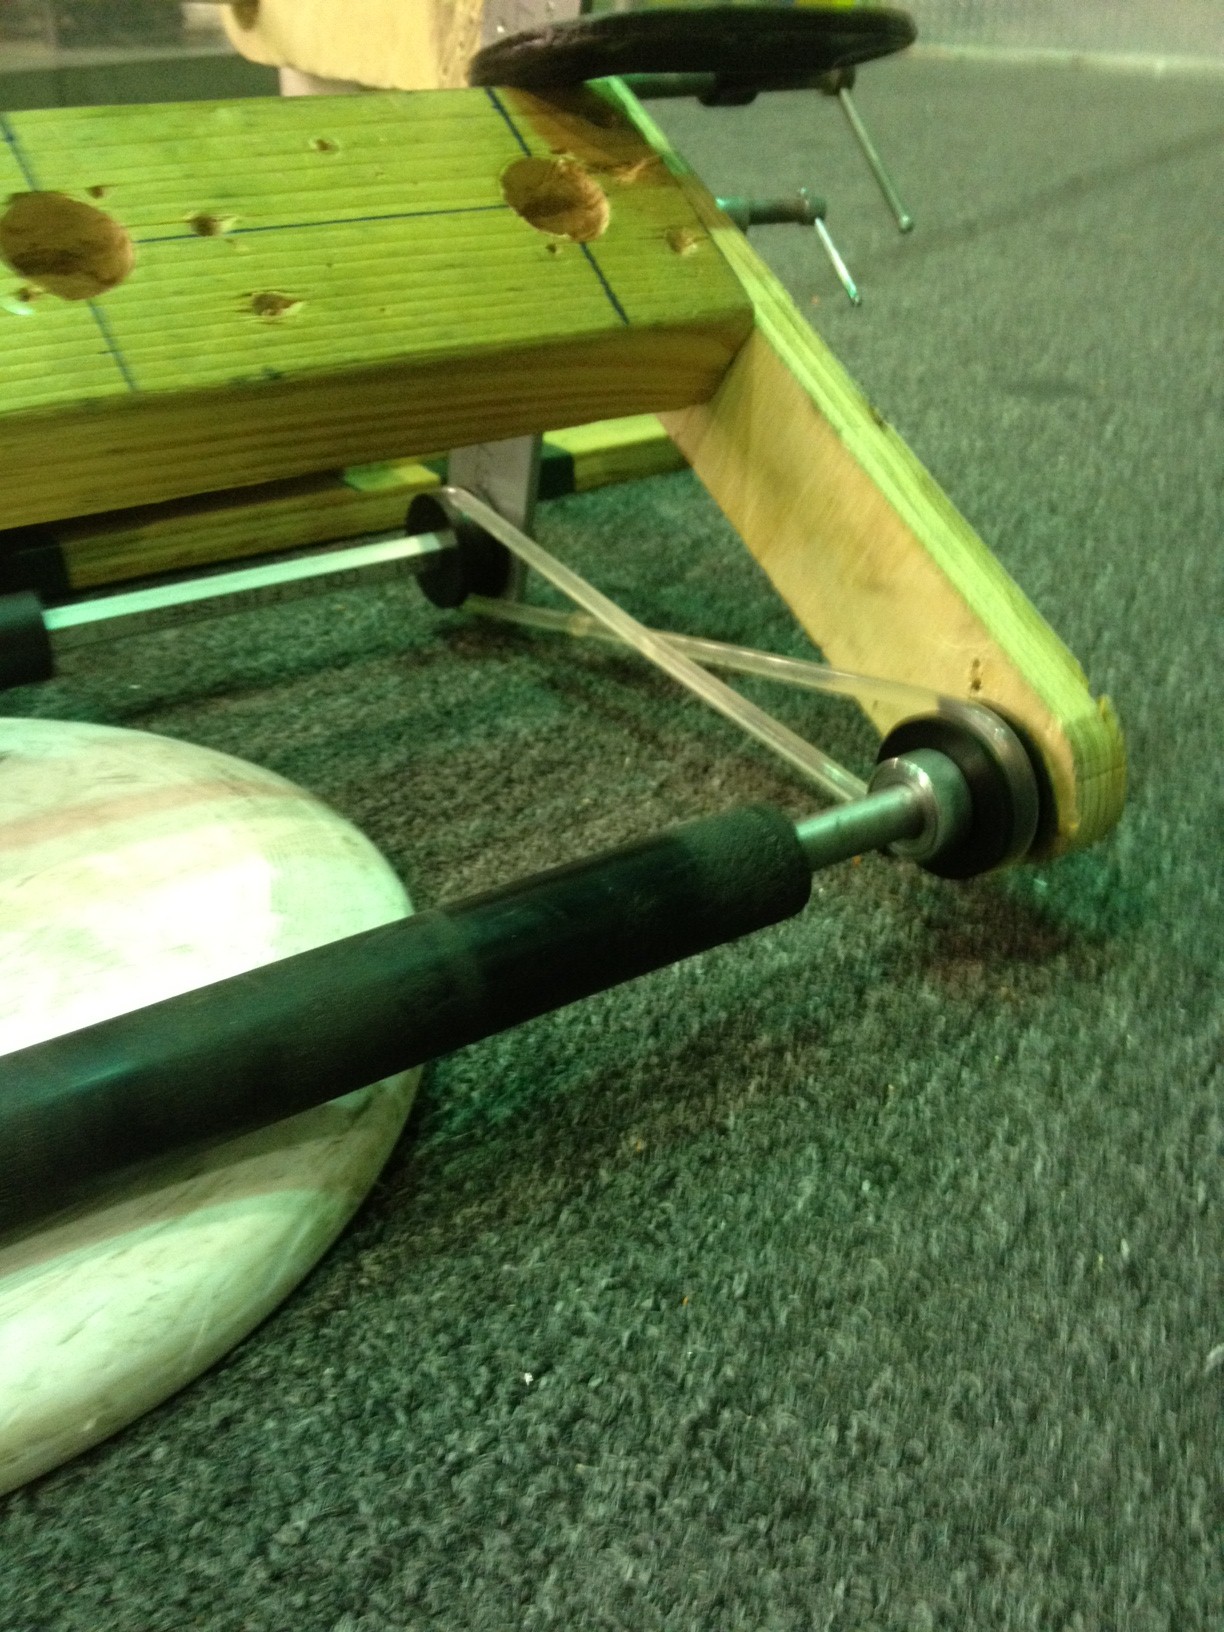
It was decided that to optimize the speed of rollers used in the intake, it is neccessary to modify the current intake design which had previously been powered solely by pneumatic drills to operate using a single mini CIM motor. To do so, students created 2 pulleys to direct power to the front rollers using polycord while the back rollers will be powered by gears at a 3:1 ratio. There was minor setbacks in the broaching of a 1/2″ gear, and as such the project was slowed. The modifications are still currently underway and will be documented in depth once they are completed.
Last night the intake prototype was modified to have both rollers powered by a mini-CIM, as shown in the photos below. The gears mentione above were used to power the bottom roller. This resulted in a theoretical max surface speed of 9.8 ft/s. When the frisbees were put through, there was virtually no observed speed reduction in the CIM due to the load. Because of this, it is alright to gear the intake for 18 ft/s theoretical surface speed, so this design will be proceeded with.
The front intake roller, connected with polycord
Both rollers powered by a mini-CIM
Bottom roller, with 3:1 reduction
Brogramming
The programmers continued graphing the 2012 robot’s shooter wheel RPM versus time. They experimented with both the bang-bang controller and a PID controller, as well as with and without a moving average filter. When using the bang-bang controller to control the shooter wheel, students found that using a moving average filter to filter the motor outputs produced smoother and more consistent results. The programmers spent a lot of time adjusting the P, I, and D terms of the PID controller. Though the PID controller’s graphs are relatively more stable and smoother than the graphs of the bang-bang controller, the PID controller either tends to overshoot its goal or to not reach it at all (mostly at 3500 rpm).

Graph of a PID-controlled shooter wheel (P = 0.007, I = 0.0, D = 0.003)
Action Items
- Get a quote on wood for bumper assembly
- Buy wood/cordura for bumper assembly
- Finish design changes on conveyor and intake assemblies
- Finish prototyping conveyor
- Start designing control board
- Start manufacturing bumper components
- Hook up a speed controller to the intake to figure out the minimum required torque.
- Measure the current draw with the ammeter.
Day #22: Prototyping & Intermediate Shaft Spacers
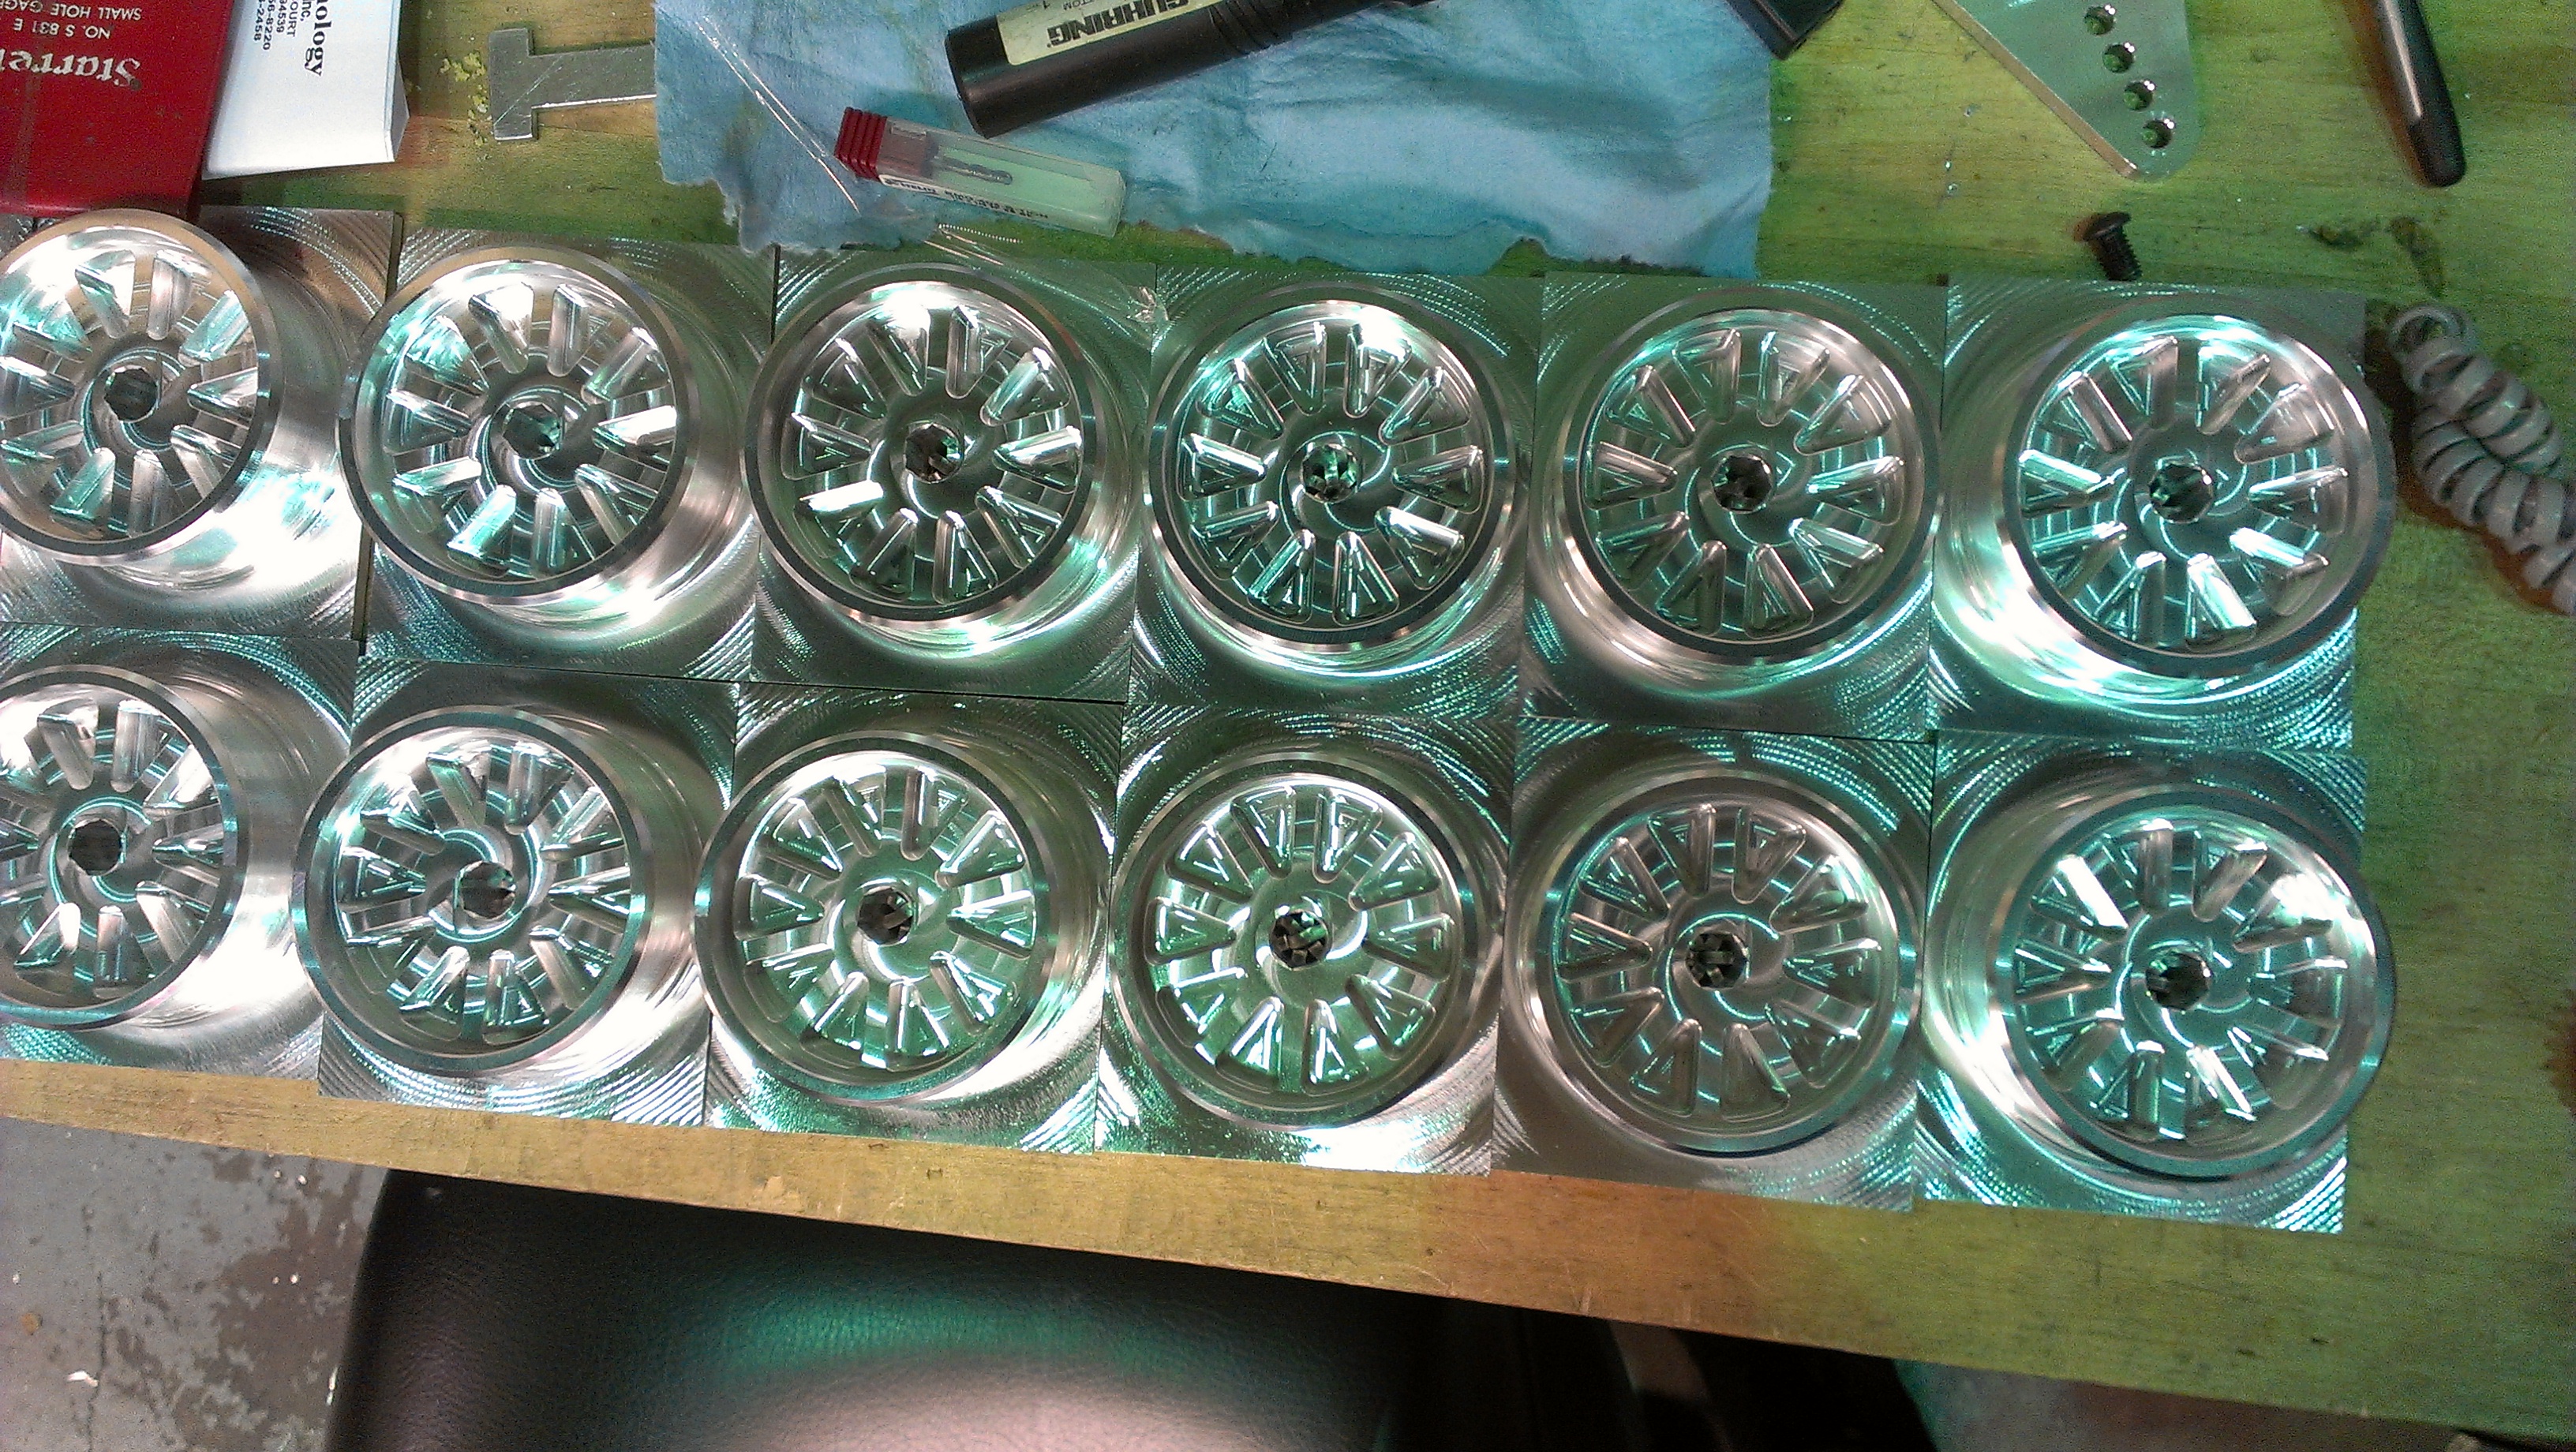
Machining
The students and mentors finished machining the intermediate shaft spacers. After ordering gear box shafts from a sponsor, the team decided to manufacture twice as many to take the PTO into account. Because we are not able to manufacture a hex into the round part of a shaft with the tools at the lab, students are instead making our own out of a hex shaft and placing a spacer on one end to prevent the gear from moving. Members also unsuccessfully searched for hex bearings from the storage crates.
![IMG_20130129_220806[1]](http://media.team254.com/2013/01/1d5c0478-IMG_20130129_2208061.jpg)
The newly manufactured shaft spacers
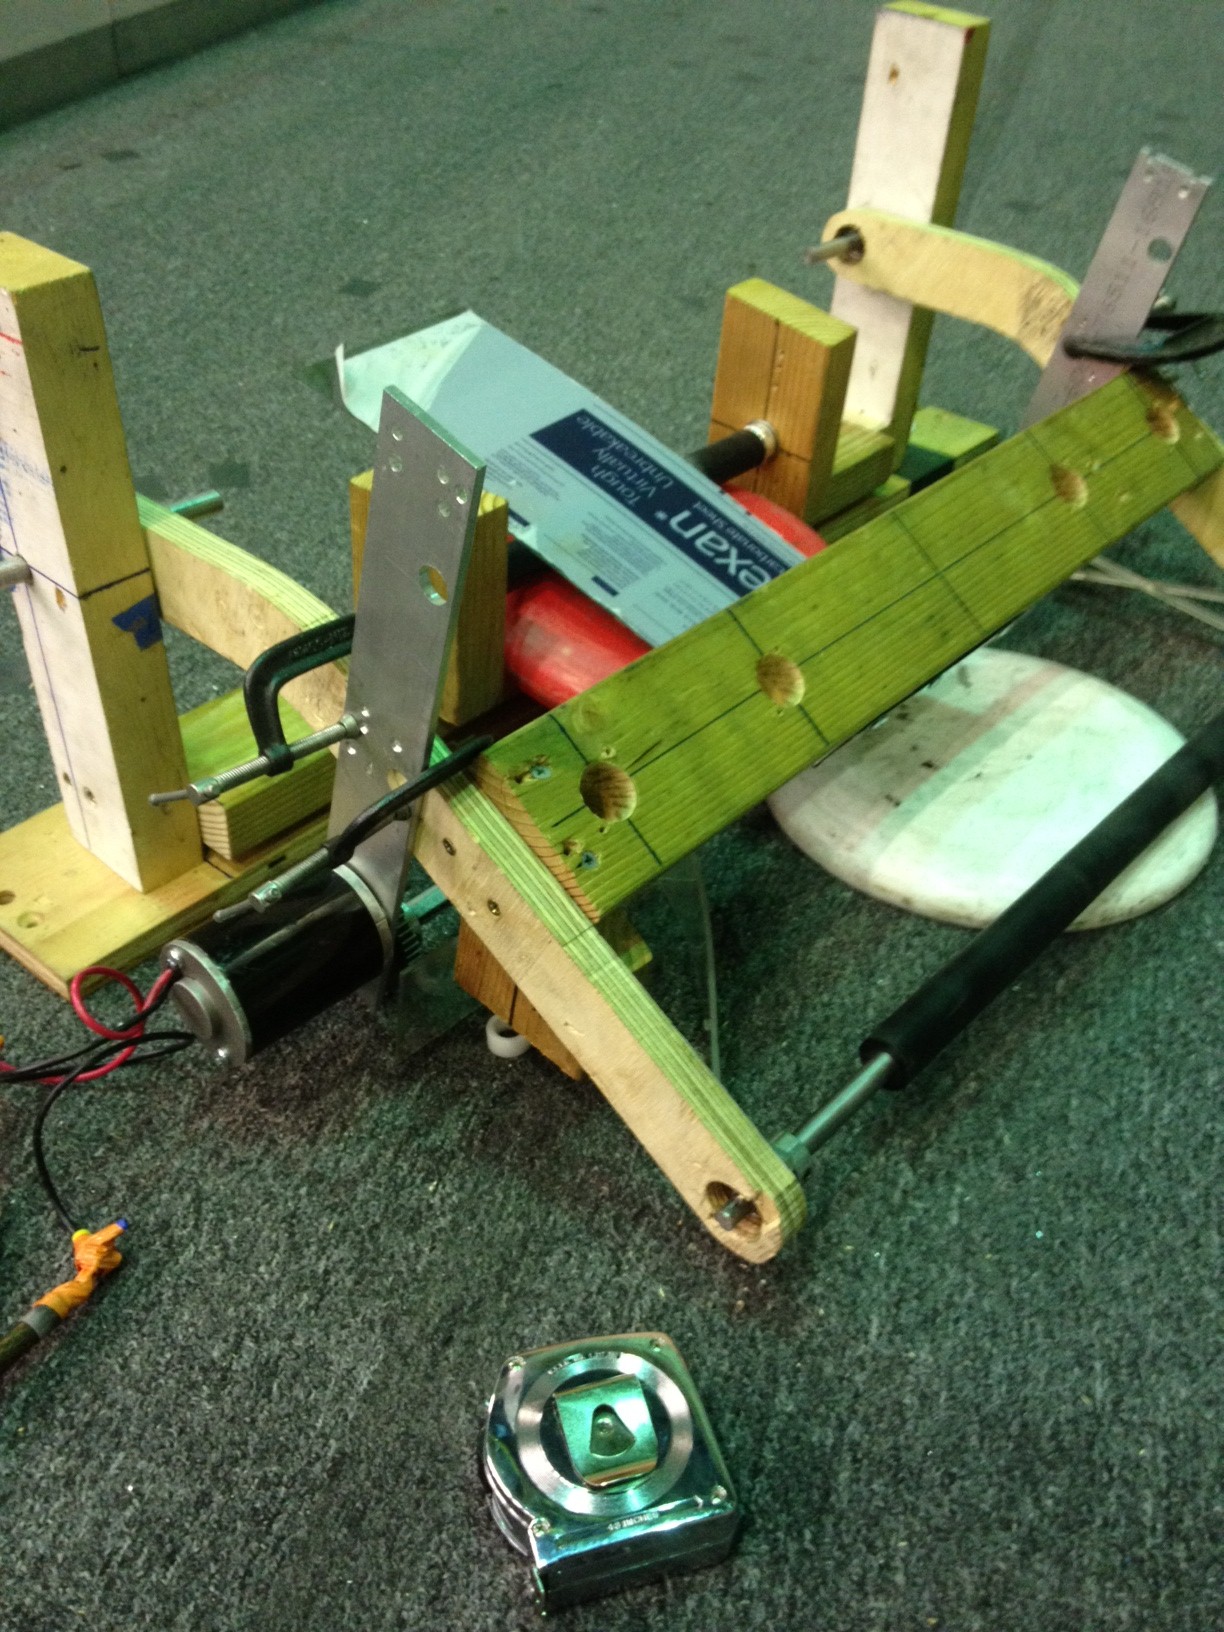
Prototyping
Students also worked on the shooter indexer. The two side blocks for the outer indexer had to be replaced, as the previous wooden blocks were not long enough. Students successfully got the shaft through both parts of the prototype, such that the smaller one can pivot. The next step for this project is to attach the pneumatic pistons to the main frame of the prototype.
![IMG_20130129_220706[1]](http://media.team254.com/2013/01/23d204cd-IMG_20130129_2207061.jpg)
Students assembling the shooter indexing prototype
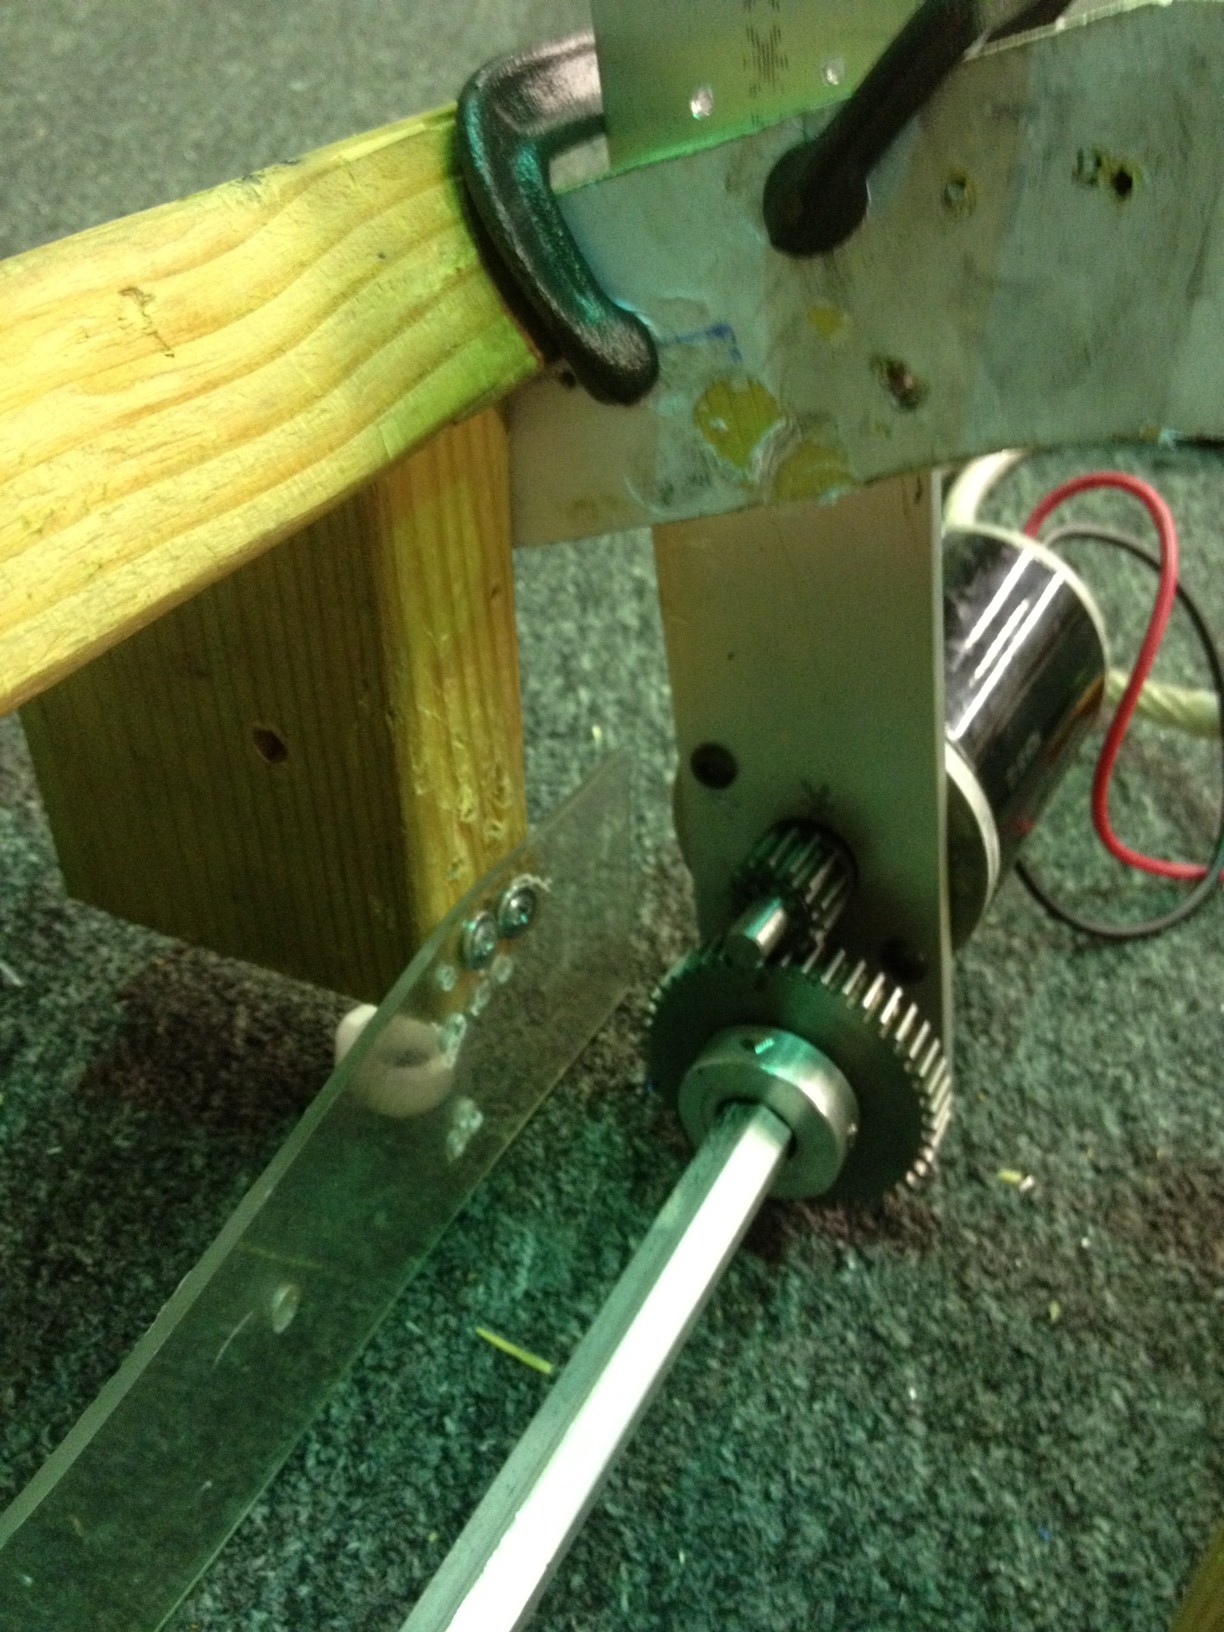
![IMG_20130129_220720[1]](http://media.team254.com/2013/01/1faf04f9-IMG_20130129_2207201.jpg)
The intake prototype
Programming
The programmers tested the gyro and were able to get accurate results from it. They also retrieved the two S4 drive encoders from Skyfire for future use and storage. In addition, they finished translating the state space controller from C++ to Java. Though the new code has not yet been explicitly tested, it compiles fine. More tests will be done at a later time.
Next, the programming team tested out the bang-bang controller, which controls the 2012 robot’s shooter wheel. They also tested the graphing tool within the Smart Dashboard and made it display the velocity of the shooter wheel versus time.
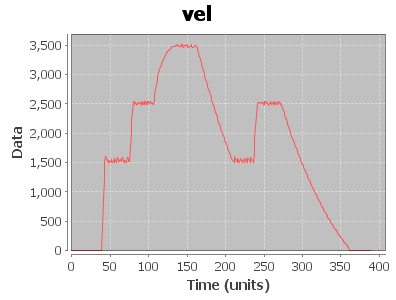
Velocity (rpm) of the shooter wheel vs. time
Action Items
- Finish constructing shooter indexing prototype
Website redesign
 As you may have noticed, the Team 254 website has been redesigned significantly. We’ve been working hard on updating it to modern web design standards, improving content, and reorganizing the site to be more logical. We hope that users find the site easier to navigate and more visually pleasing. The team member portal has also been re-created and should be easier to navigate.
We’ve imported most users from the old website, so we recommend trying to log in with your same credentials. If you’re having trouble logging in and cannot request a new password, contact stephen.
We heavily utilized Twitter Bootstrap in the redesign, so the site should display consistently across all modern web browsers. Behind the scenes, we’re running the latest version of WordPress. If you have any questions or concerns, don’t hesitate to contact us.
