
Blog - February 2013
Day #28: Auto Scripting and Bumpers
Bumper fabric
A few members measured fabric for the bumpers and measured where to properly place the team logo on them. They were careful with measurements because the ideal bumpers are more compressed than actual ones that will be.
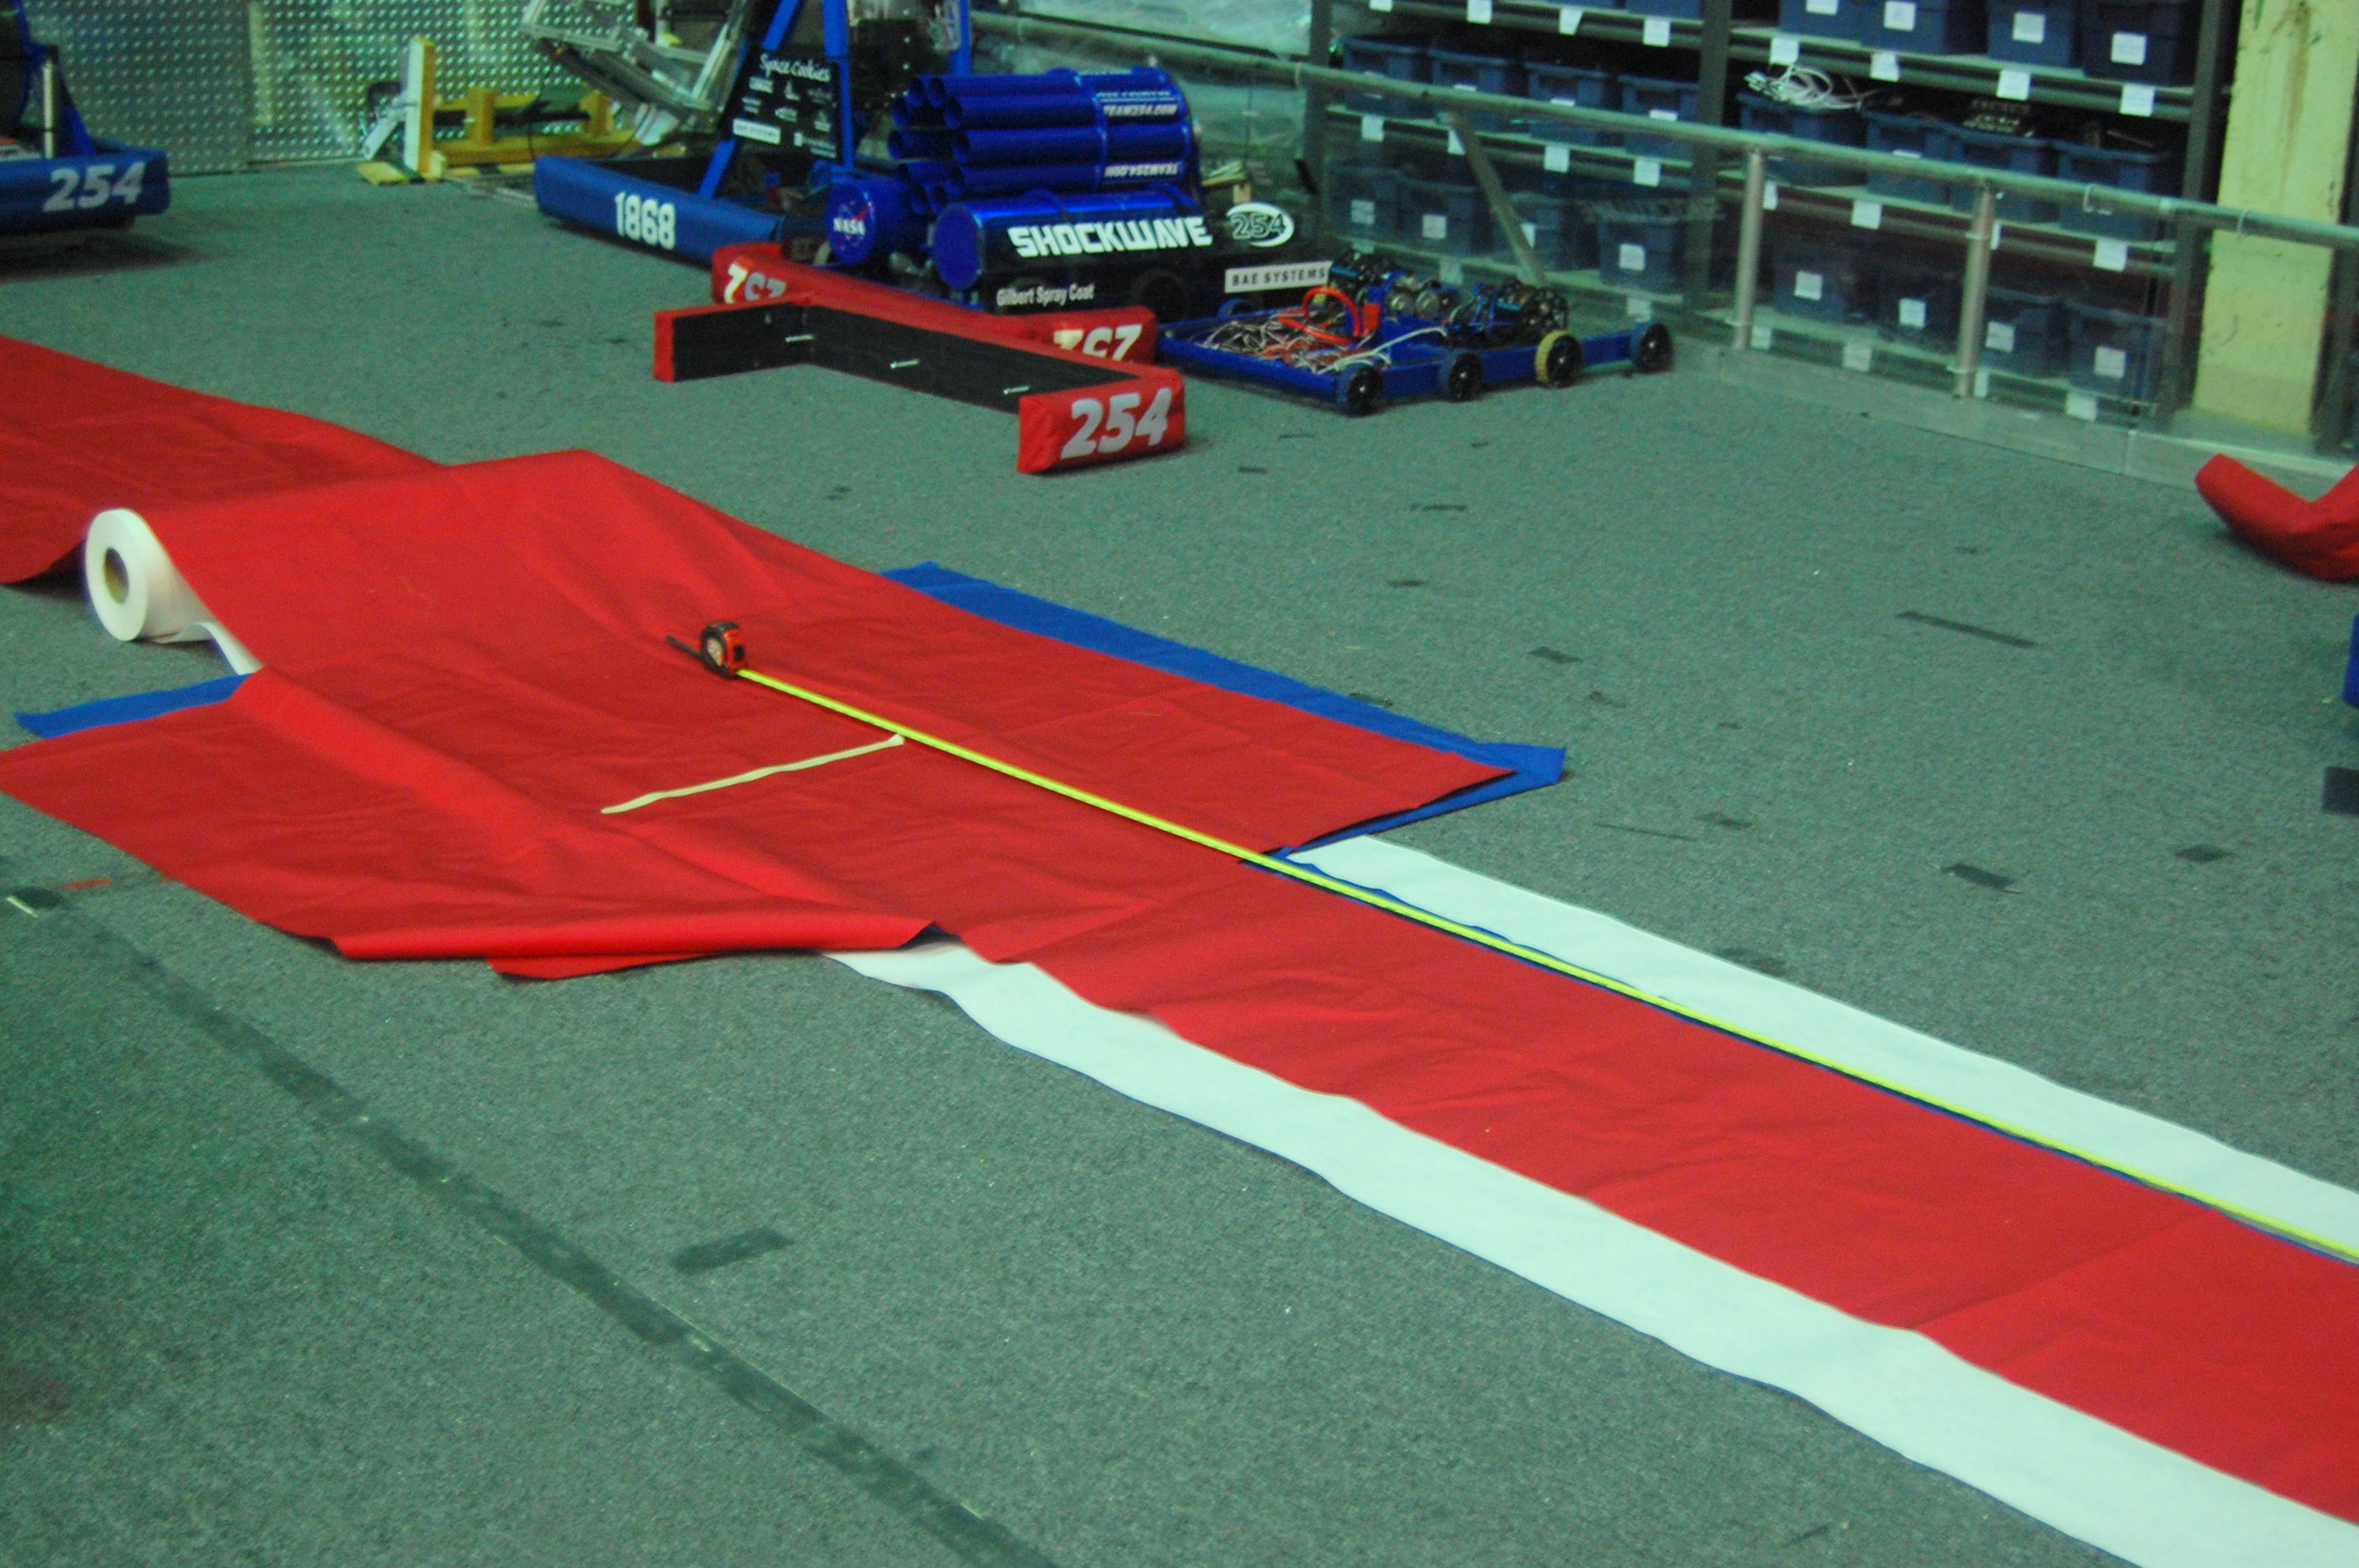
Measuring the cordura
Wiring
Members starting wiring the cRIO on the competition robot. They also started wiring the encoders on the practice robot.
CAD
Members and mentors looked through all parts in the CAD and placed the rest of the part orders.
Parts
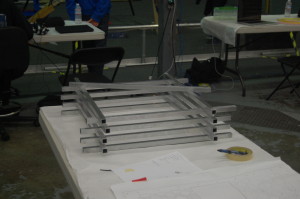
The team received the welded intake mounts and crossbars from sponsor Central Concrete. The welding left some rough edges, so some members and mentors used the pneumatic grinder to smoothen sections on the intake mounts. Overall, the welds turned out great and the assembies seem to be extremely strong. The team was a little disappointed in the welding on the intake mounts. It was very “globby” and had a lot of excess metal that didn’t seem necessary. After a bit of cleanup, it looked better. Hopefully the intake mounts will maintain their structural integrity throughout the competitions.
Crossbars
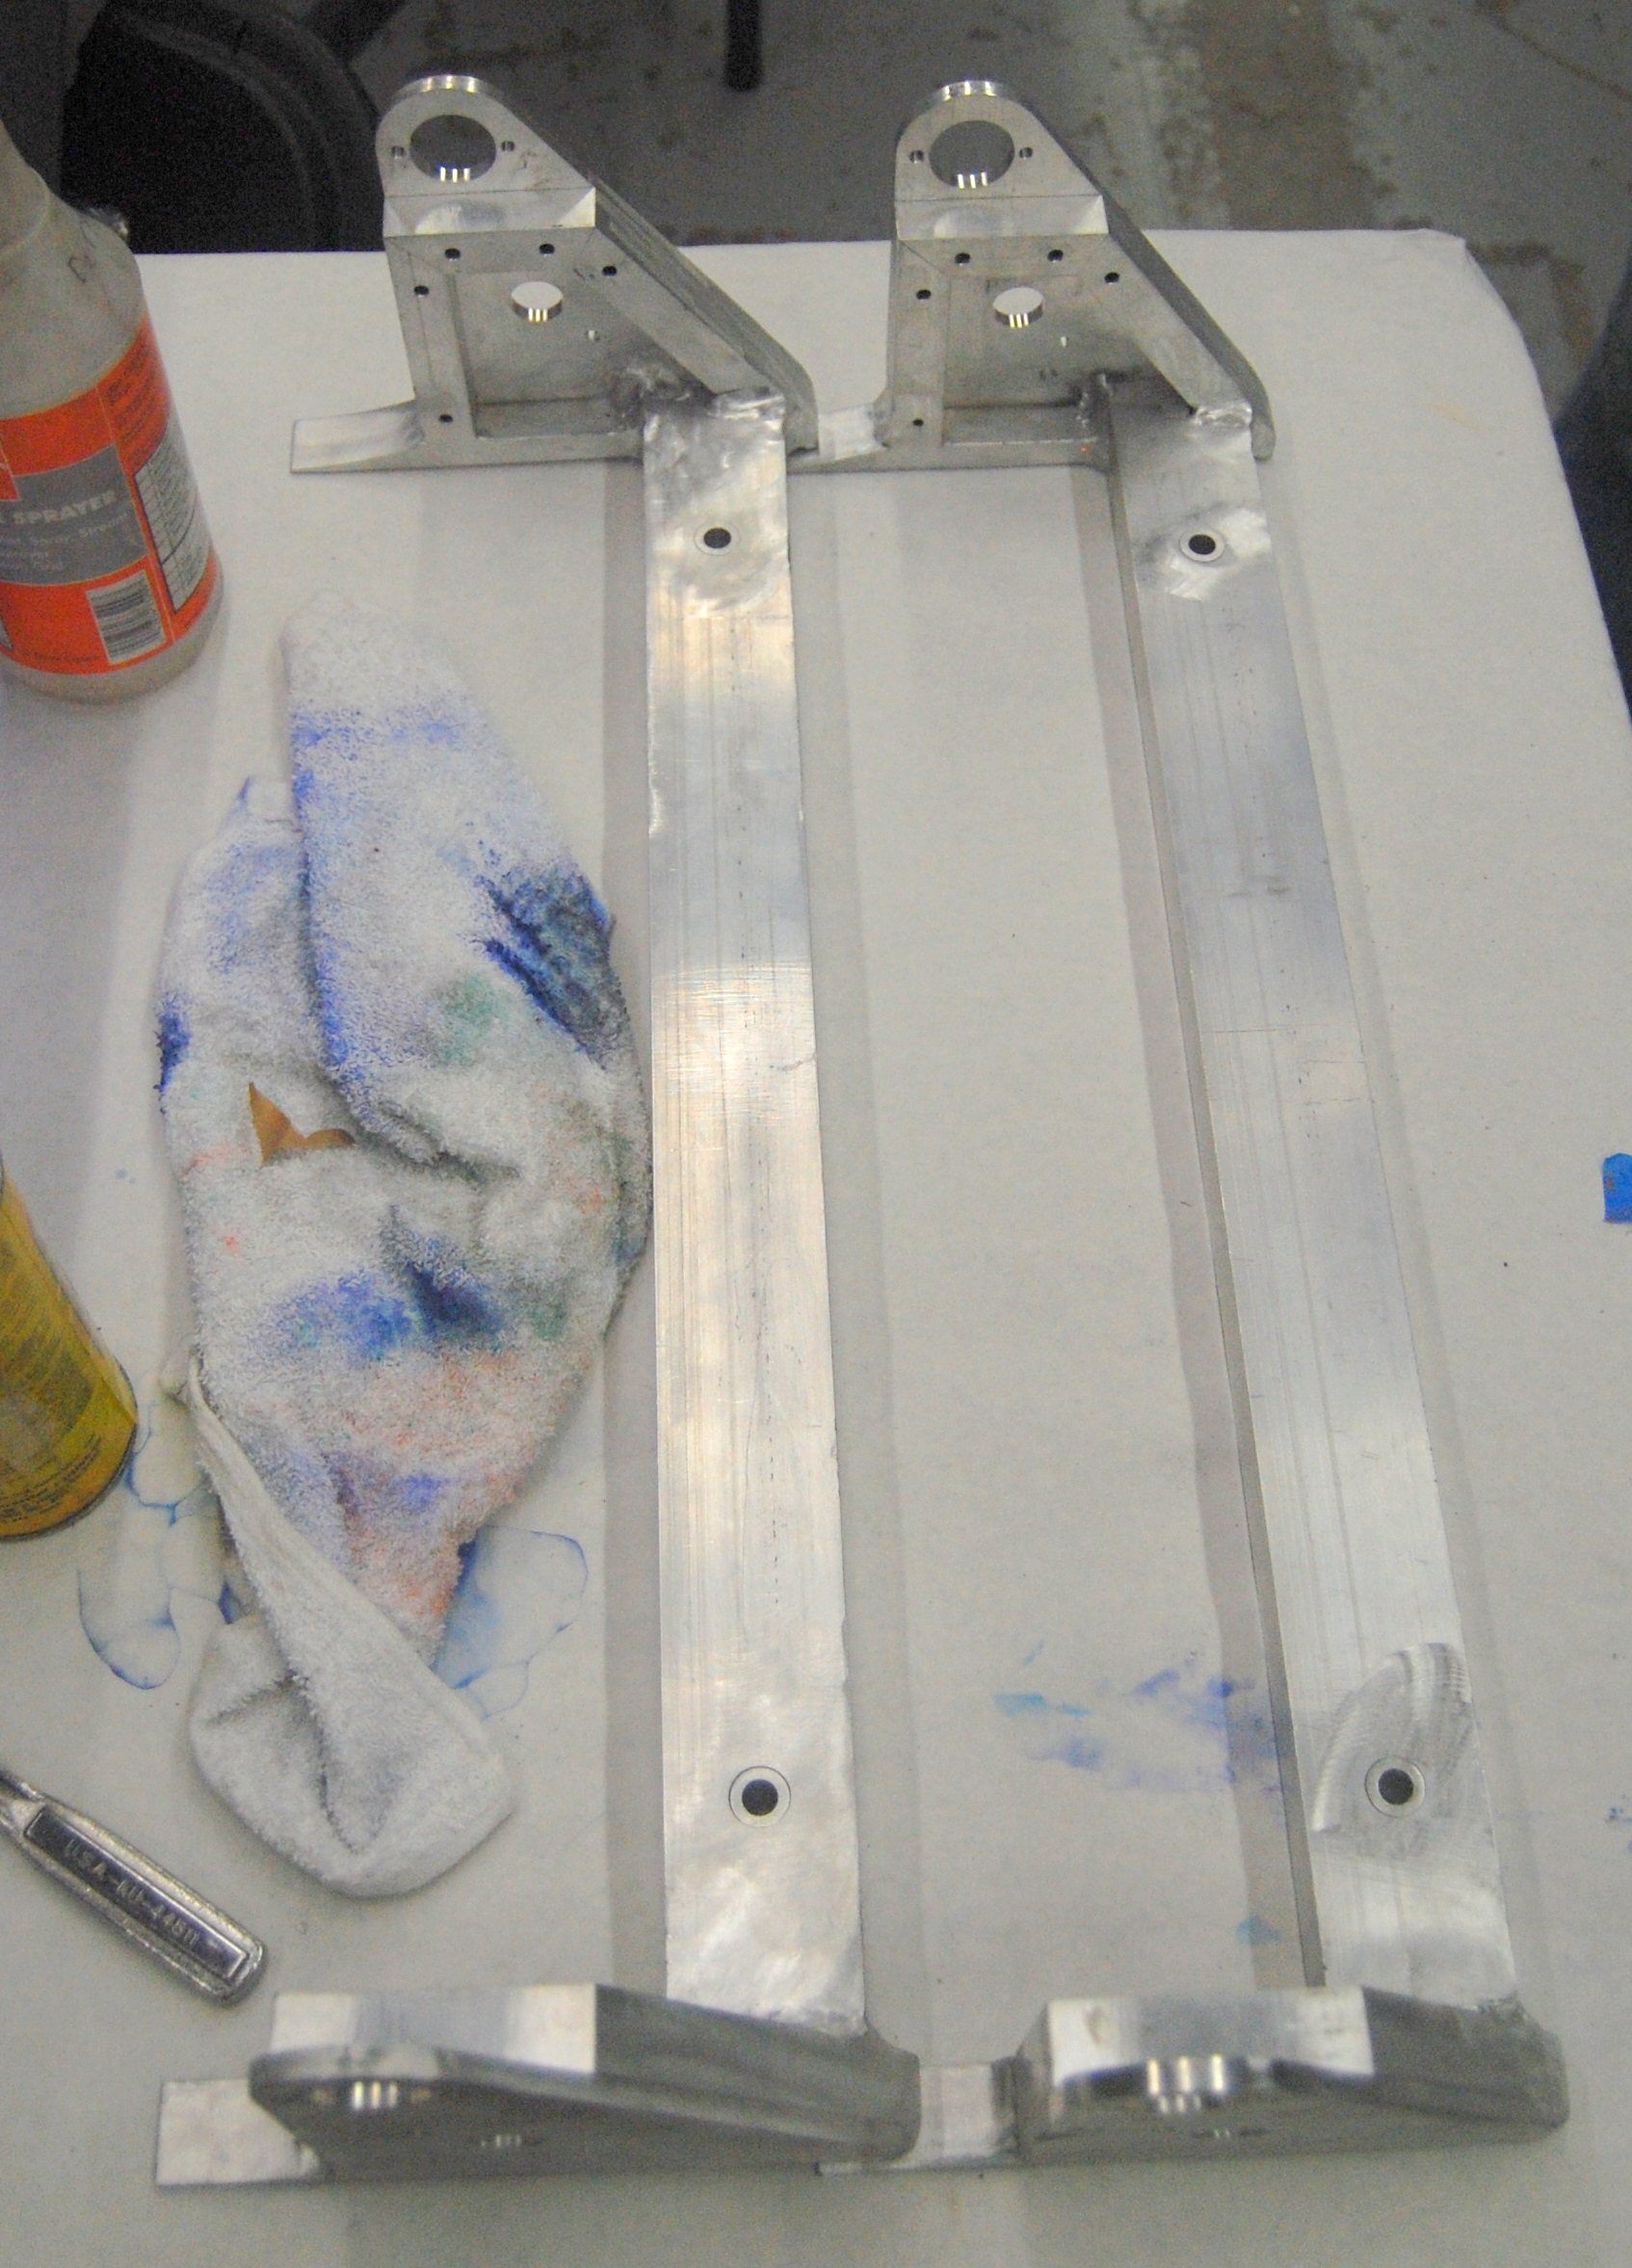
Intake mounts
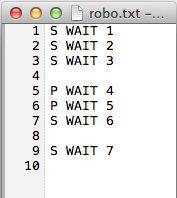
Programming
The programmers worked more on the autonomous scripting. They added a feature to the auto command file reader that allows the user to denote whether commands should be executed sequentially or in parallel.
They also began work on a testing system that cycles through and briefly runs each of the six drive CIMs of the robot. The purpose of this is to test these motors of the robot and isolate problems before competing, allowing the team to diagnose and act on the problem. For example, the pit crew could activate this to verify that the drive motors function properly before matches.
Action items
- Finish wiring the competition robot
- Finish wiring encoders on the practice robot
- Cut bumper fabric
- Document auto script file format
- Finish code to cycle through subsystems
Build Season Recipes: Week 4
Our robot this year is looking like it will be very short — much like these shortbread cookies we snacked on while assembling the drivetrain and manufacturing parts for the intake.
Chocolate Chip Shortbread Cookies
-
1 cup butter, at room temperature
-
2/3 cup icing sugar
-
1/2 tsp. vanilla extract
-
2 cups flour
-
3/4 cup mini chocolate chips
Beat butter, icing sugar and vanilla until very smooth. Slowly add flour, mixing only until it disappears into the dough. Stir in chocolate chips by hand. Roll out dough between two sheets of parchment paper into a 1/4" thick rectangle. Refrigerate until solidified (about 2 hours). Cut dough into 1 1/2" squares and place on cookie sheet. Bake at 325°F for 18-20 minutes until golden brown around the edges.
Day #27: Superstructure
Wiring
The wiring on the practice bot was fixed because it was routed incorrectly and they were in the wrong ports.
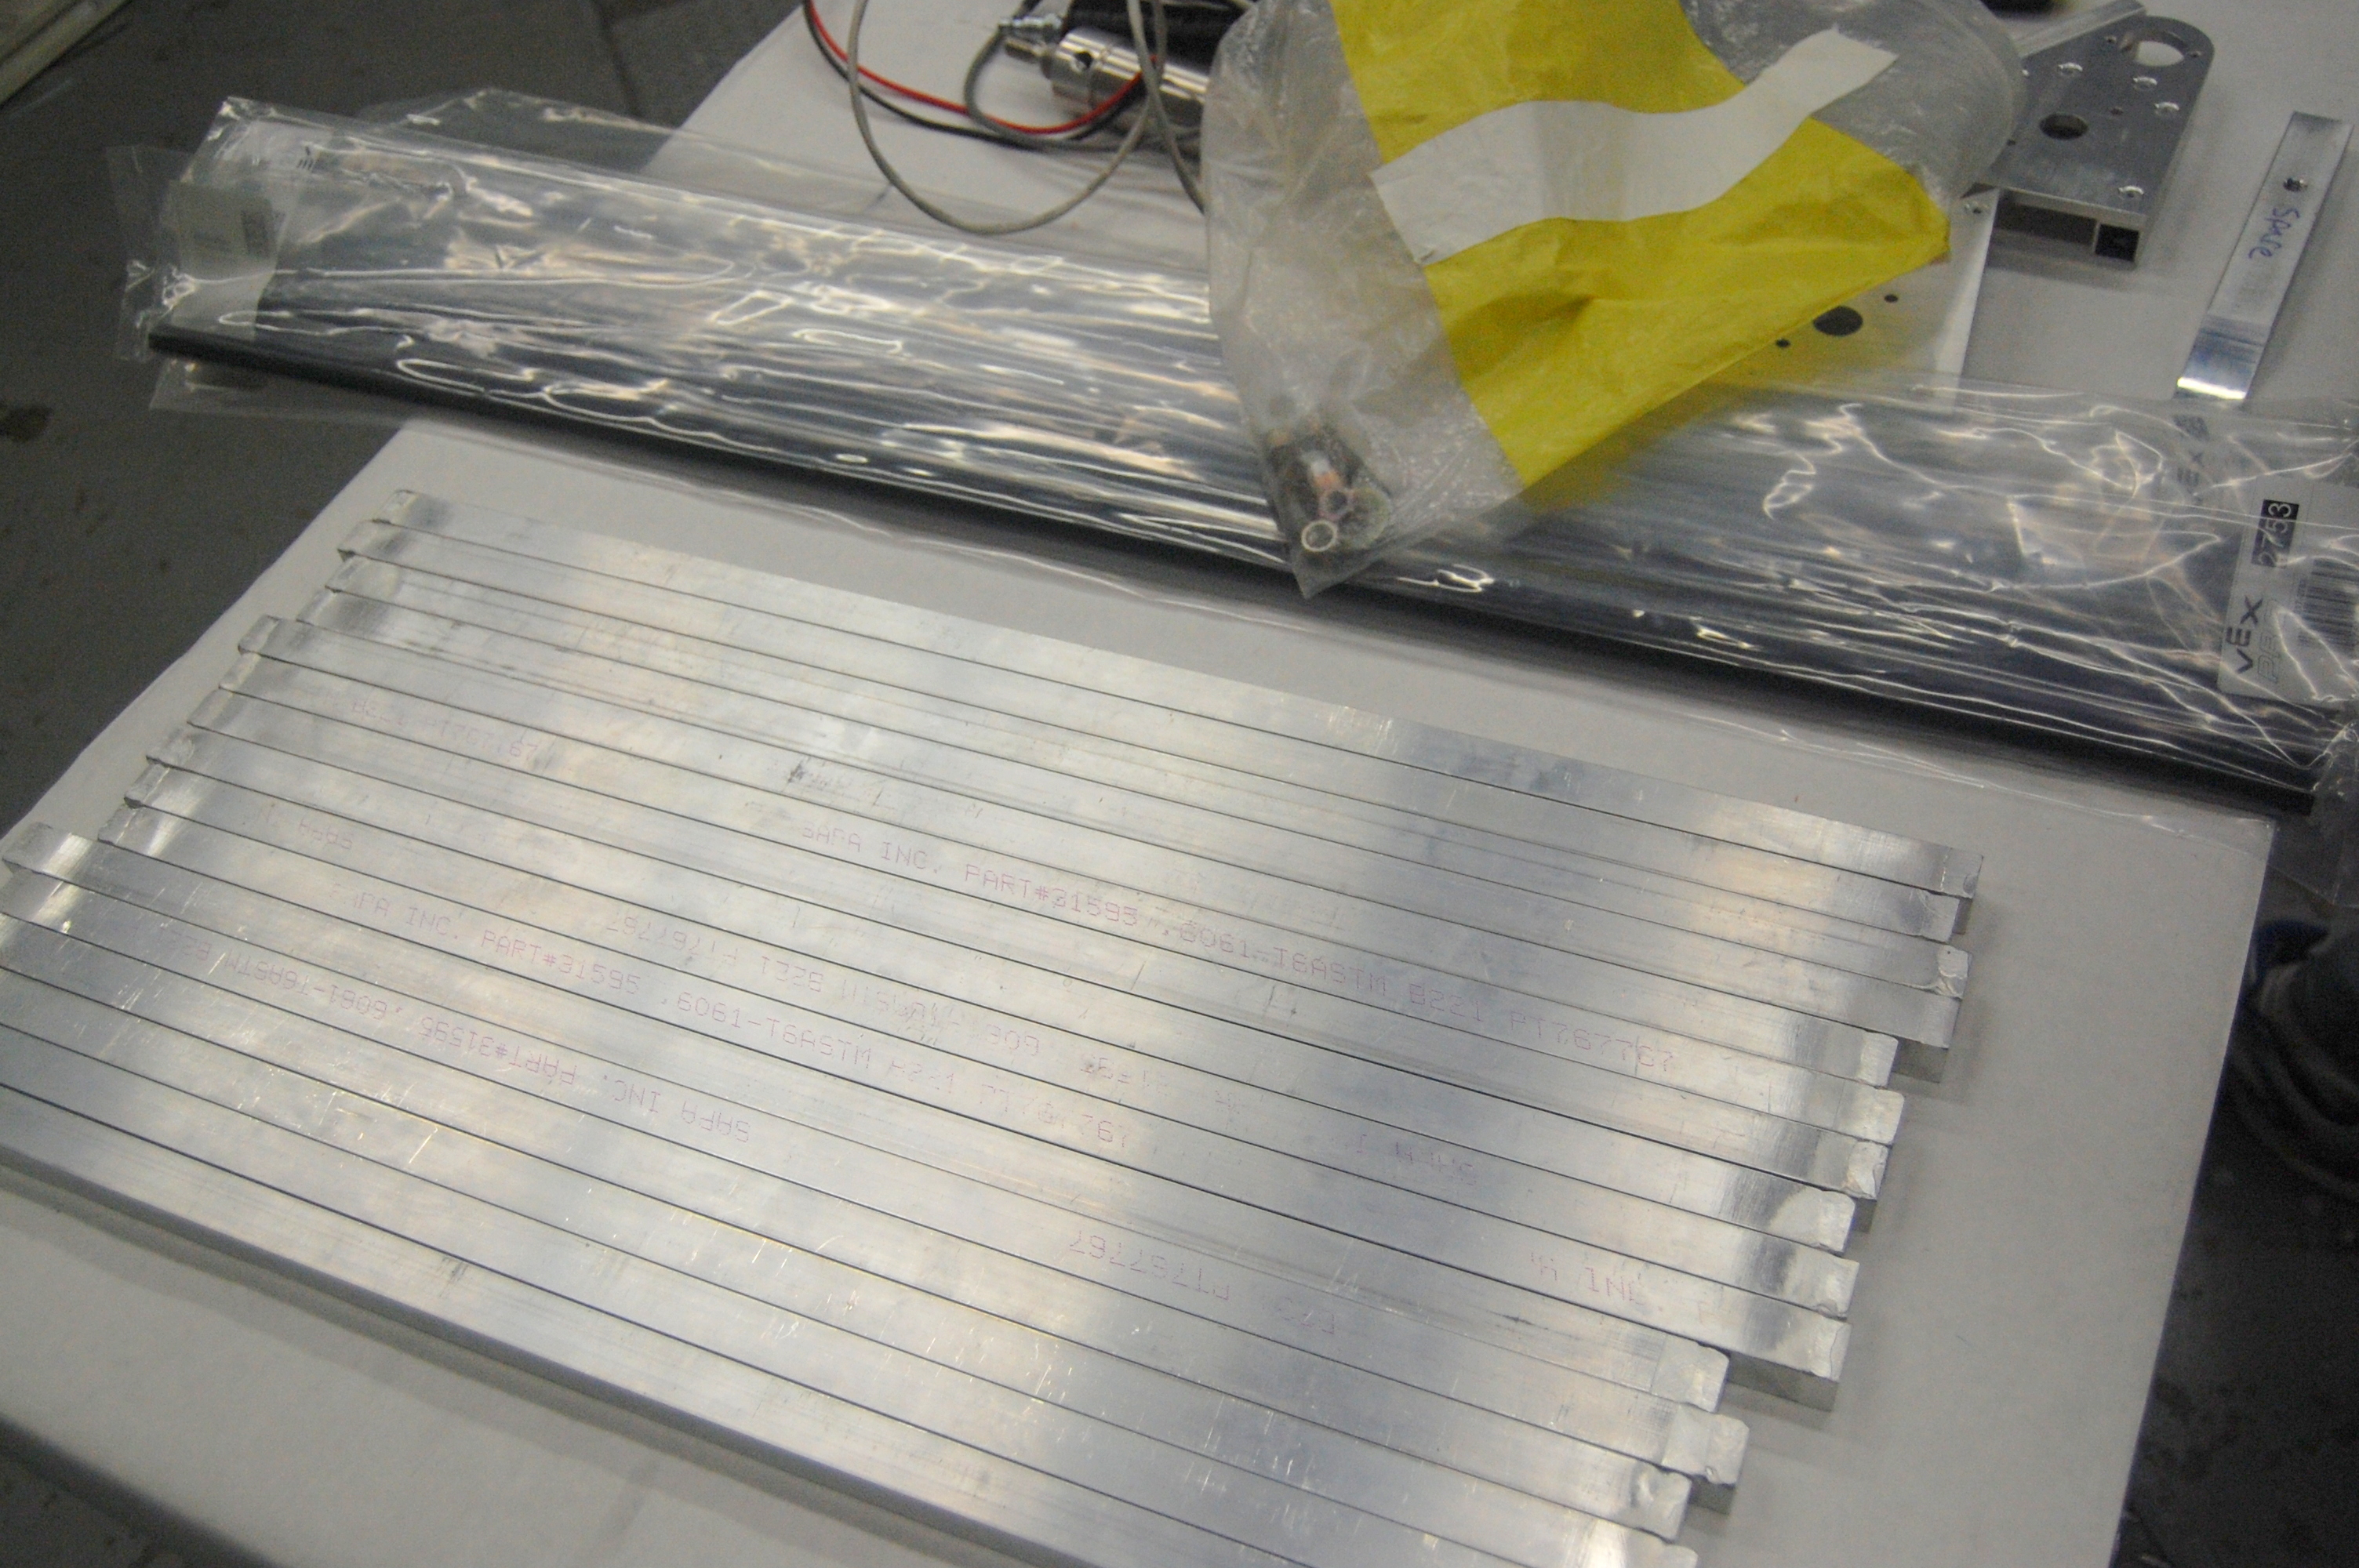
Manufacturing
A large portion of the raw material for the superstructure was cut today. Some of the actual machining started which included drilling holes and tapping them so that they would be ready to attatch to the superstructer once it is ready. Some of the superstructure parts are being milled to length.


Completed super structure parts
Programming
Today, the programmers made miscellaneous changes and fixes to the 2013 code. The commands’ timeout functionality was changed to use the built-in setTimeout and isTimedOut functions, rather than creating an instance of a Timer and calling get(). This was tested and worked quite nicely and as expected. Additionally, the code was edited greatly to adhere to the style guide.
Day #26: Practice Robot is Driving
Much progress today was made in manufacturing and assembly, and near the end of the evening the practice robot was driving for the first time.
CAD
Abhi and Richard M worked on detailing the intake assembly, with the goal of releasing all parts for manufacture by the end of the weekend. The gearbox design is still in progress, but gear ratios have been finalized and gears and timing belt pulleys selected to yield surface speeds of 17 fps on the first (top) roller, and 18 fps on the second (bottom) roller and conveyor. The higher second roller speed is necessary to clear discs from the intake more quickly when multiple discs enter simultaneously, and the conveyor must move discs back through the robot as fast as the second roller feeds them in.
Manufacturing
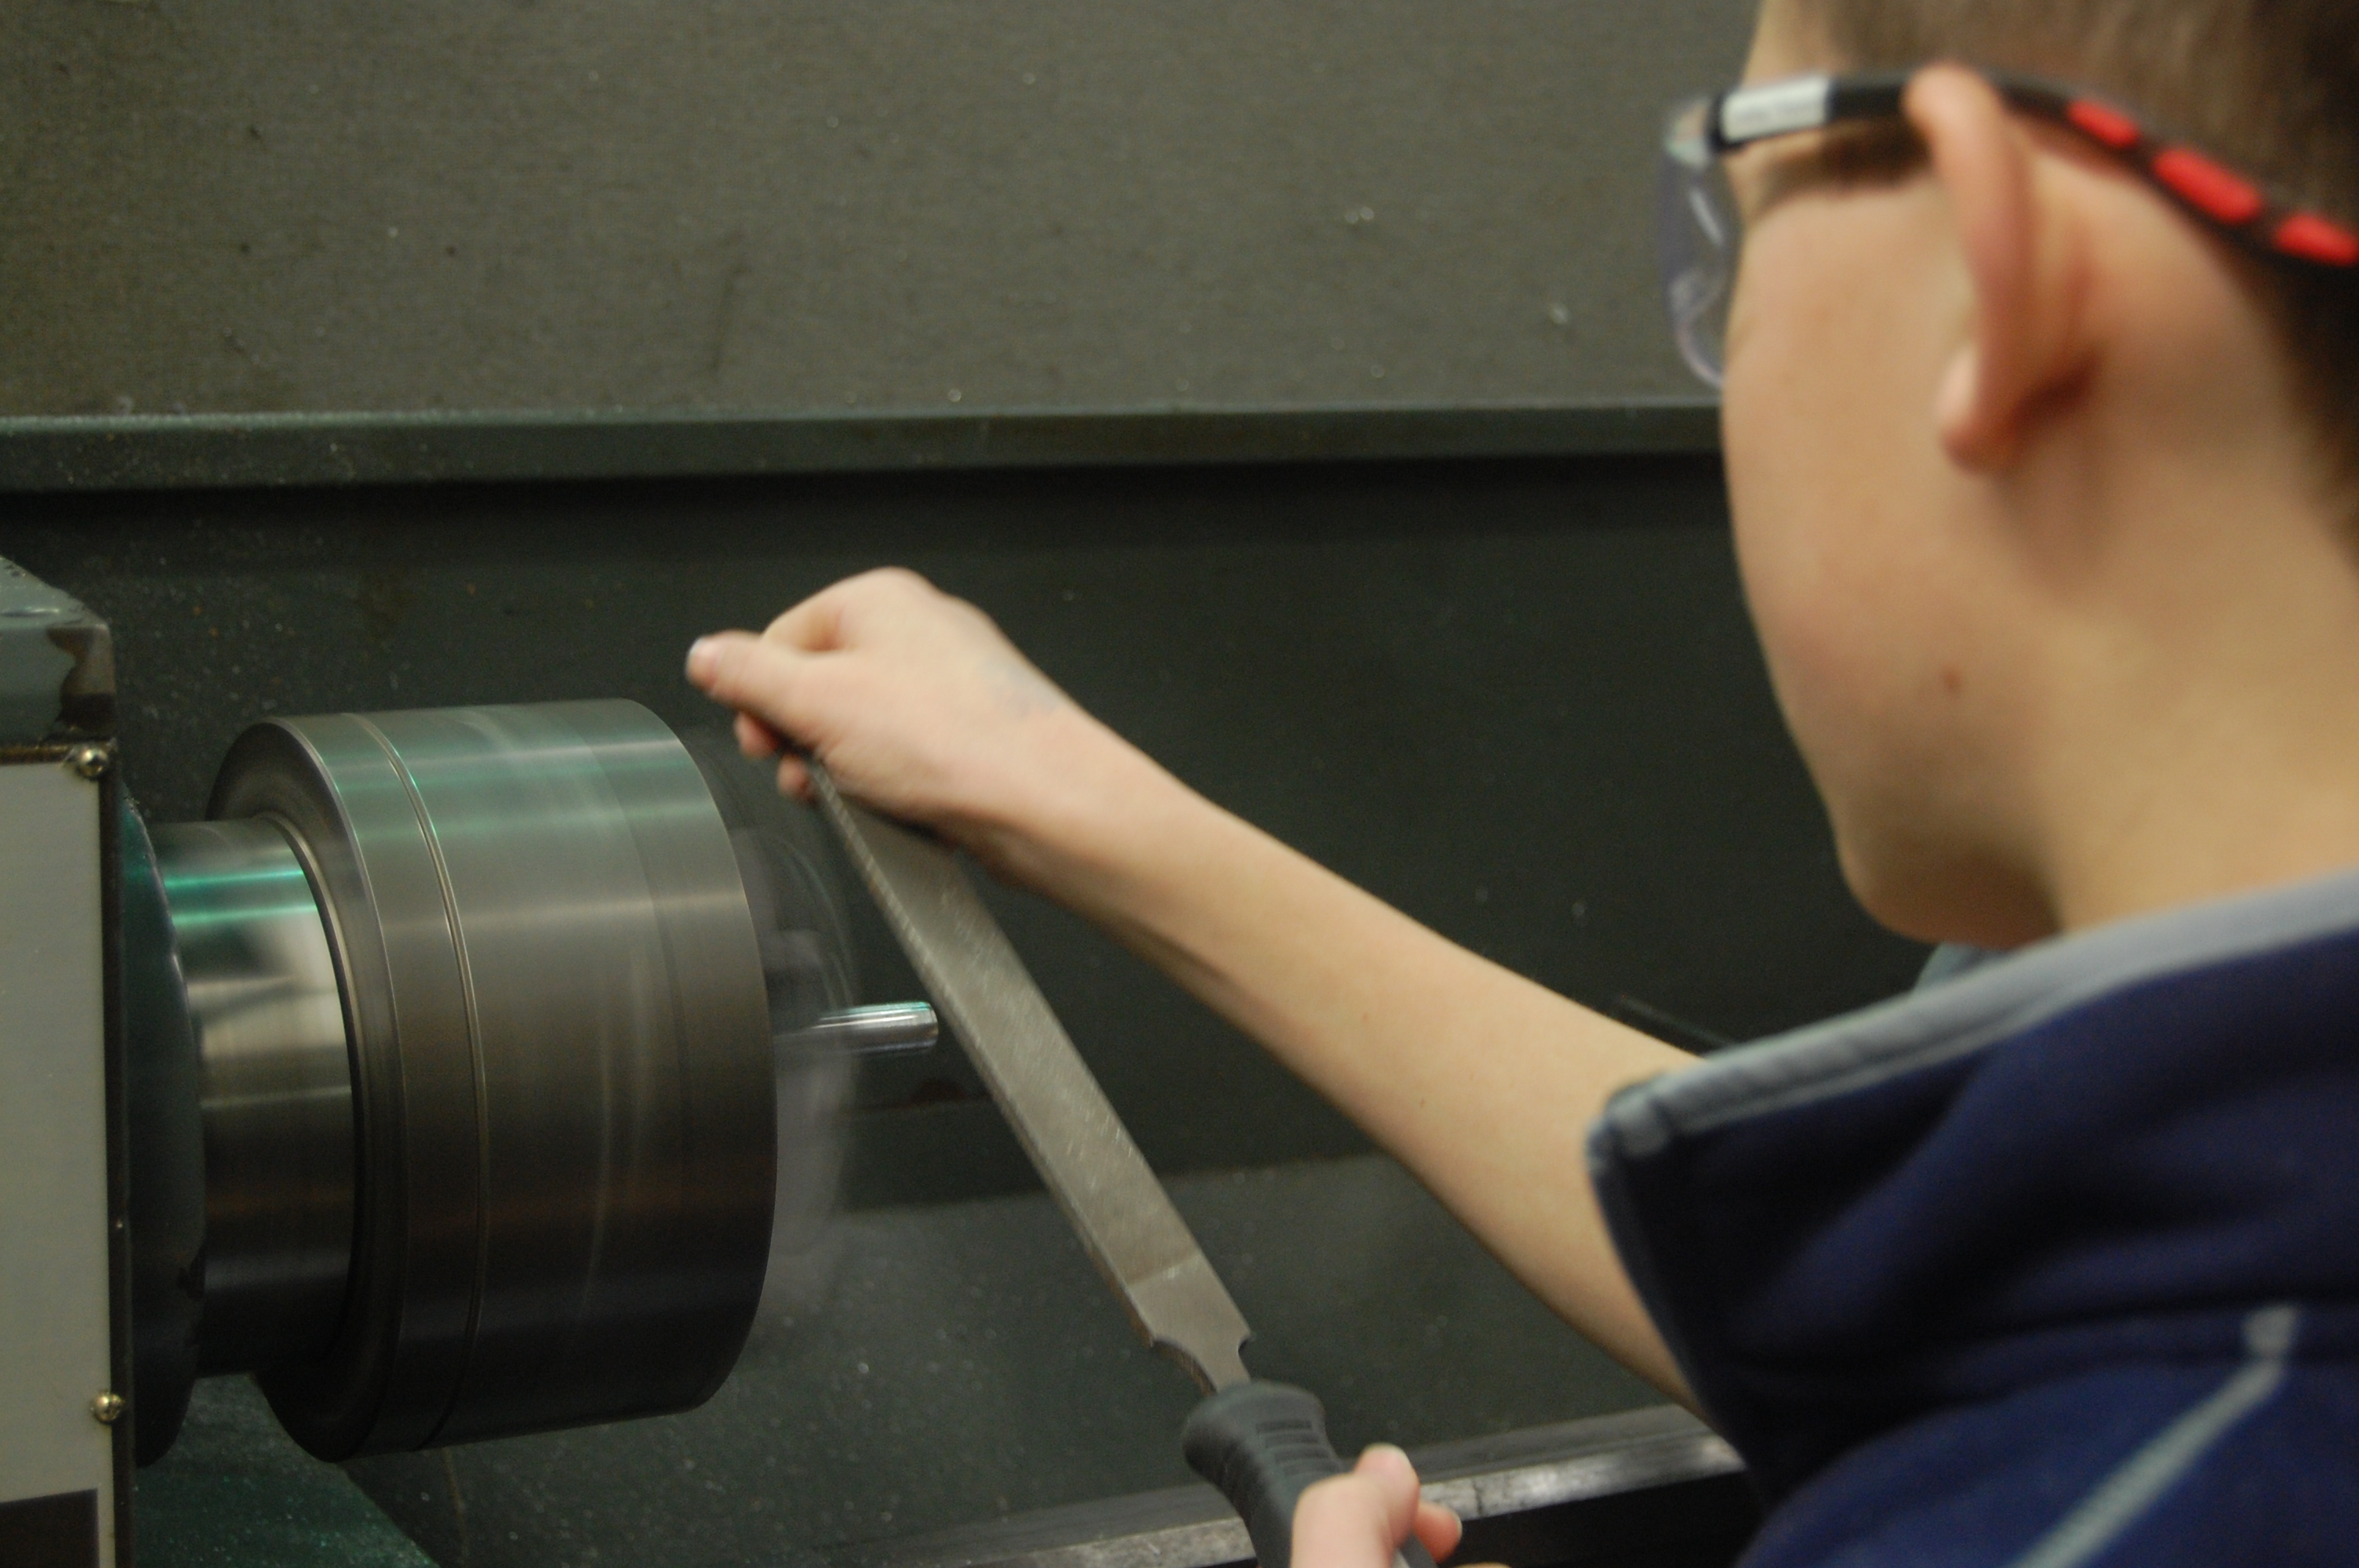
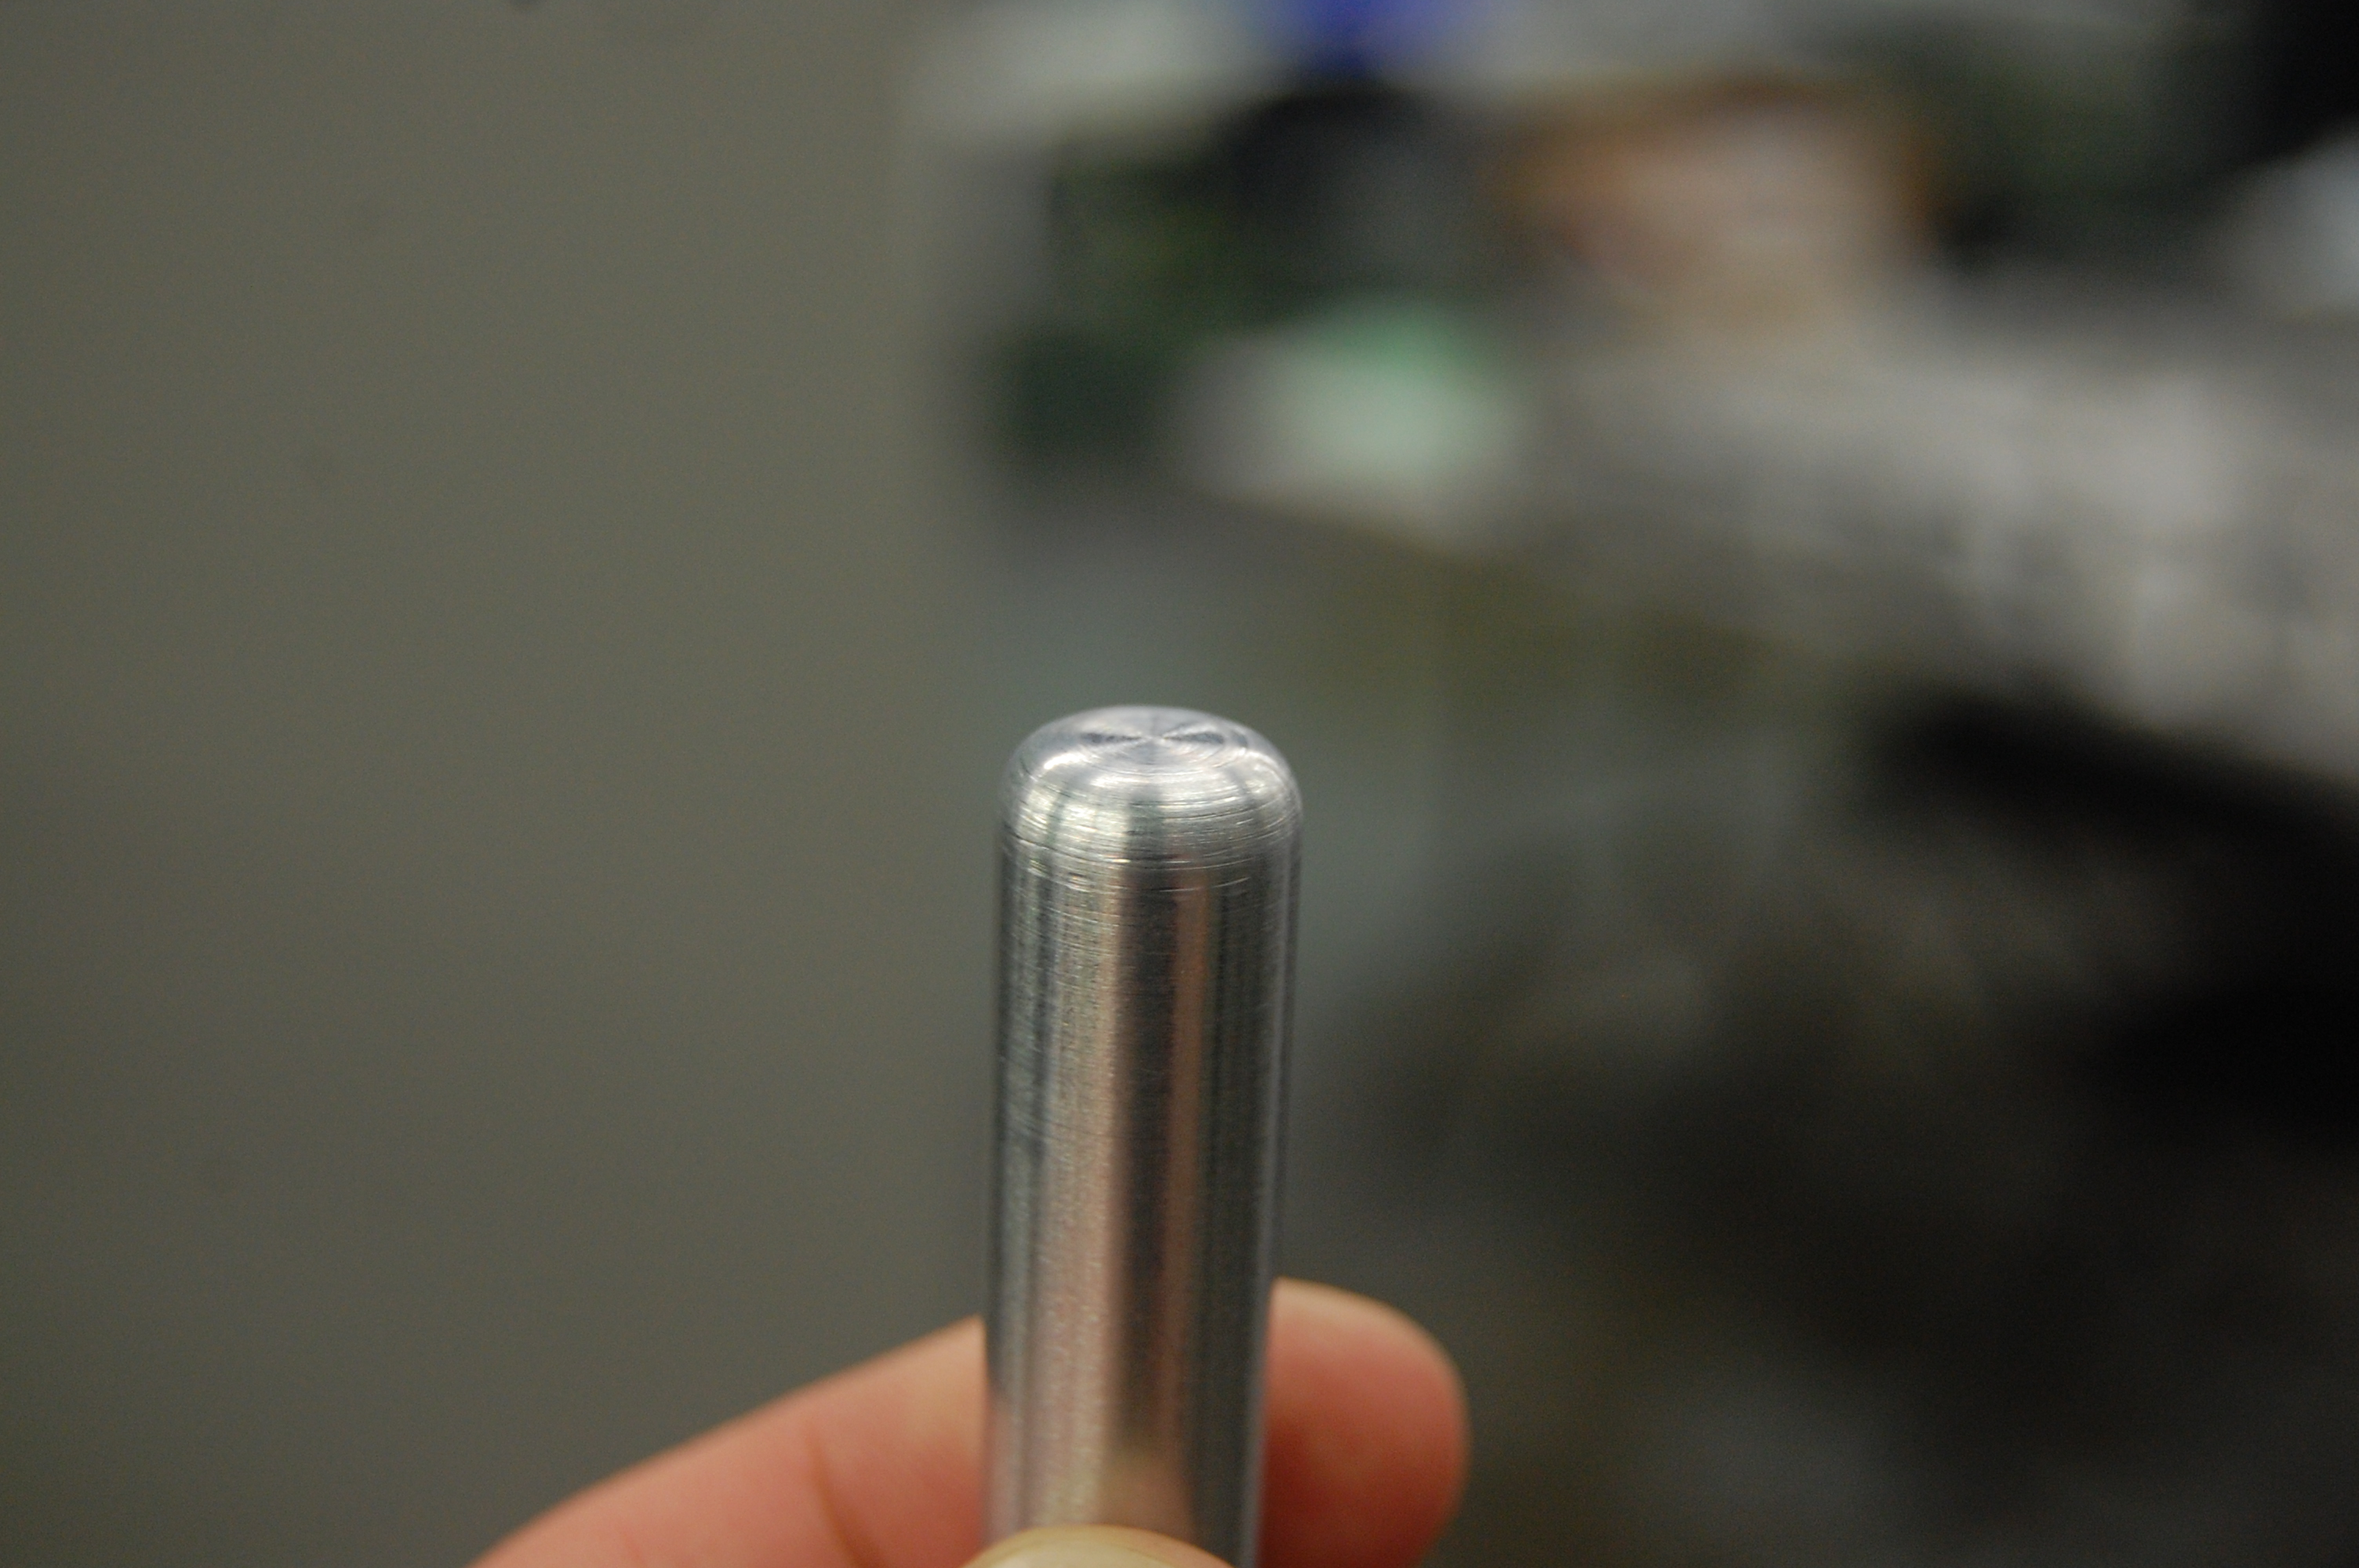
Students and mentors continued working on the shooter and conveyor parts that were released to manufacturing yesterday. Josh finished the conveyor frisbee back stop pins by adding a radius using the “CNC lathe file” technique. Connor, Chris and others started the conveyor middle hex shafts and conveyor bottom standoffs. Many other students cut stock material to rough lengths on the horizontal bandsaw throughout the day to keep the lathes and CNC supplied. Pat made the two different shooter shafts on the newly-functioning Monarch lathe, while Cory manufactured square plugs on the CNC to be inserted and welded into the square tubes that span the width of the intake.
An issue was discovered with the VEX ½” and ⅜” hex shafts received near the start of build season; many of them are visibly crooked, which is causing runout on the machined parts. E-mails exchanged about the issue with the President of VEX Robotics led to the conclusion that this was possibly an isolated incident due to the way the shafts were shipped (in a flat package instead of a round tube). More shafts are already incoming from VEX and the existing ones can be sent back for exchange. Hex shaft held against a flat surface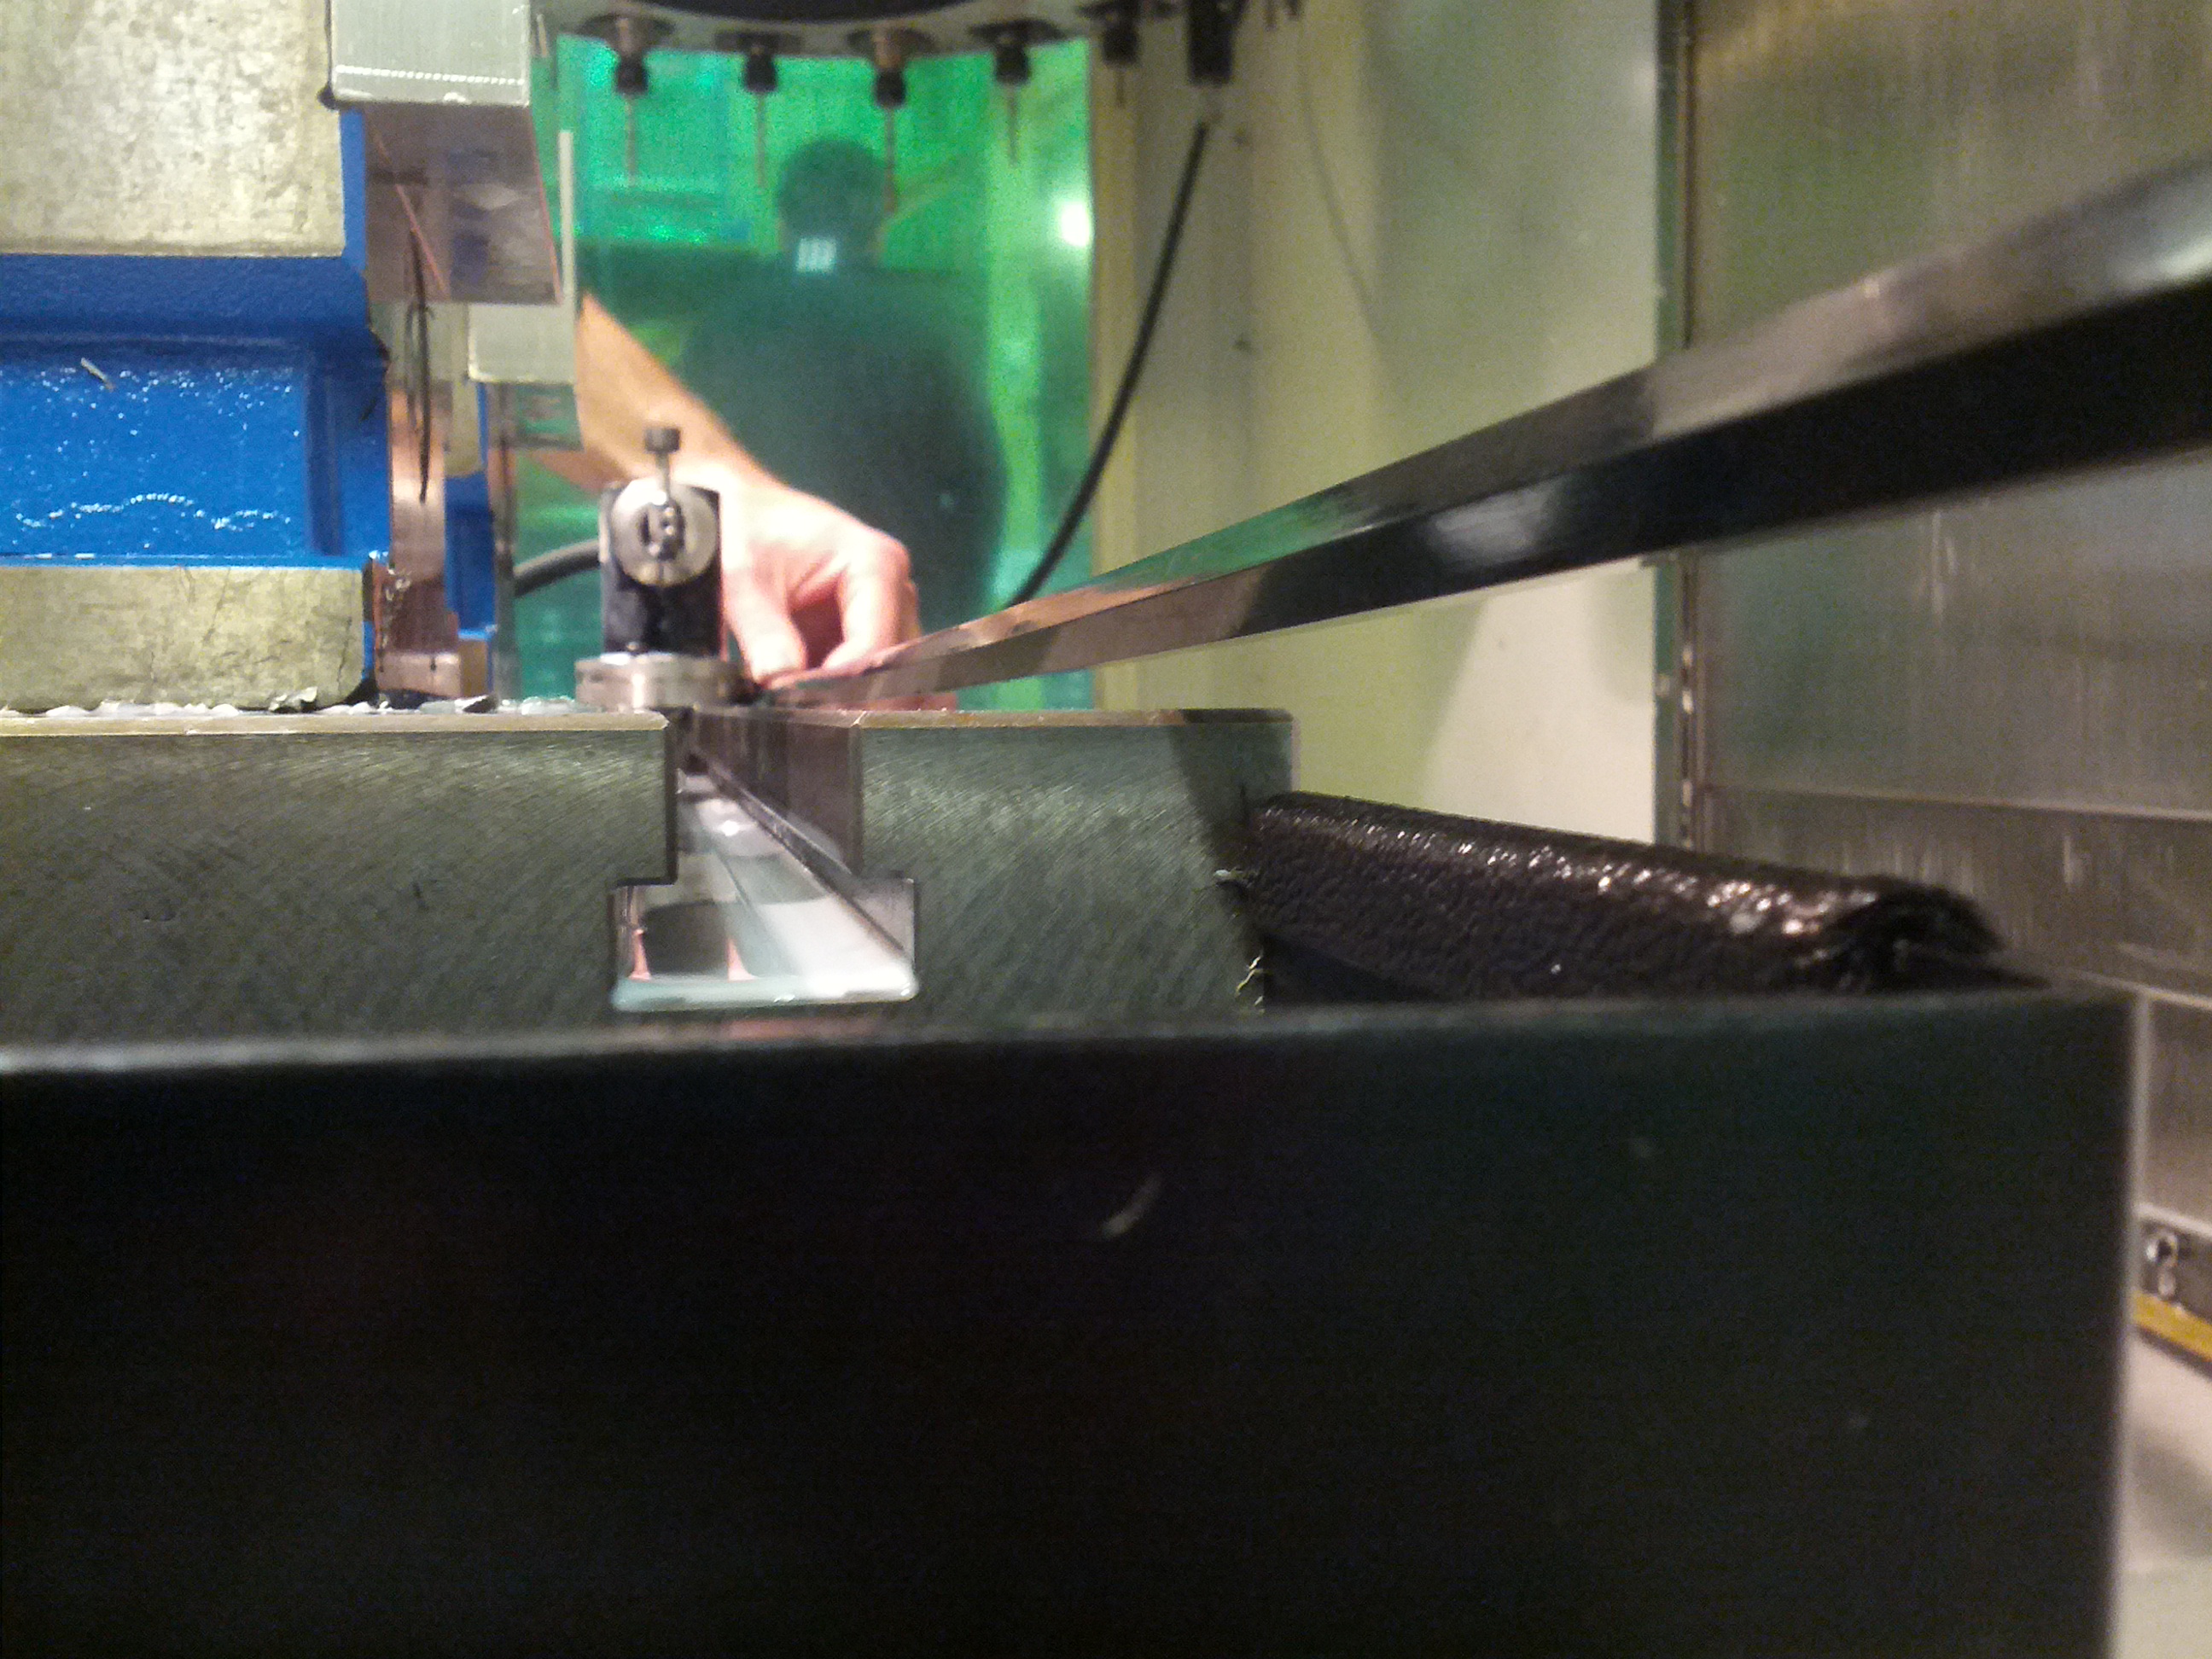
Assembly
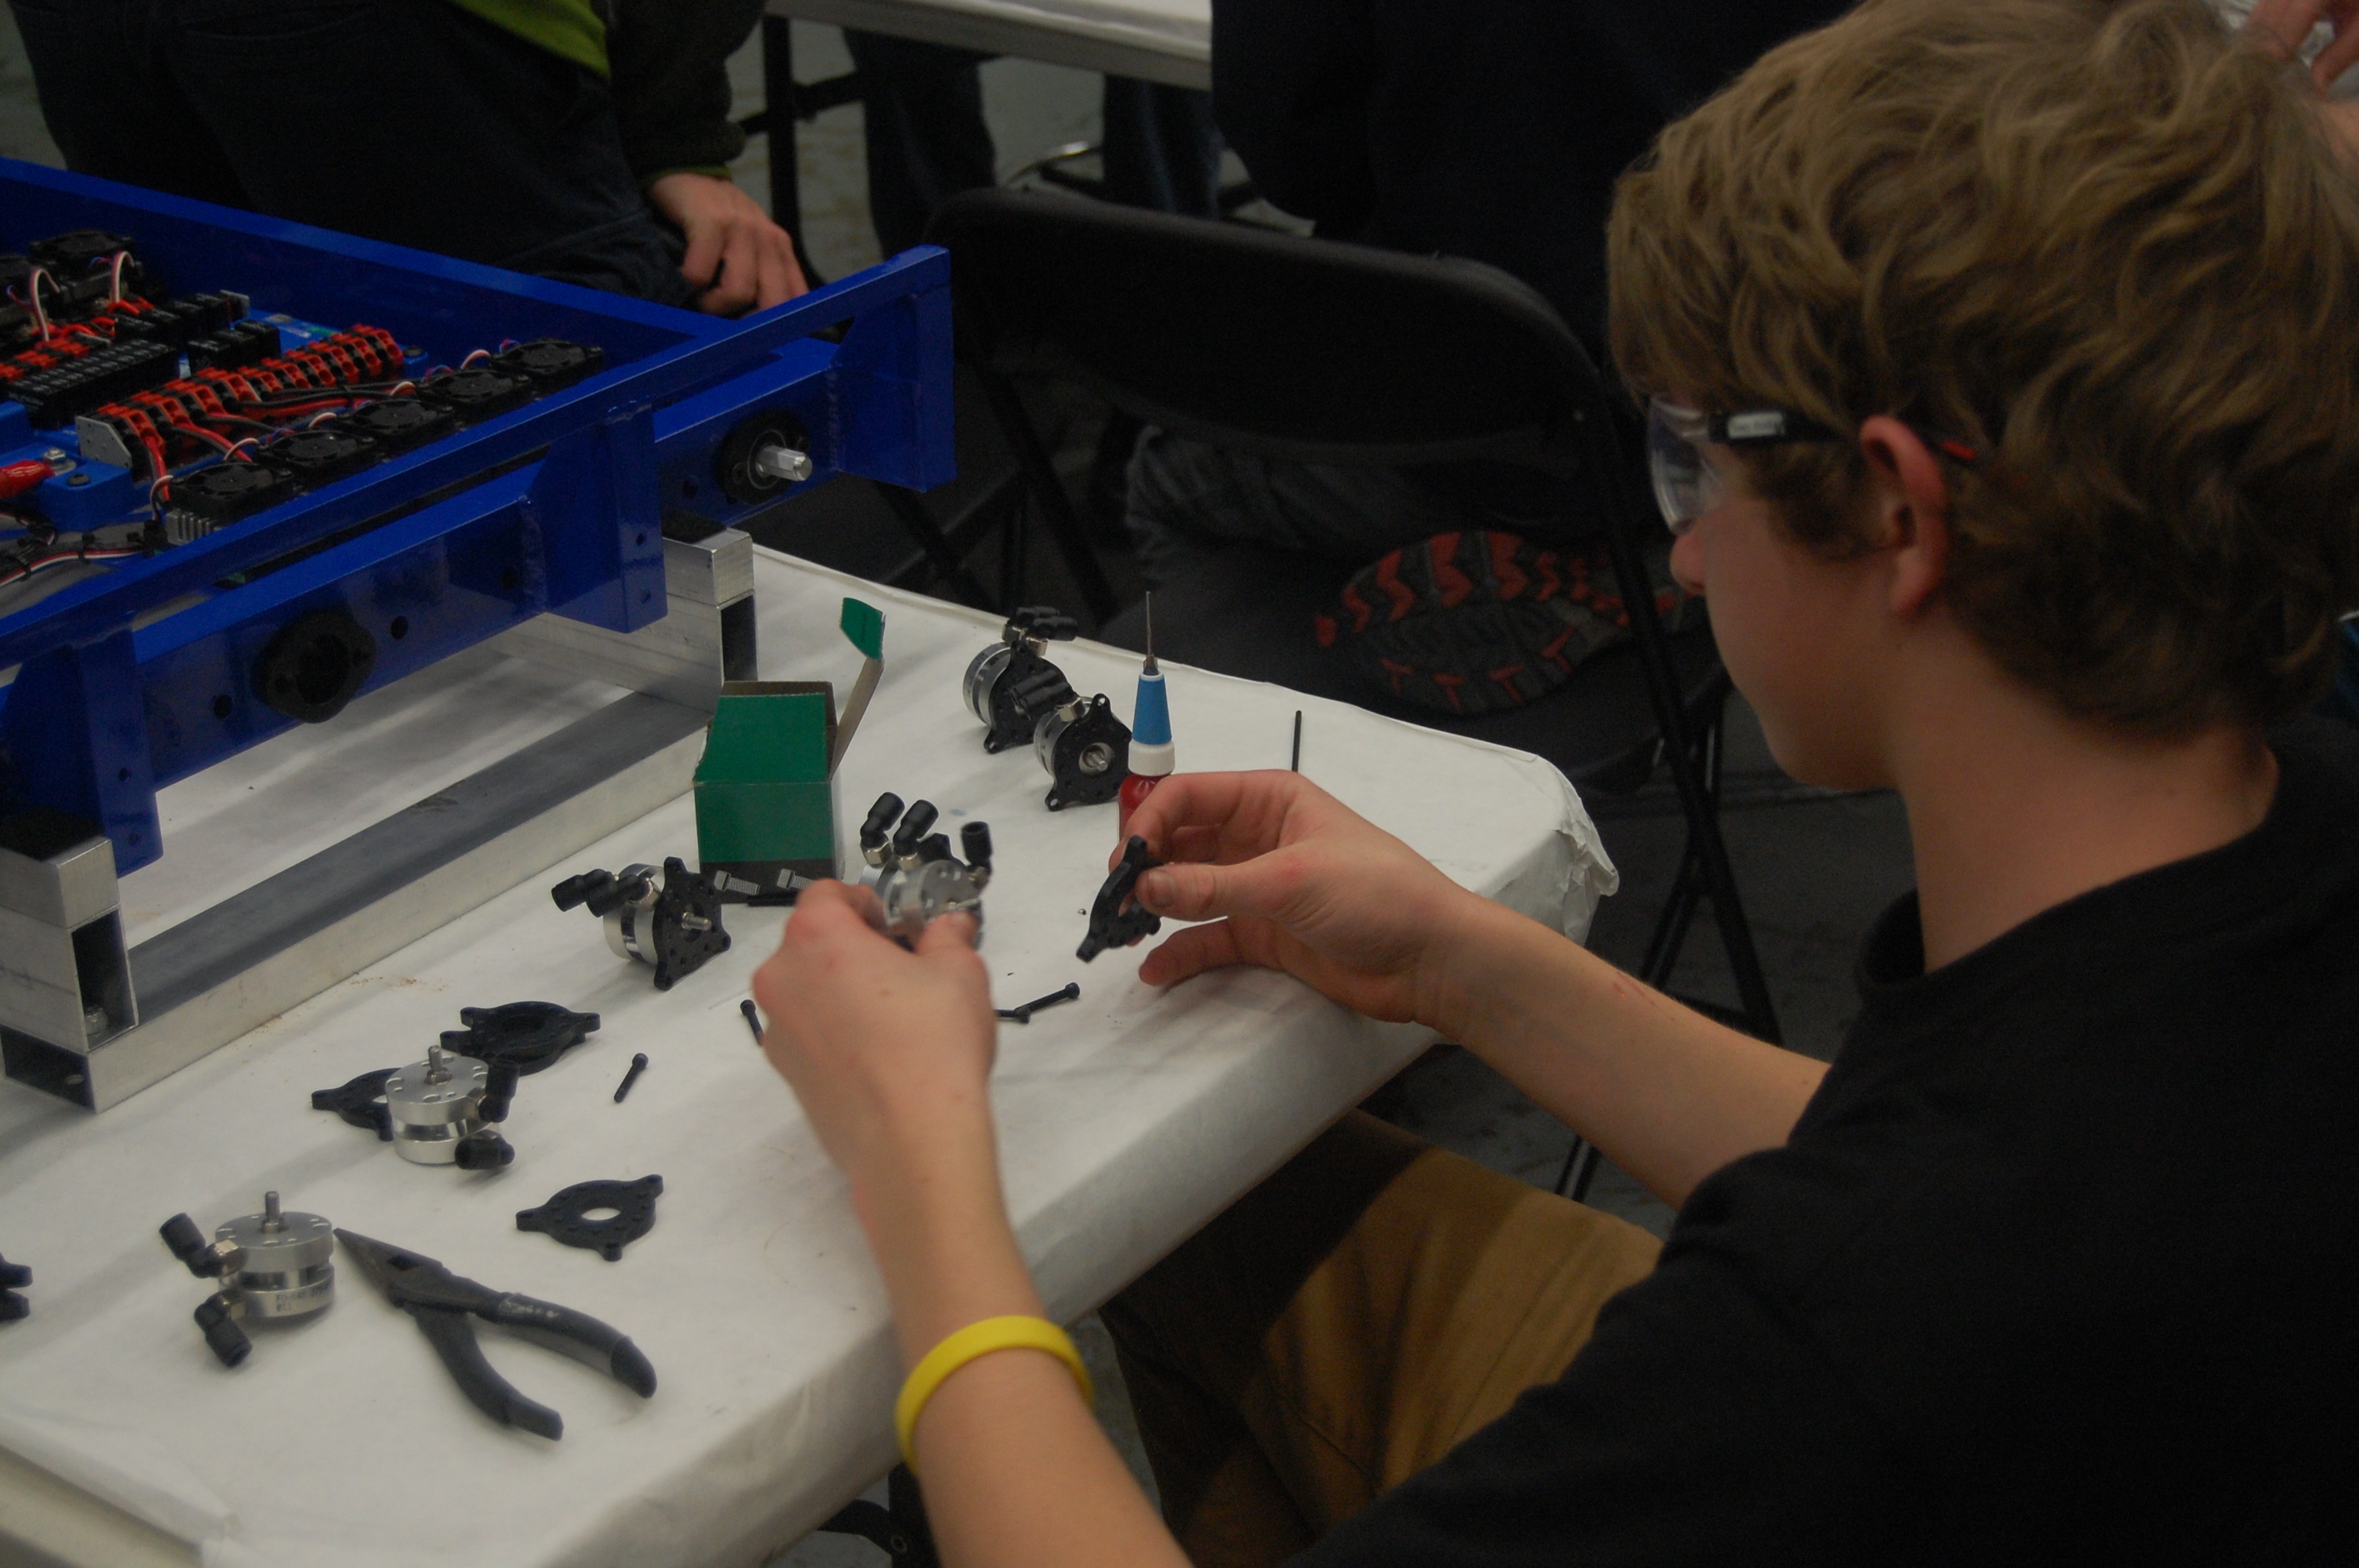
Although not all the parts that will be used in the competition gearboxes have been received yet (a few anodized gears are still missing), a few gearboxes were partially or fully assembled using substitute parts. It was discovered that the CIM output shaft spacers already made were not long enough as the WCP pinions do not have hubs like the steel pinions used in previous years, so new spacers were made.
Robert and EJ assembling the gearboxes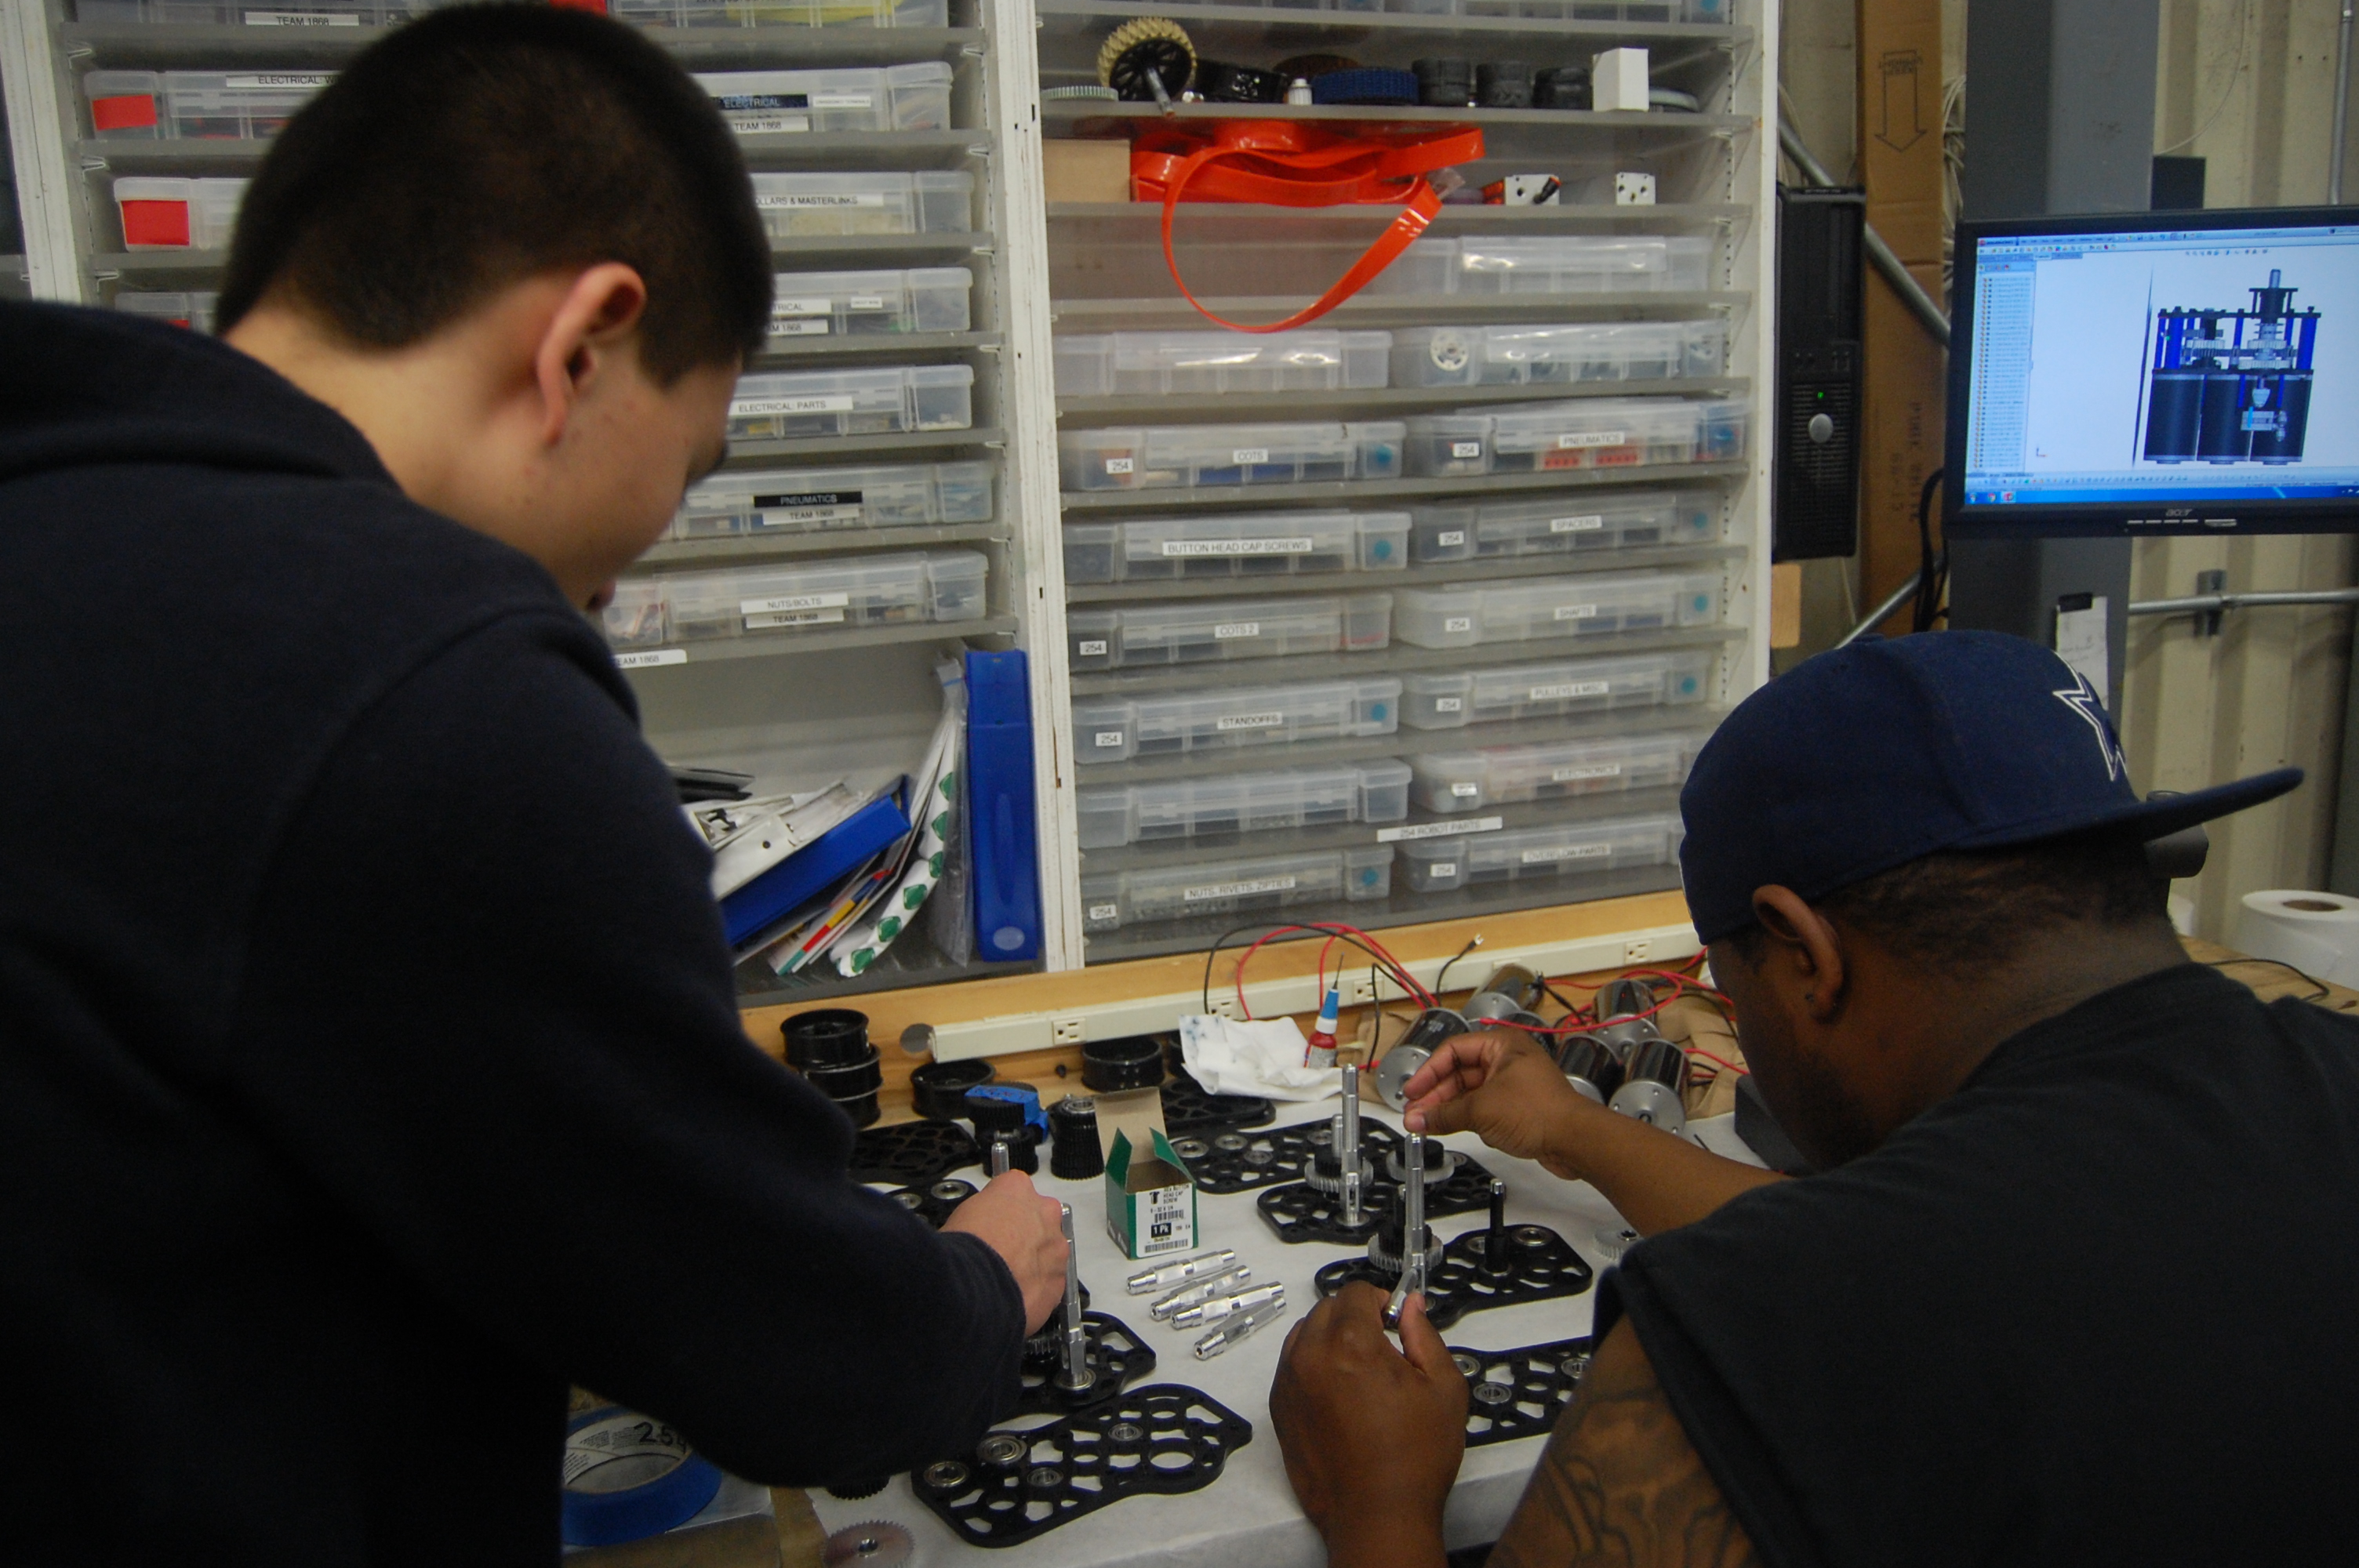

Wiring
Not much wiring work was done on the competition robot as some parts (new cRIO, ribbon cables) are still missing, but enough was done on the practice robot to enable it to run. The ribbon cable going between the digital sidecar and the cRIO was added, and power was run to the analog breakout. Additionally, to enable testing, a D-Link radio and 12V-5V converter were hacked on (but will likely be moved to different locations later). Nagy and Francisco also crimped and soldered terminals to all the CIM motors.
Terminating the CIMs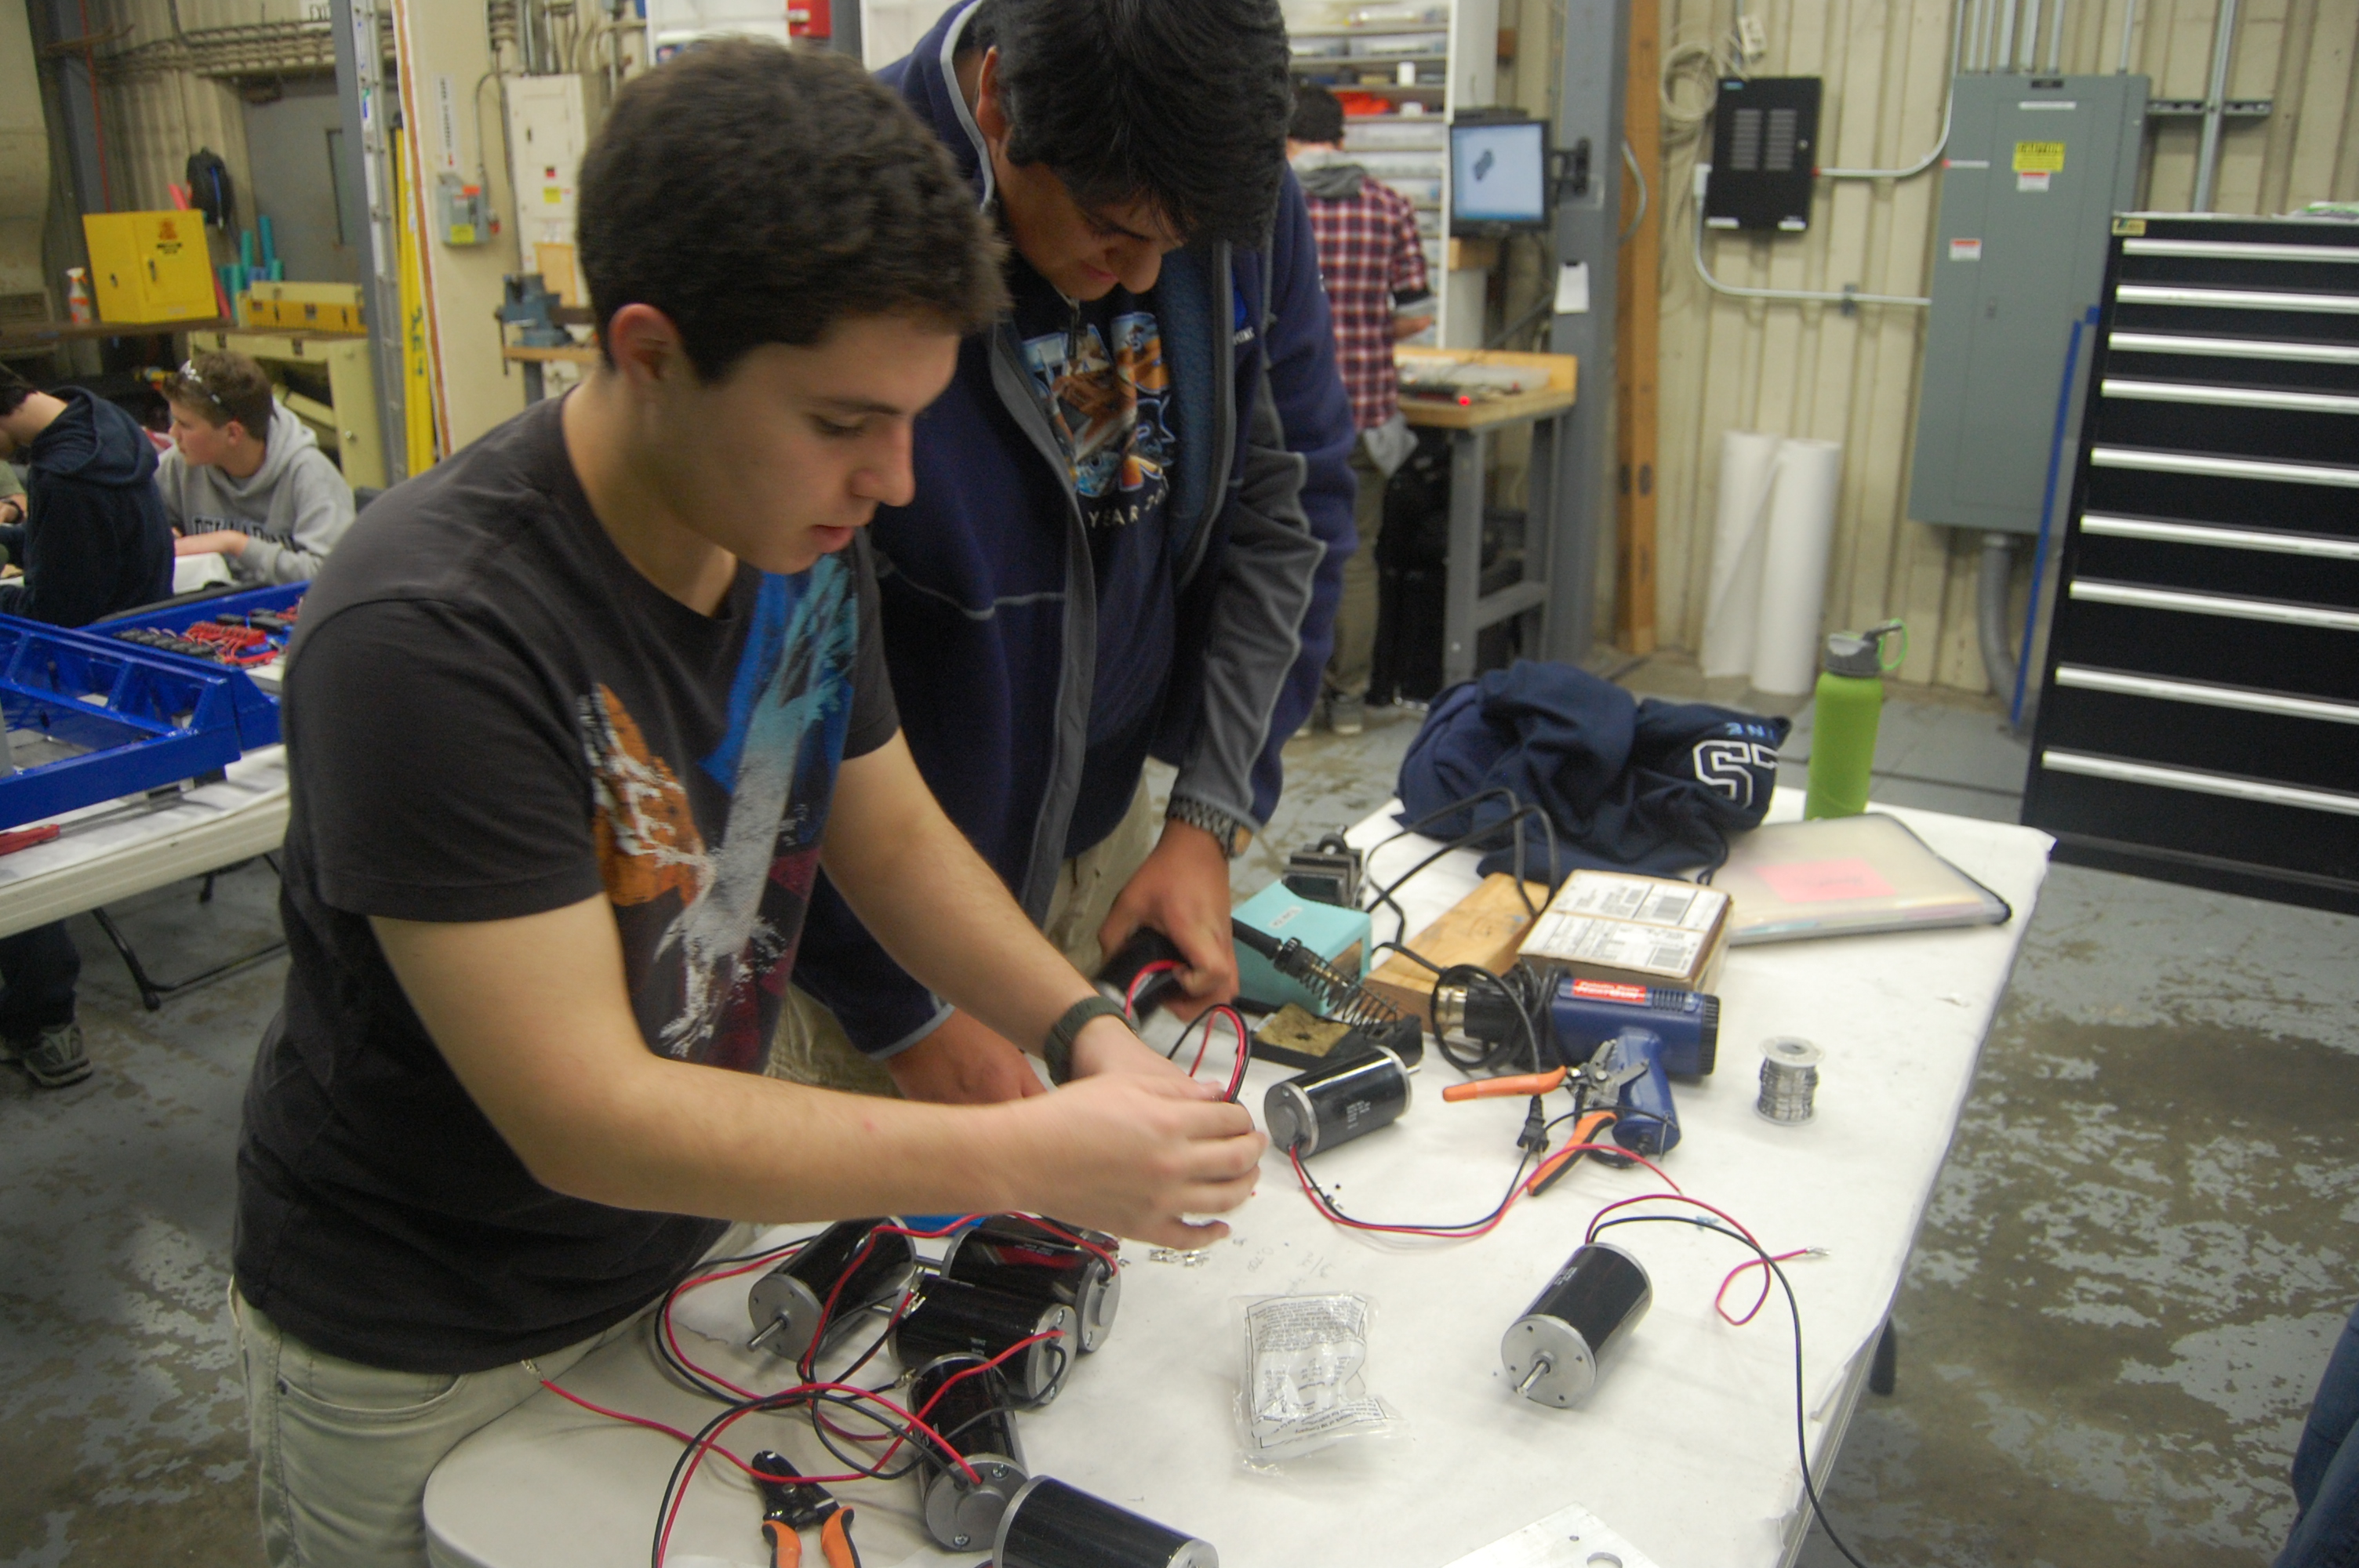
The team received a visit today from Matt Pasienski, who works at one of the team’s sponsors, Ooyala, and has coached Ultimate Frisbee at the national college level in addition to holding a PhD in Physics. He spent time with the primary and backup human players, Aaron and Nagy, and helped them refine their hammer-throwing technique.
Matt coaching Aaron on how to throw a hammer
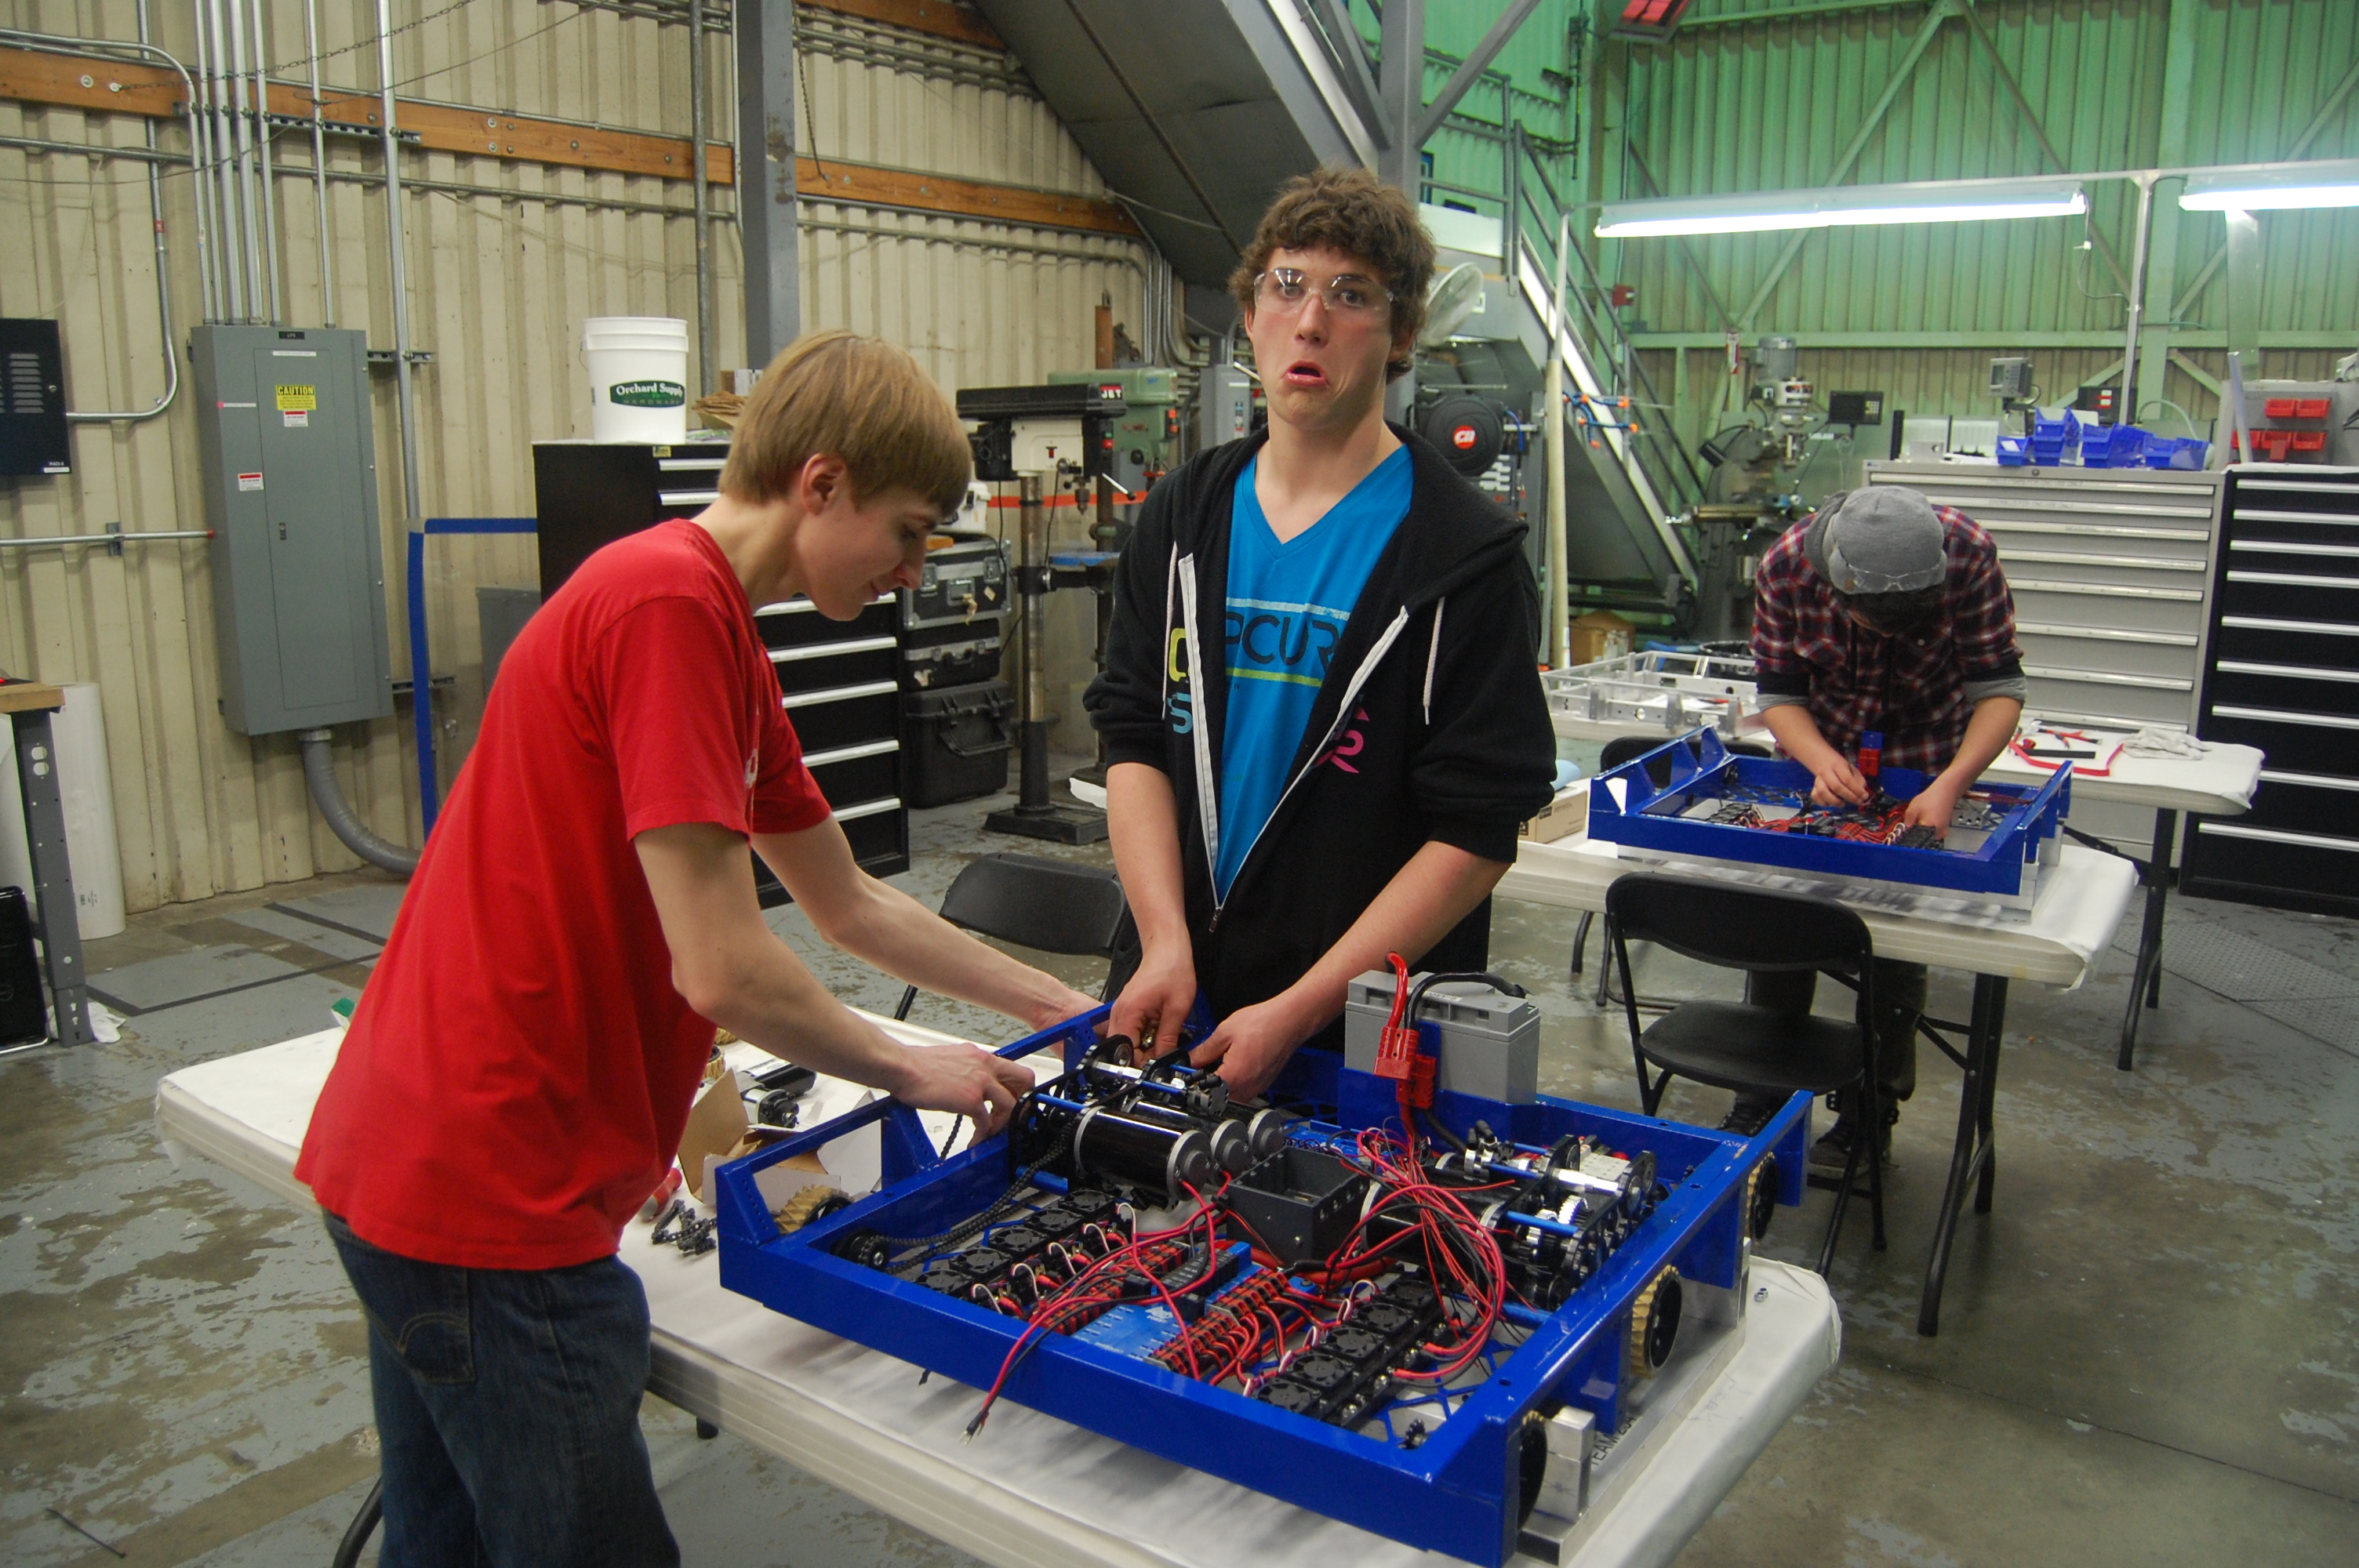
Robot driving
Final assembly and wiring of the drivebase
As the pneumatics are not yet plumbed or wired, the shifters were locked into high gear with a couple of zip-ties each. After a few false starts (the cRIO was wired to a 12V power source instead of the 24V, the analog breakout wasn’t receiving power properly, and the joystick trim tabs weren’t centered), the programming team quickly got the drivetrain running with the robot in its stand on top of a table. After calibrating the Talons, the robot was put down on the field at about 11:15pm and taken for a test drive by Abhi and a few others. The practice robot’s maiden voyage
Action items
-
Complete manufacturing conveyor middle roller shafts and bottom standoffs
-
Cut all aluminum tubing needed to be sent out for superstructure/subsystem welding on Monday
-
Make drawing for superstructure plugs and machine them on the manual mill
-
Begin driver drills with the practice robot
-
Wire and plumb pneumatics on both robots
-
Continue competition robot wiring
-
build
Lab closing time: 2:00am
Day #25: Manufacture of Conveyor and Shooter Begins
Drive Gearbox
The bulk of the remaining parts ordered from West Coast Products arrived today, including gears, shifting dogs, and shifter shafts. Students assembled the piston blocks for the bimba pistons. This will actuate the dog shifters, which will control the 2-speed transmission and PTO. The dog shifters were modified to prevent interferences and fit inside the gearbox.

Machined Shifting Dogs
Shooter and Conveyor
Students made drawings for shafts and spacers that will later be used on the shooter and conveyor. The raw materials for these parts were cut, and later manufactured by students with assistance from the mentors.

Makin the Pahts

Finished Parts
Programming
Students worked on the code for the intake. They also tested all the subsystems of code to make sure that they functioned properly.
Visitors!
Team 100 from Woodside, Carlmont, and Sequoia High Schools visited the lab today. They stopped by for a couple of hours to borrow the use of the lab’s hex broach.
Action Items:
- Assemble Drive Gearbox
- Continue manufacturing Shooter and Conveyor shafts
- Release more parts for manufacture
- Further develop code
- Wire Pneumatics
Lab Closing Time: 12:30
